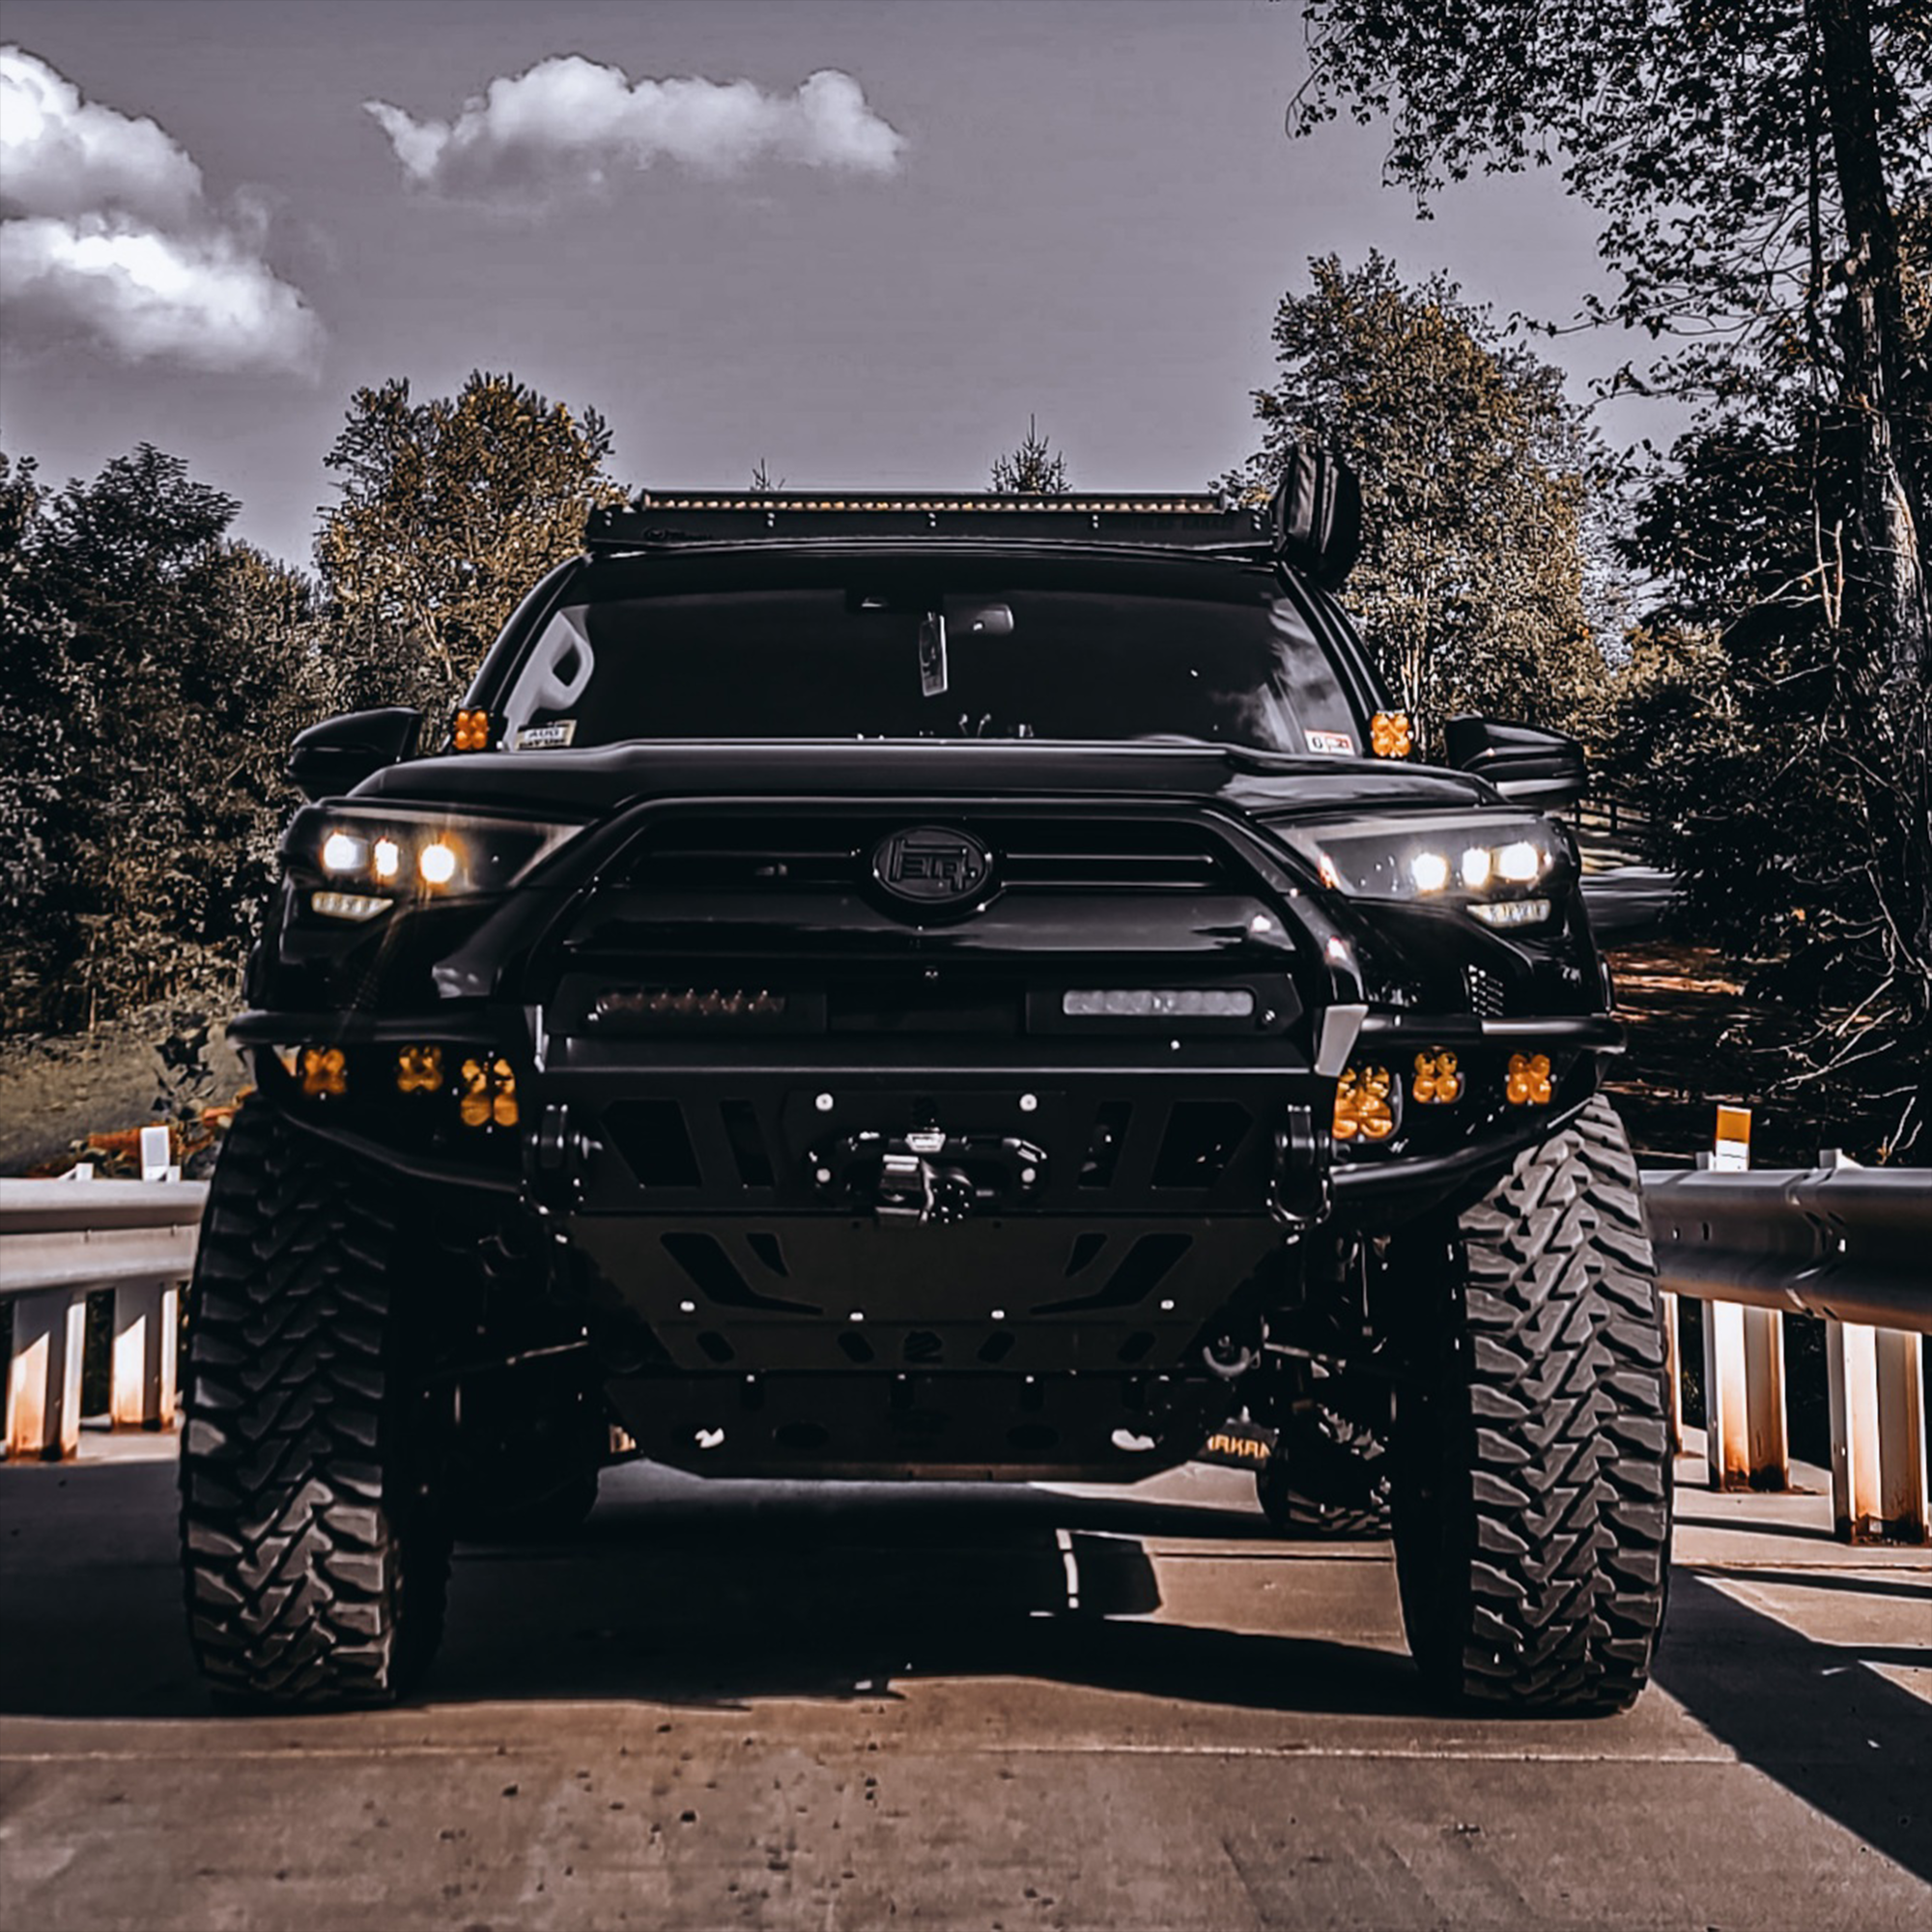
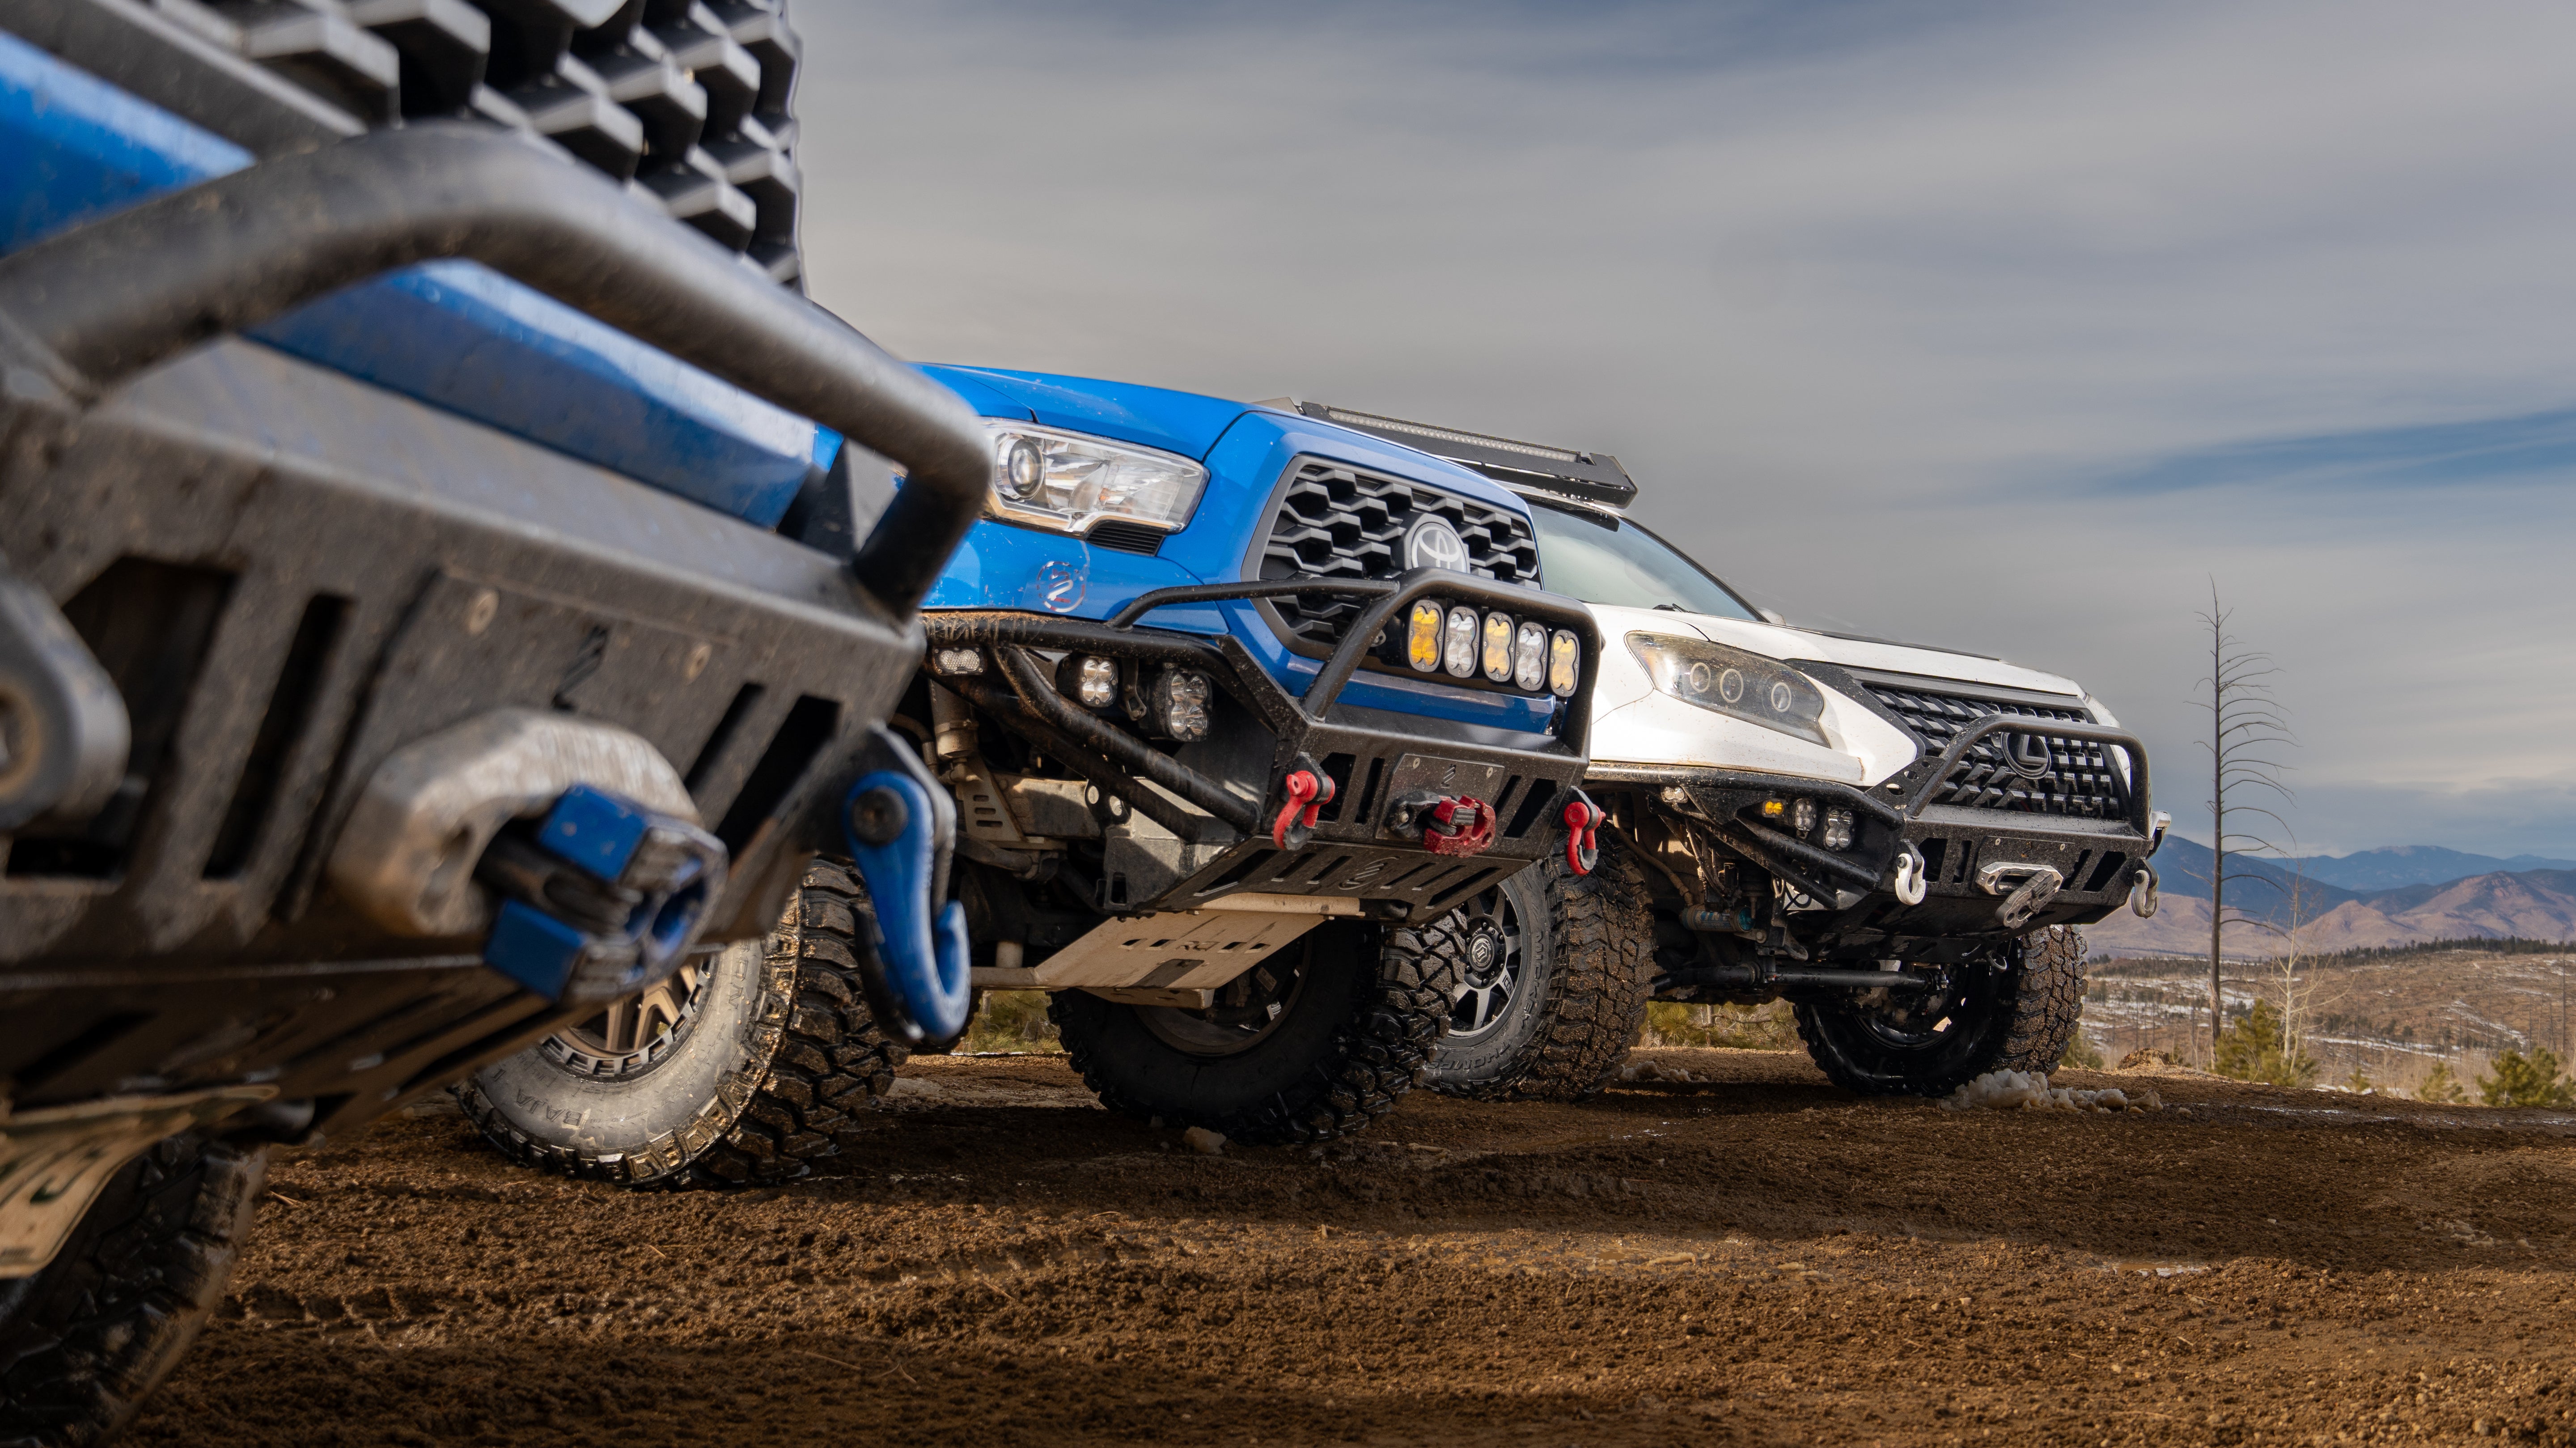
The Toyota Tundra is built for heavy work, towing, and off-road use, but factory bumpers are not always up to those demands. When you push a Tundra hard, stock bumpers can fail or limit capability in recovery situations and on technical terrain. Choosing the right custom bumper is about matching strength, features, and weight to how you actually use the truck.
This guide covers the key decisions for custom bumpers for Toyota Tundra owners, including materials, style, accessory options, installation, and long-term value. Read it to avoid common mistakes and to pick a bumper that fits your towing, trail, or daily-driving needs.

Why Tundra Owners Upgrade Bumpers
Tundra owners often tow heavy loads, carry gear, and run rough routes that put extra strain on the front and rear ends. Stock bumpers are tuned for crash compliance and cost, not trail impacts or winch loads. A purpose-built bumper reduces repair risk, supports recovery gear, and improves clearance where it matters.
Key Takeaway: If your Tundra tows, overlands, or hits rocky trails more than twice a month, treat a bumper upgrade as essential vehicle maintenance, not a cosmetic add-on.
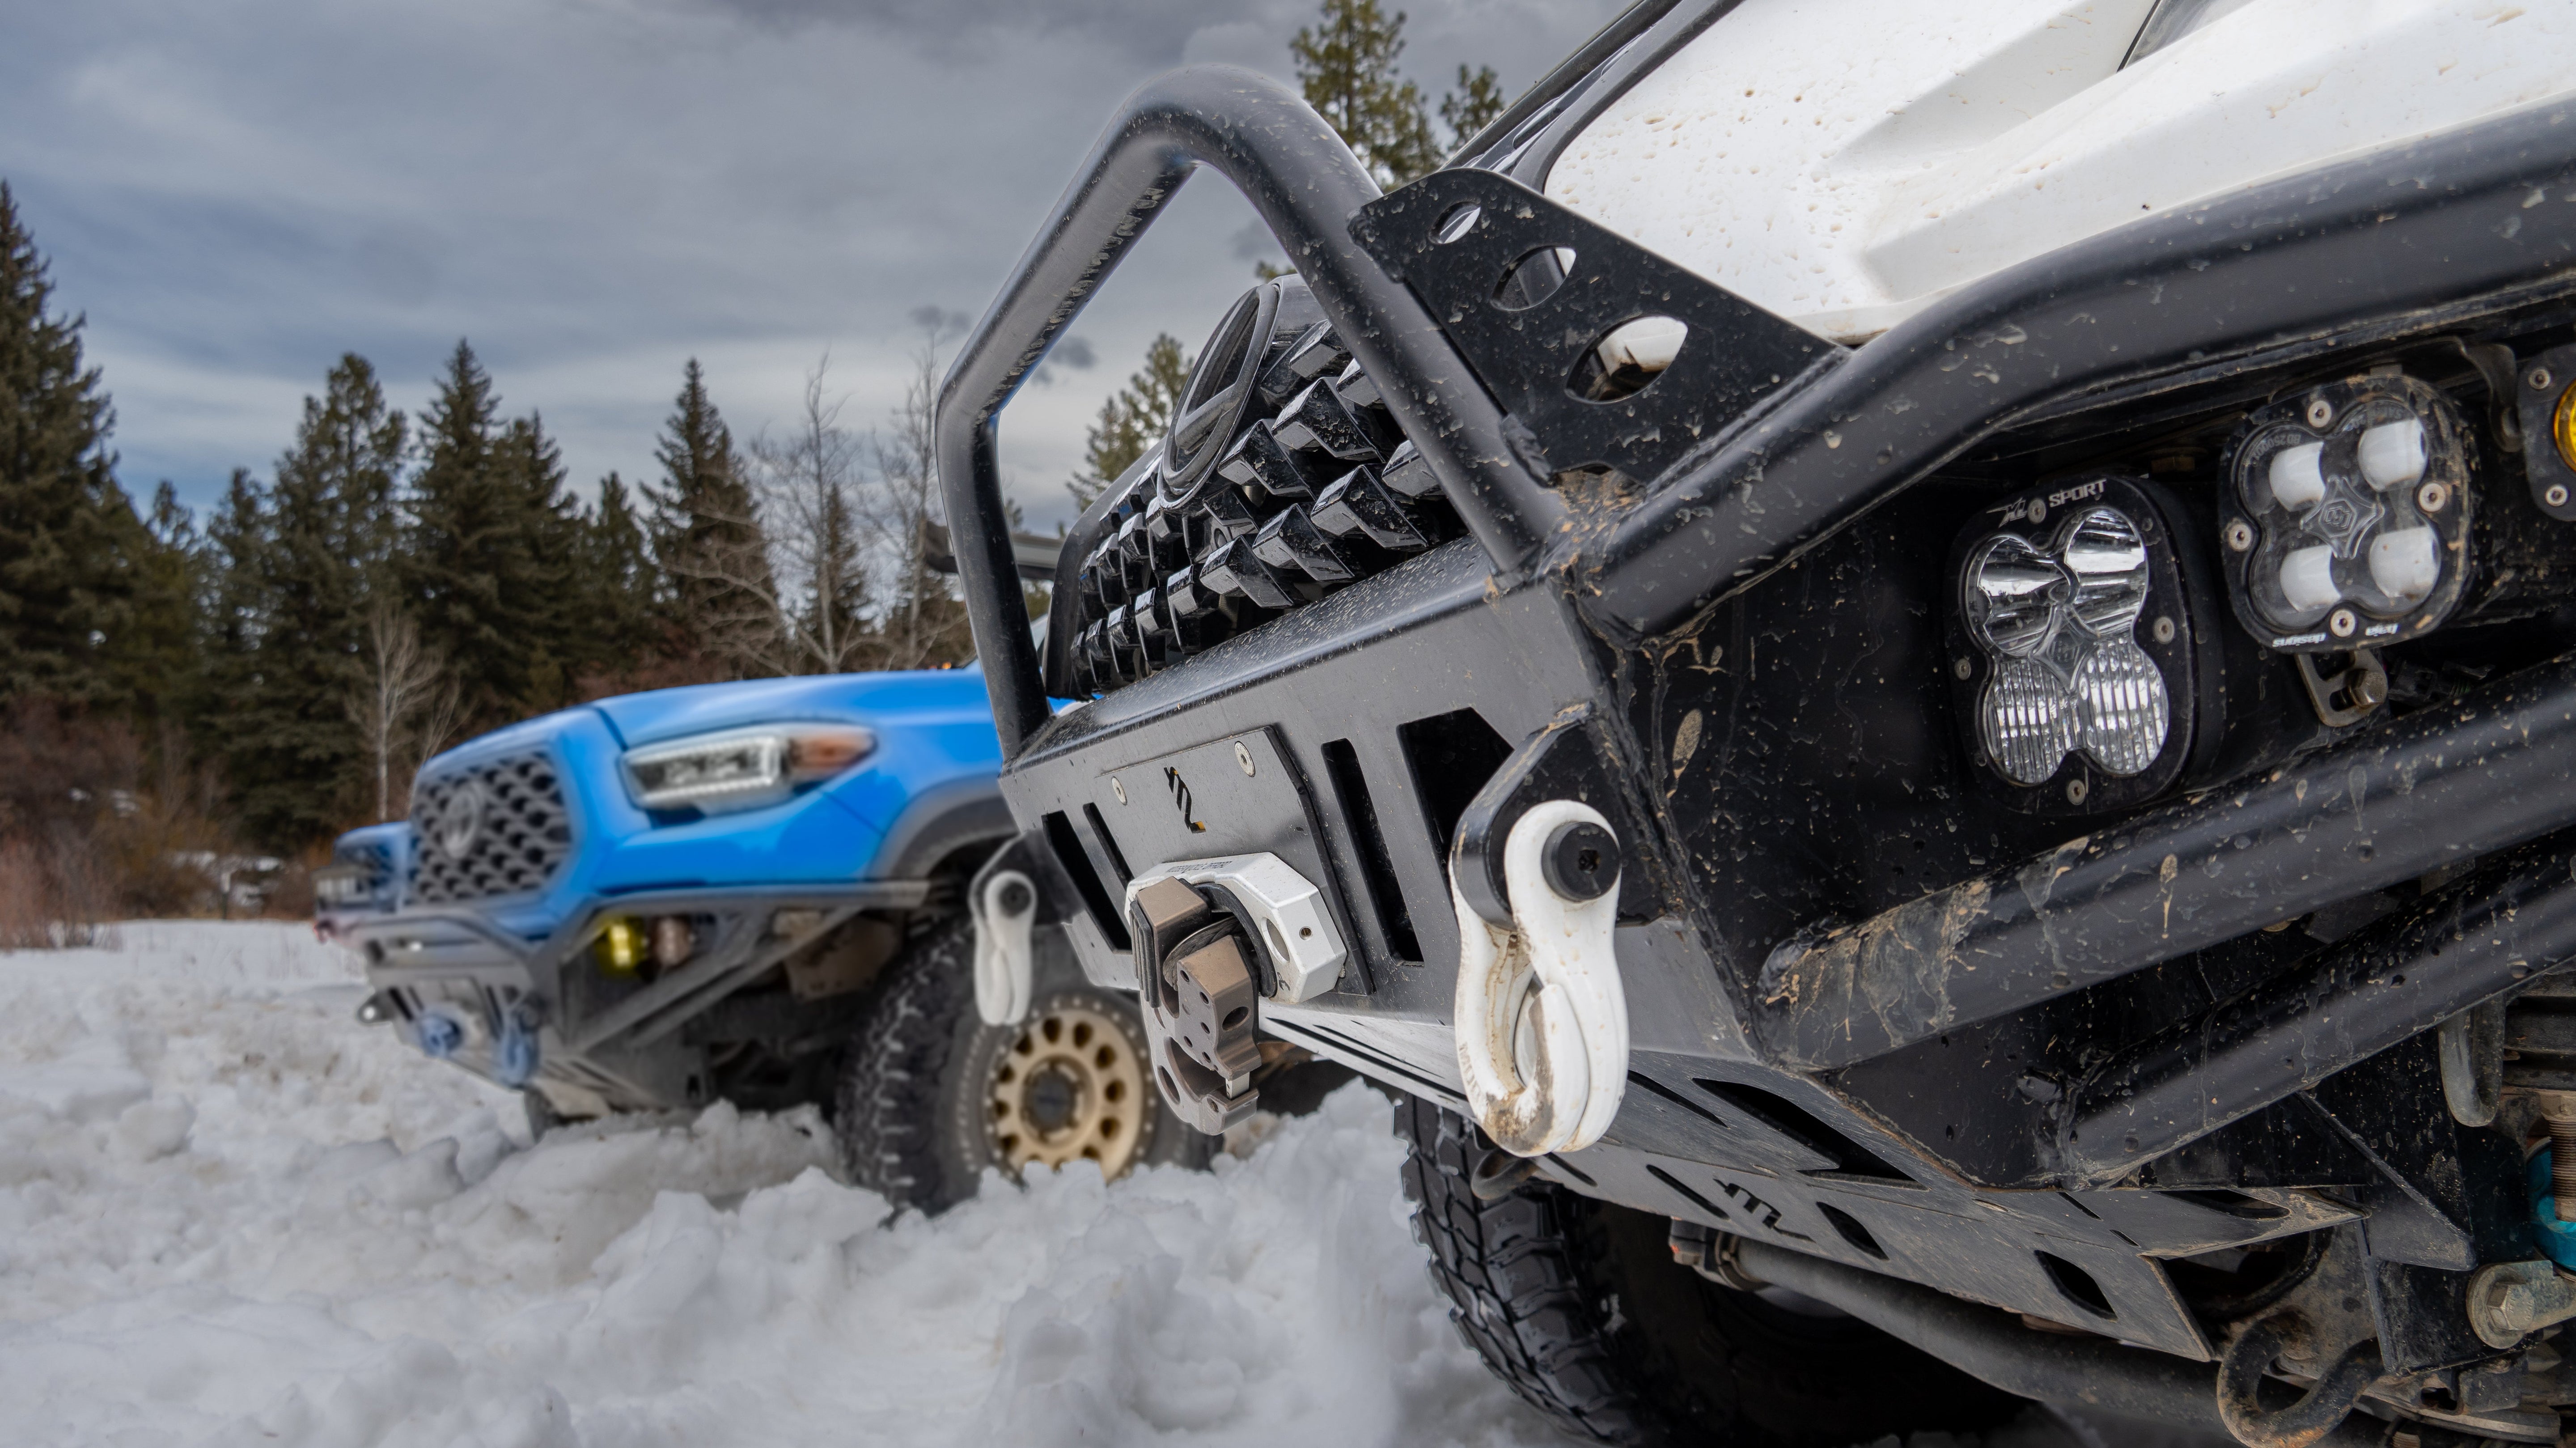
Material Choices: Steel vs Aluminum
Material choice determines protection, weight, corrosion resistance, and price. Steel offers maximum impact resistance and easier repair after damage, while aluminum saves weight and resists rust. Each material aligns with a different use case.
-
Steel: best for heavy-duty protection, winching, and rock work.
-
Aluminum: better for weight-sensitive builds and overlanding.
-
Hybrid: steel mounting points with aluminum skins.
Pro Insight: A common approach is a steel front bumper for impact and recovery and an aluminum rear bumper to reduce rear axle load and retain payload capacity.
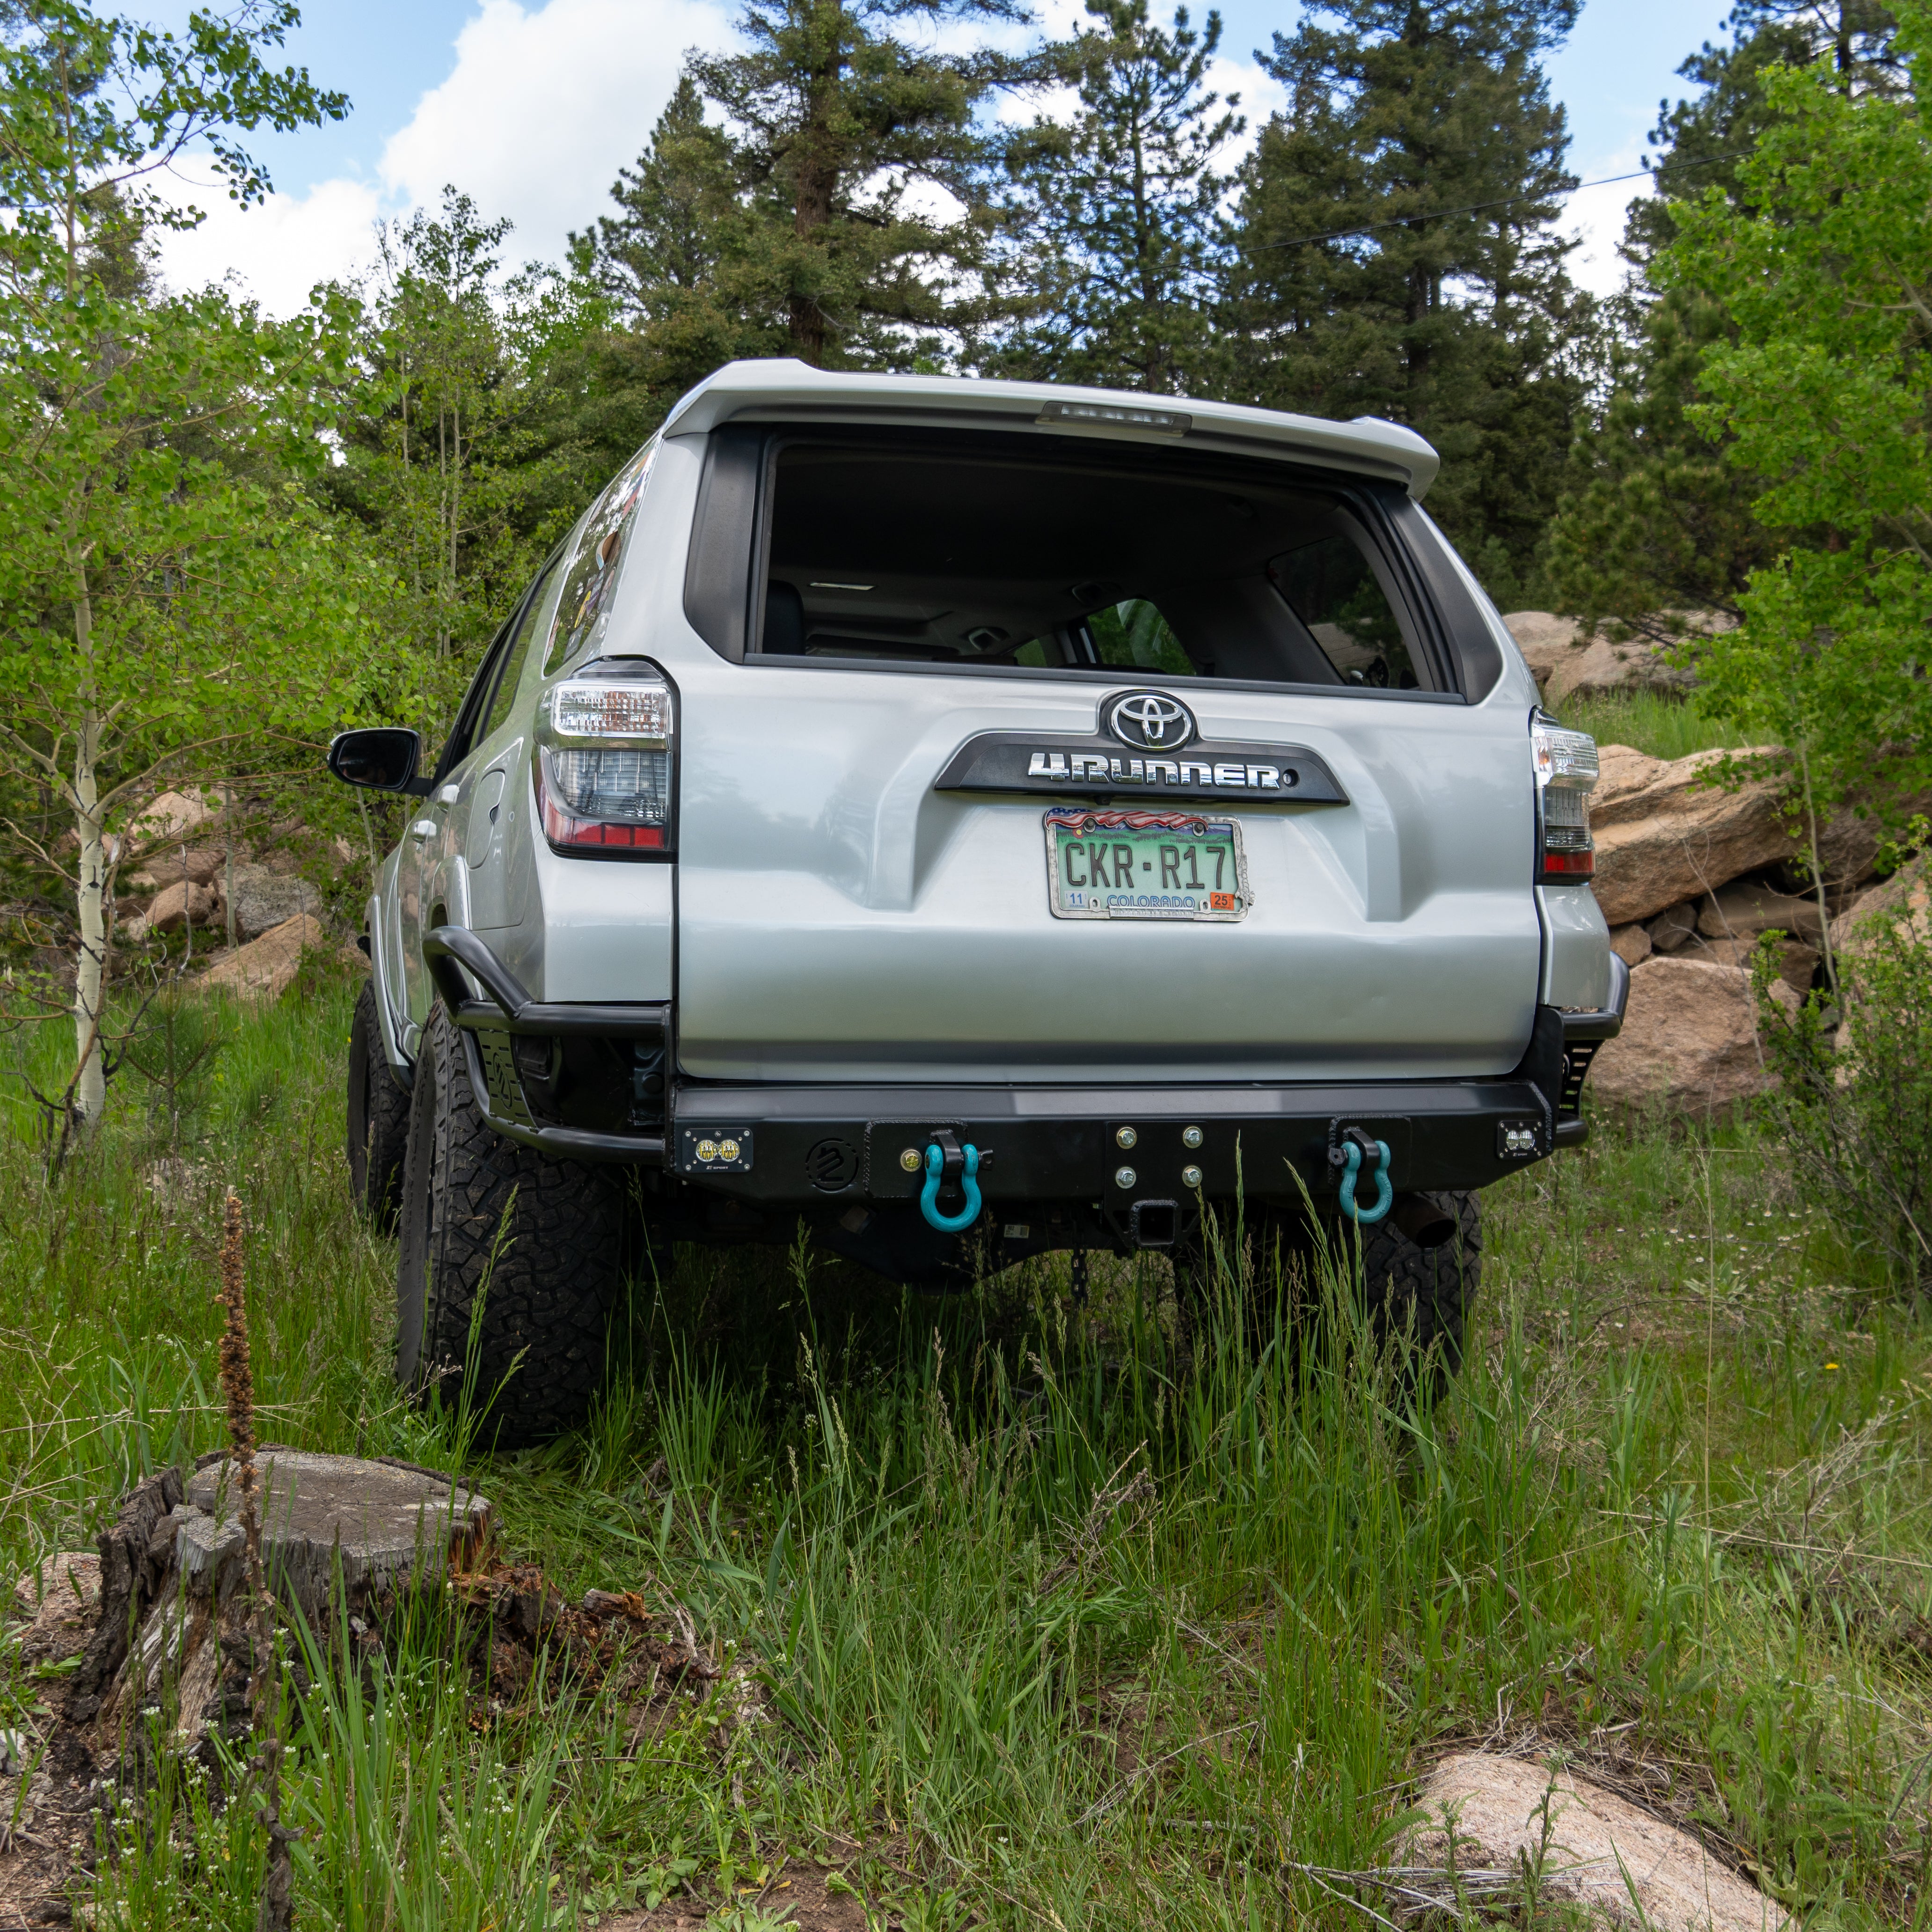
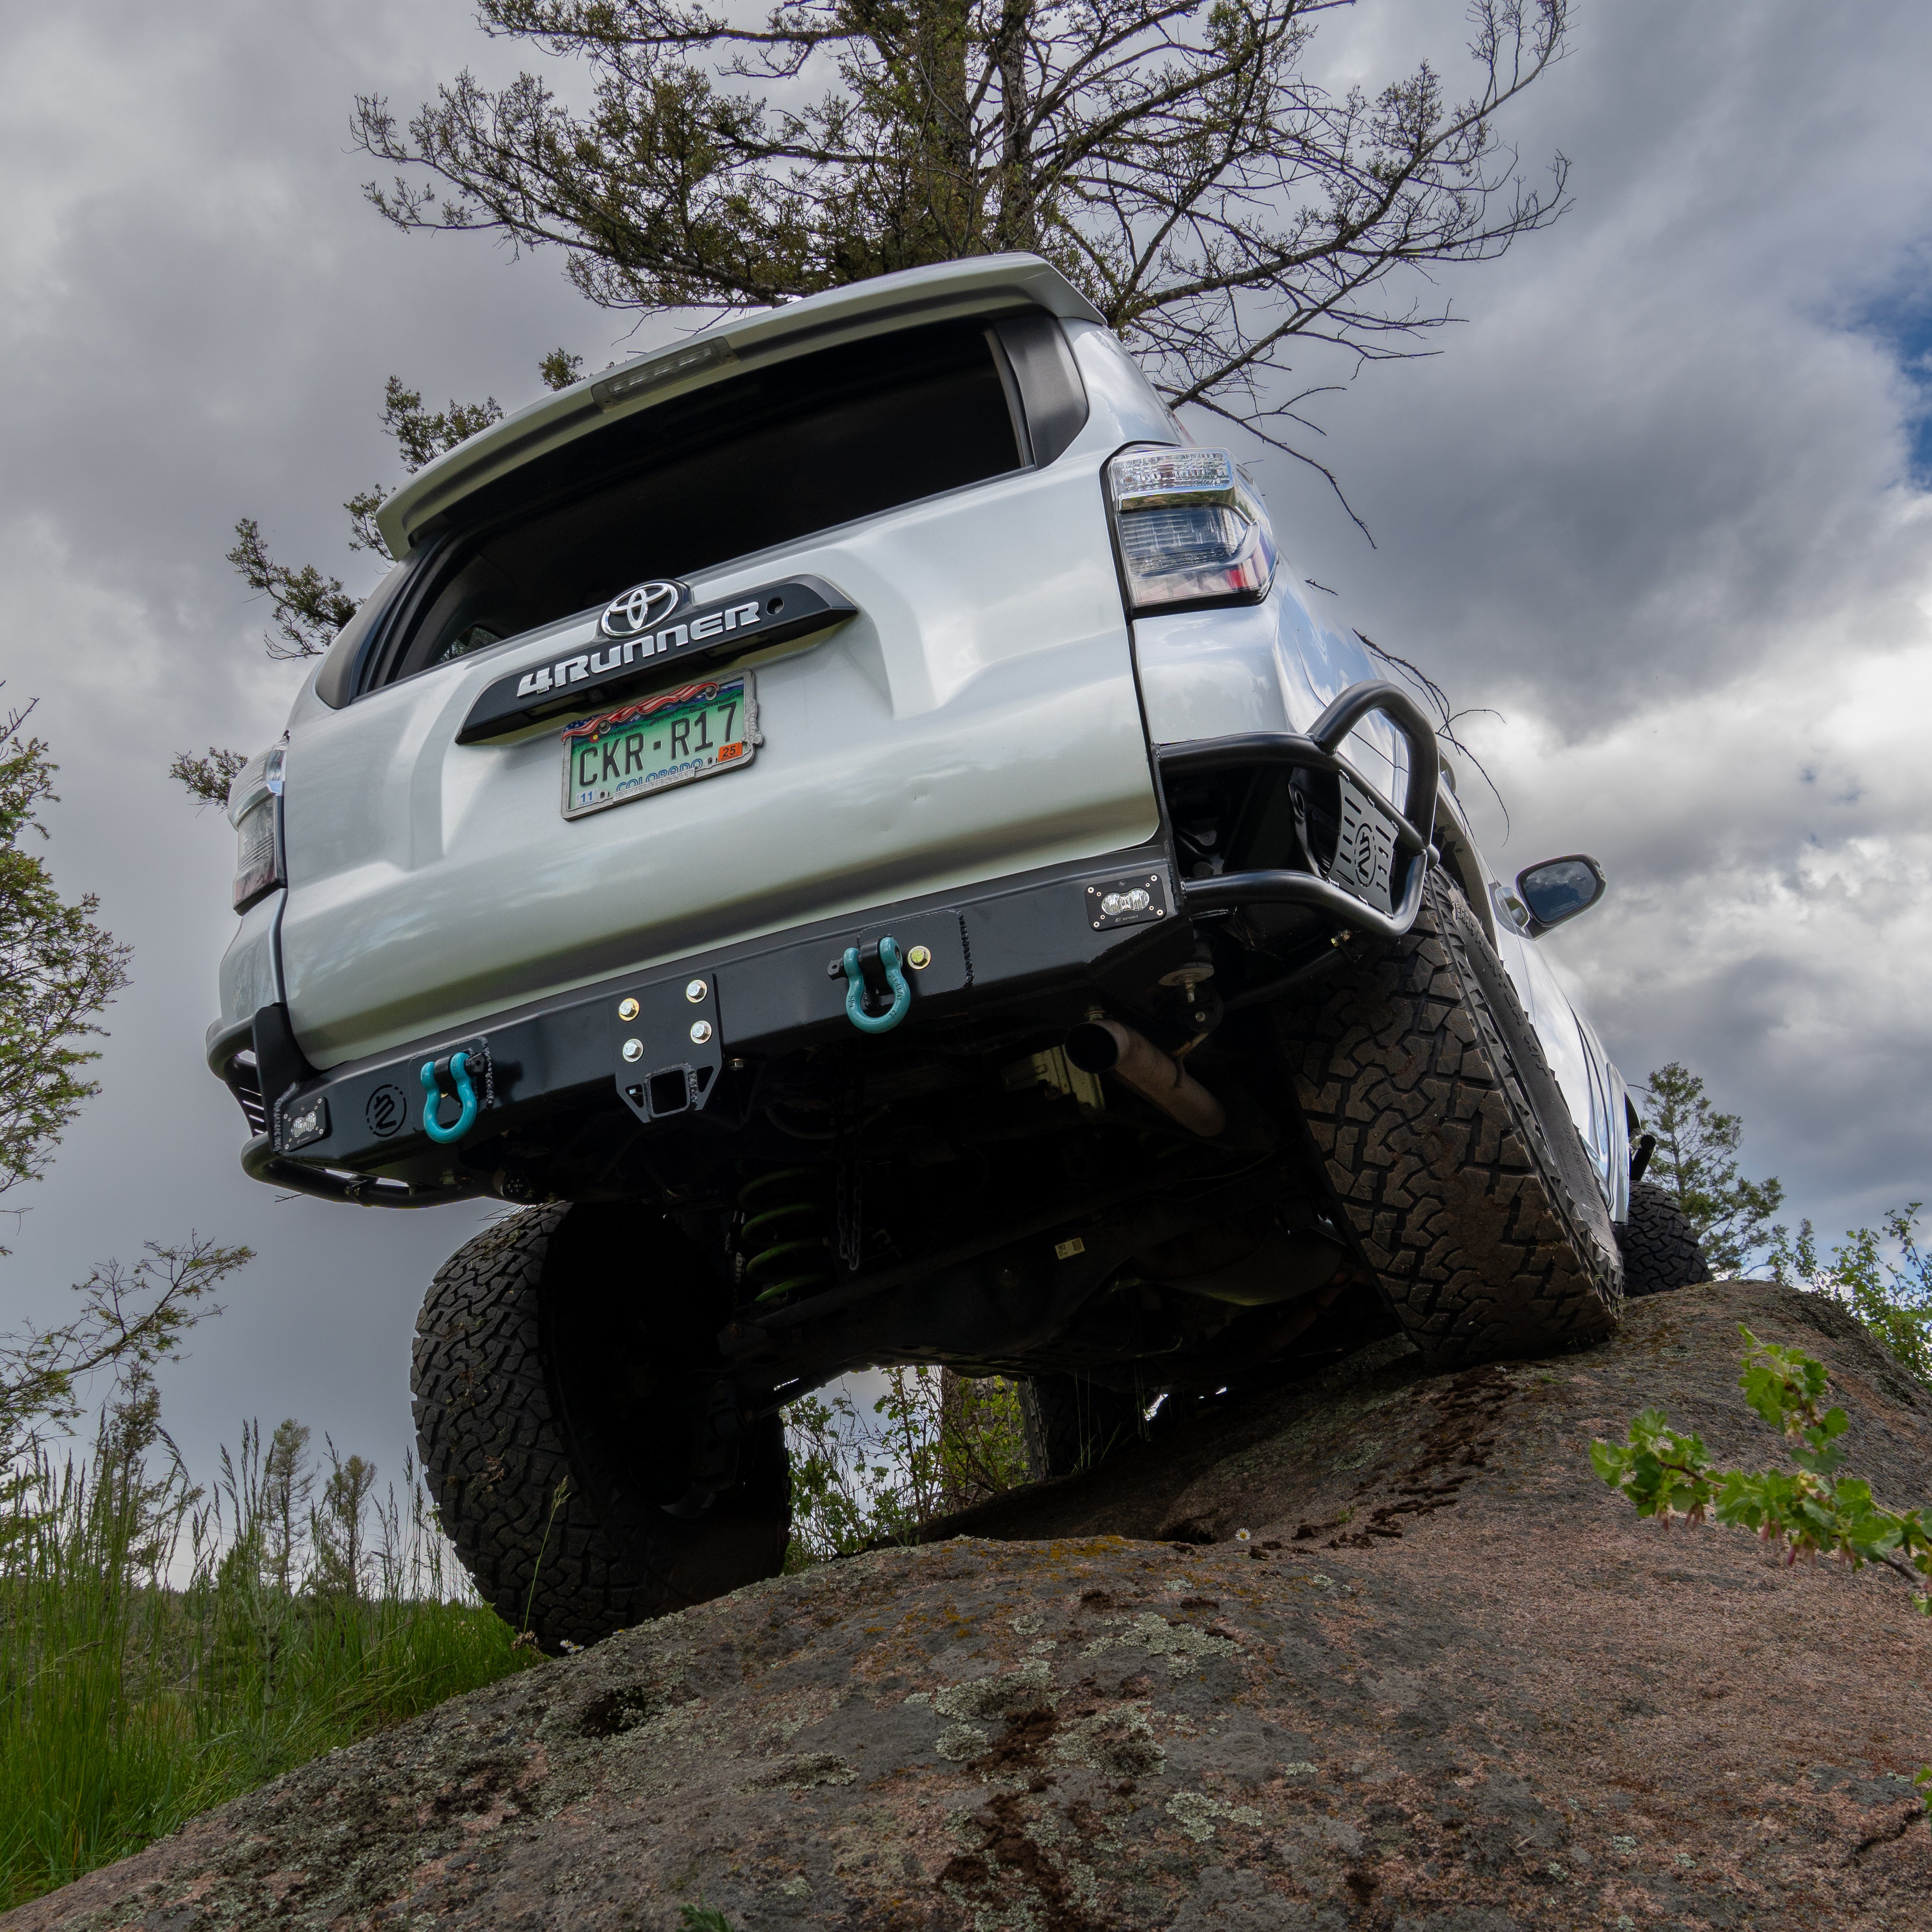
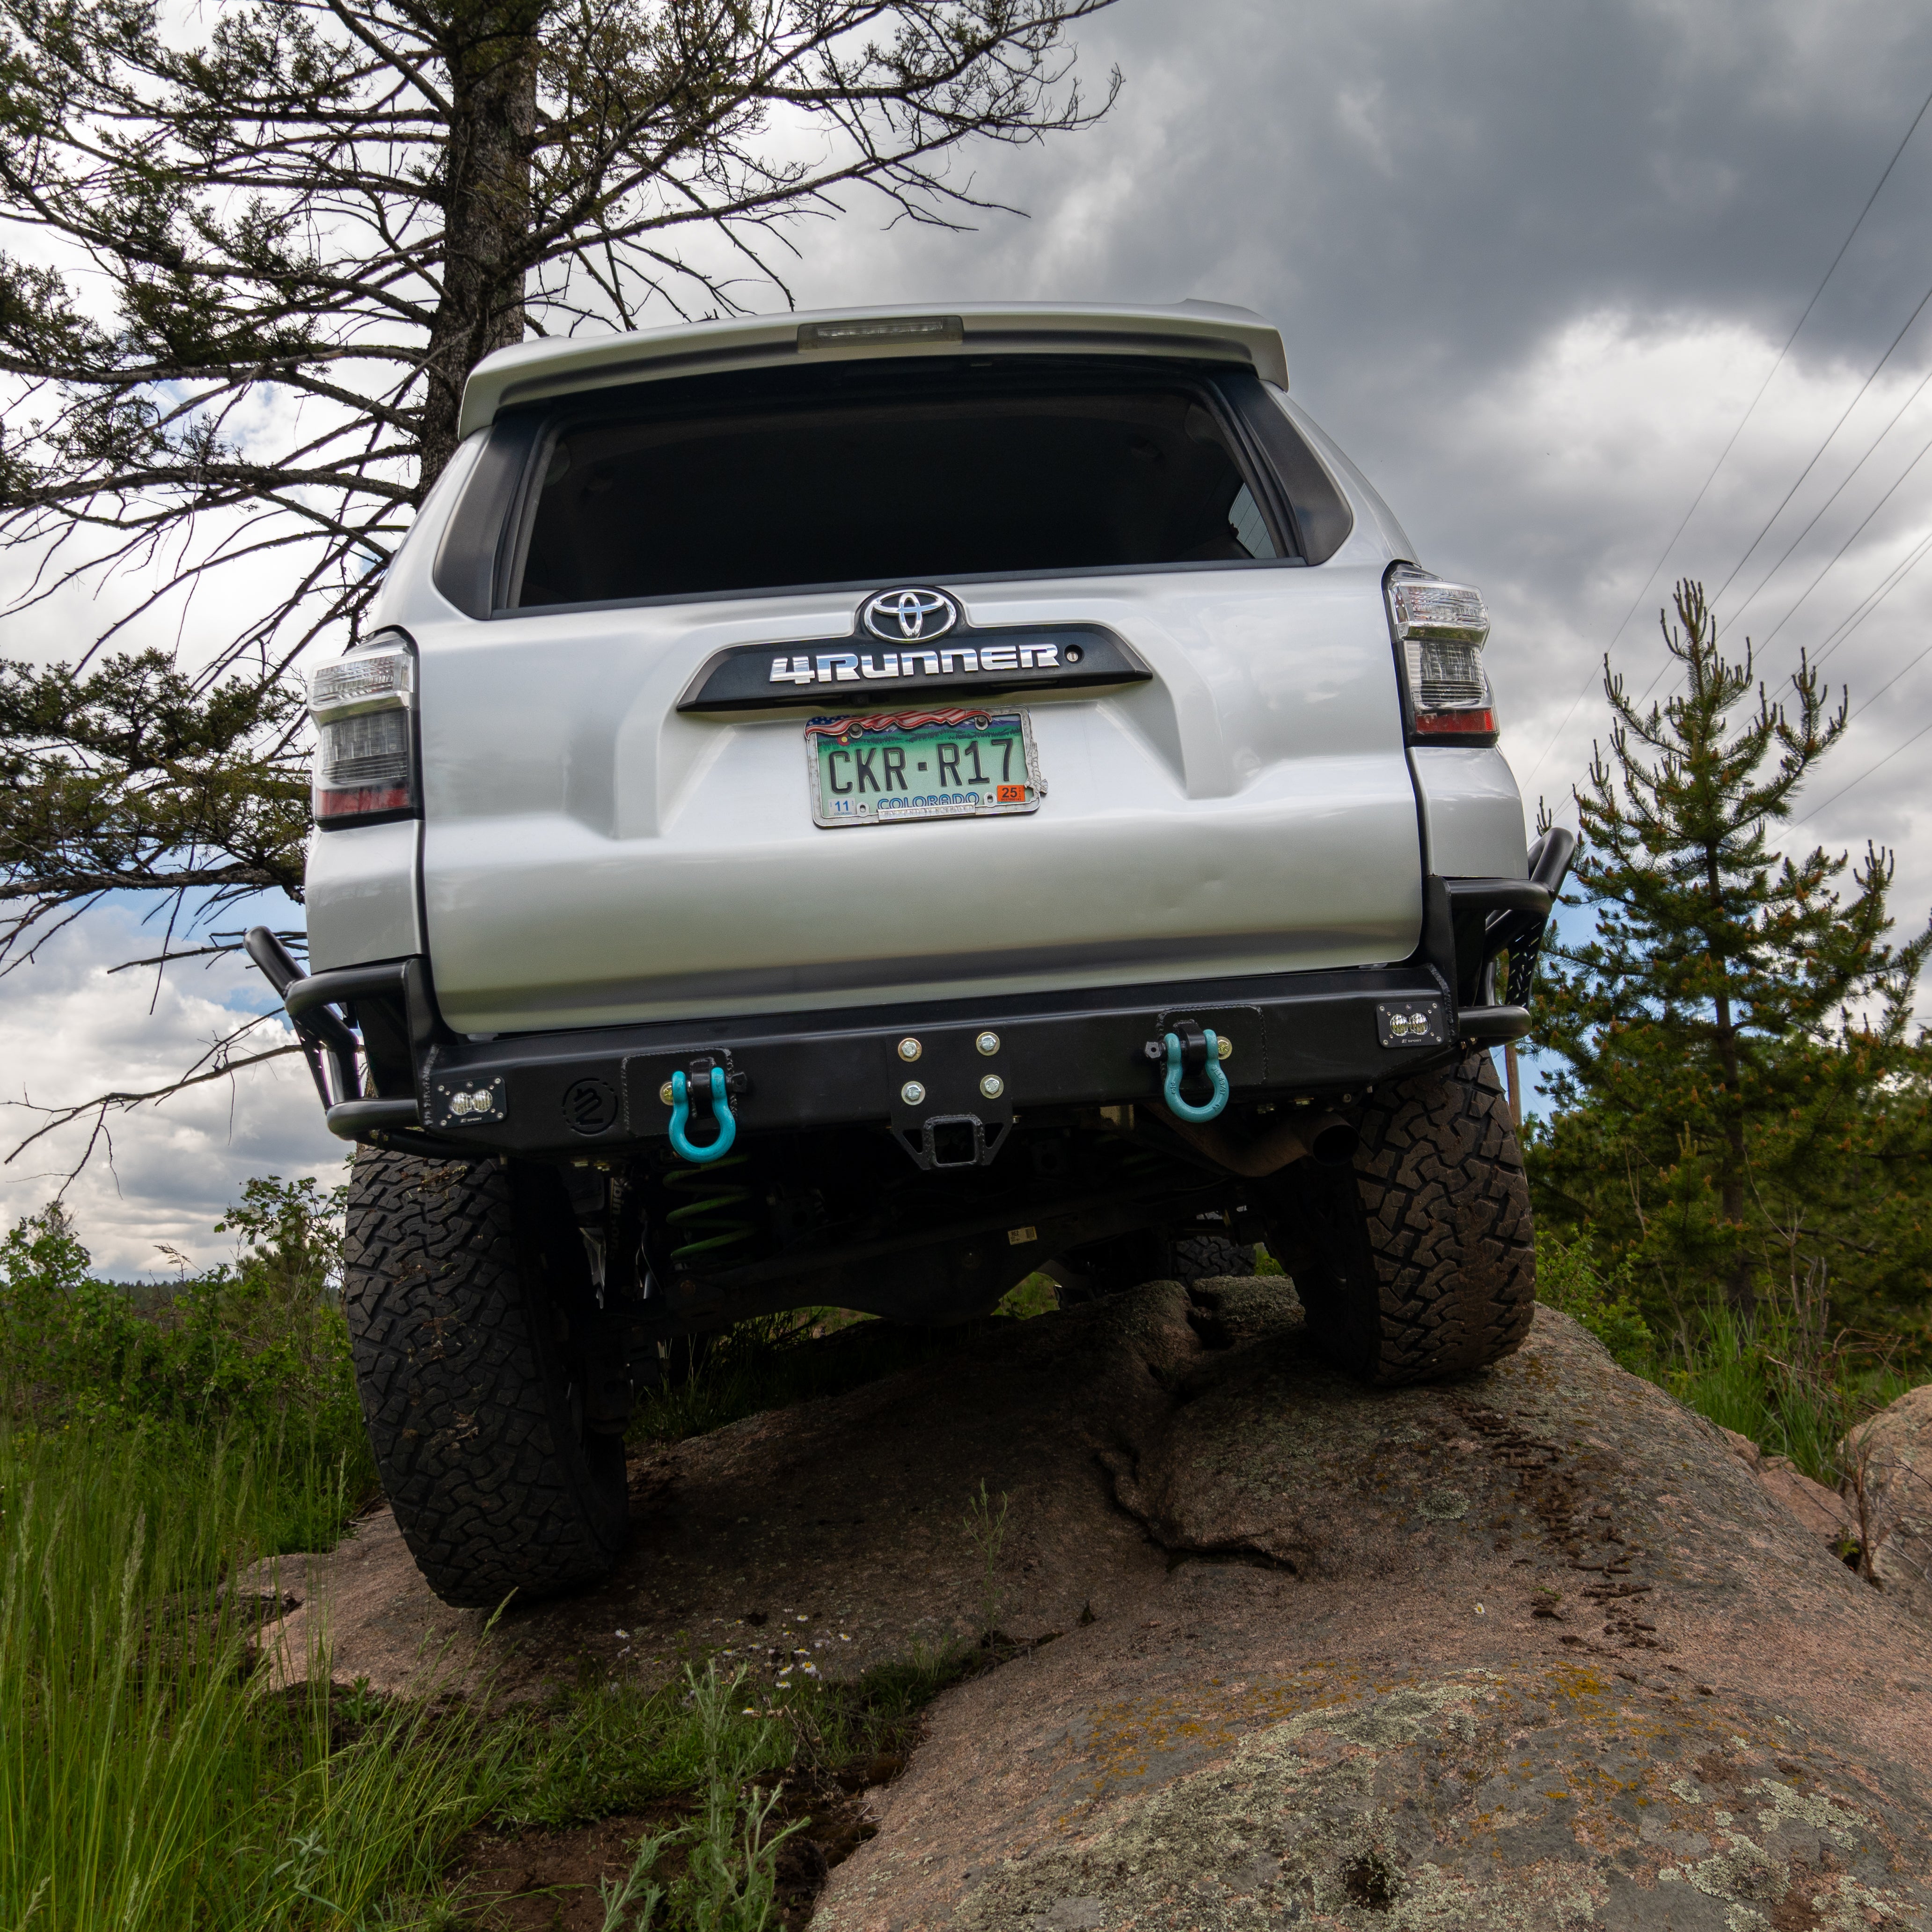
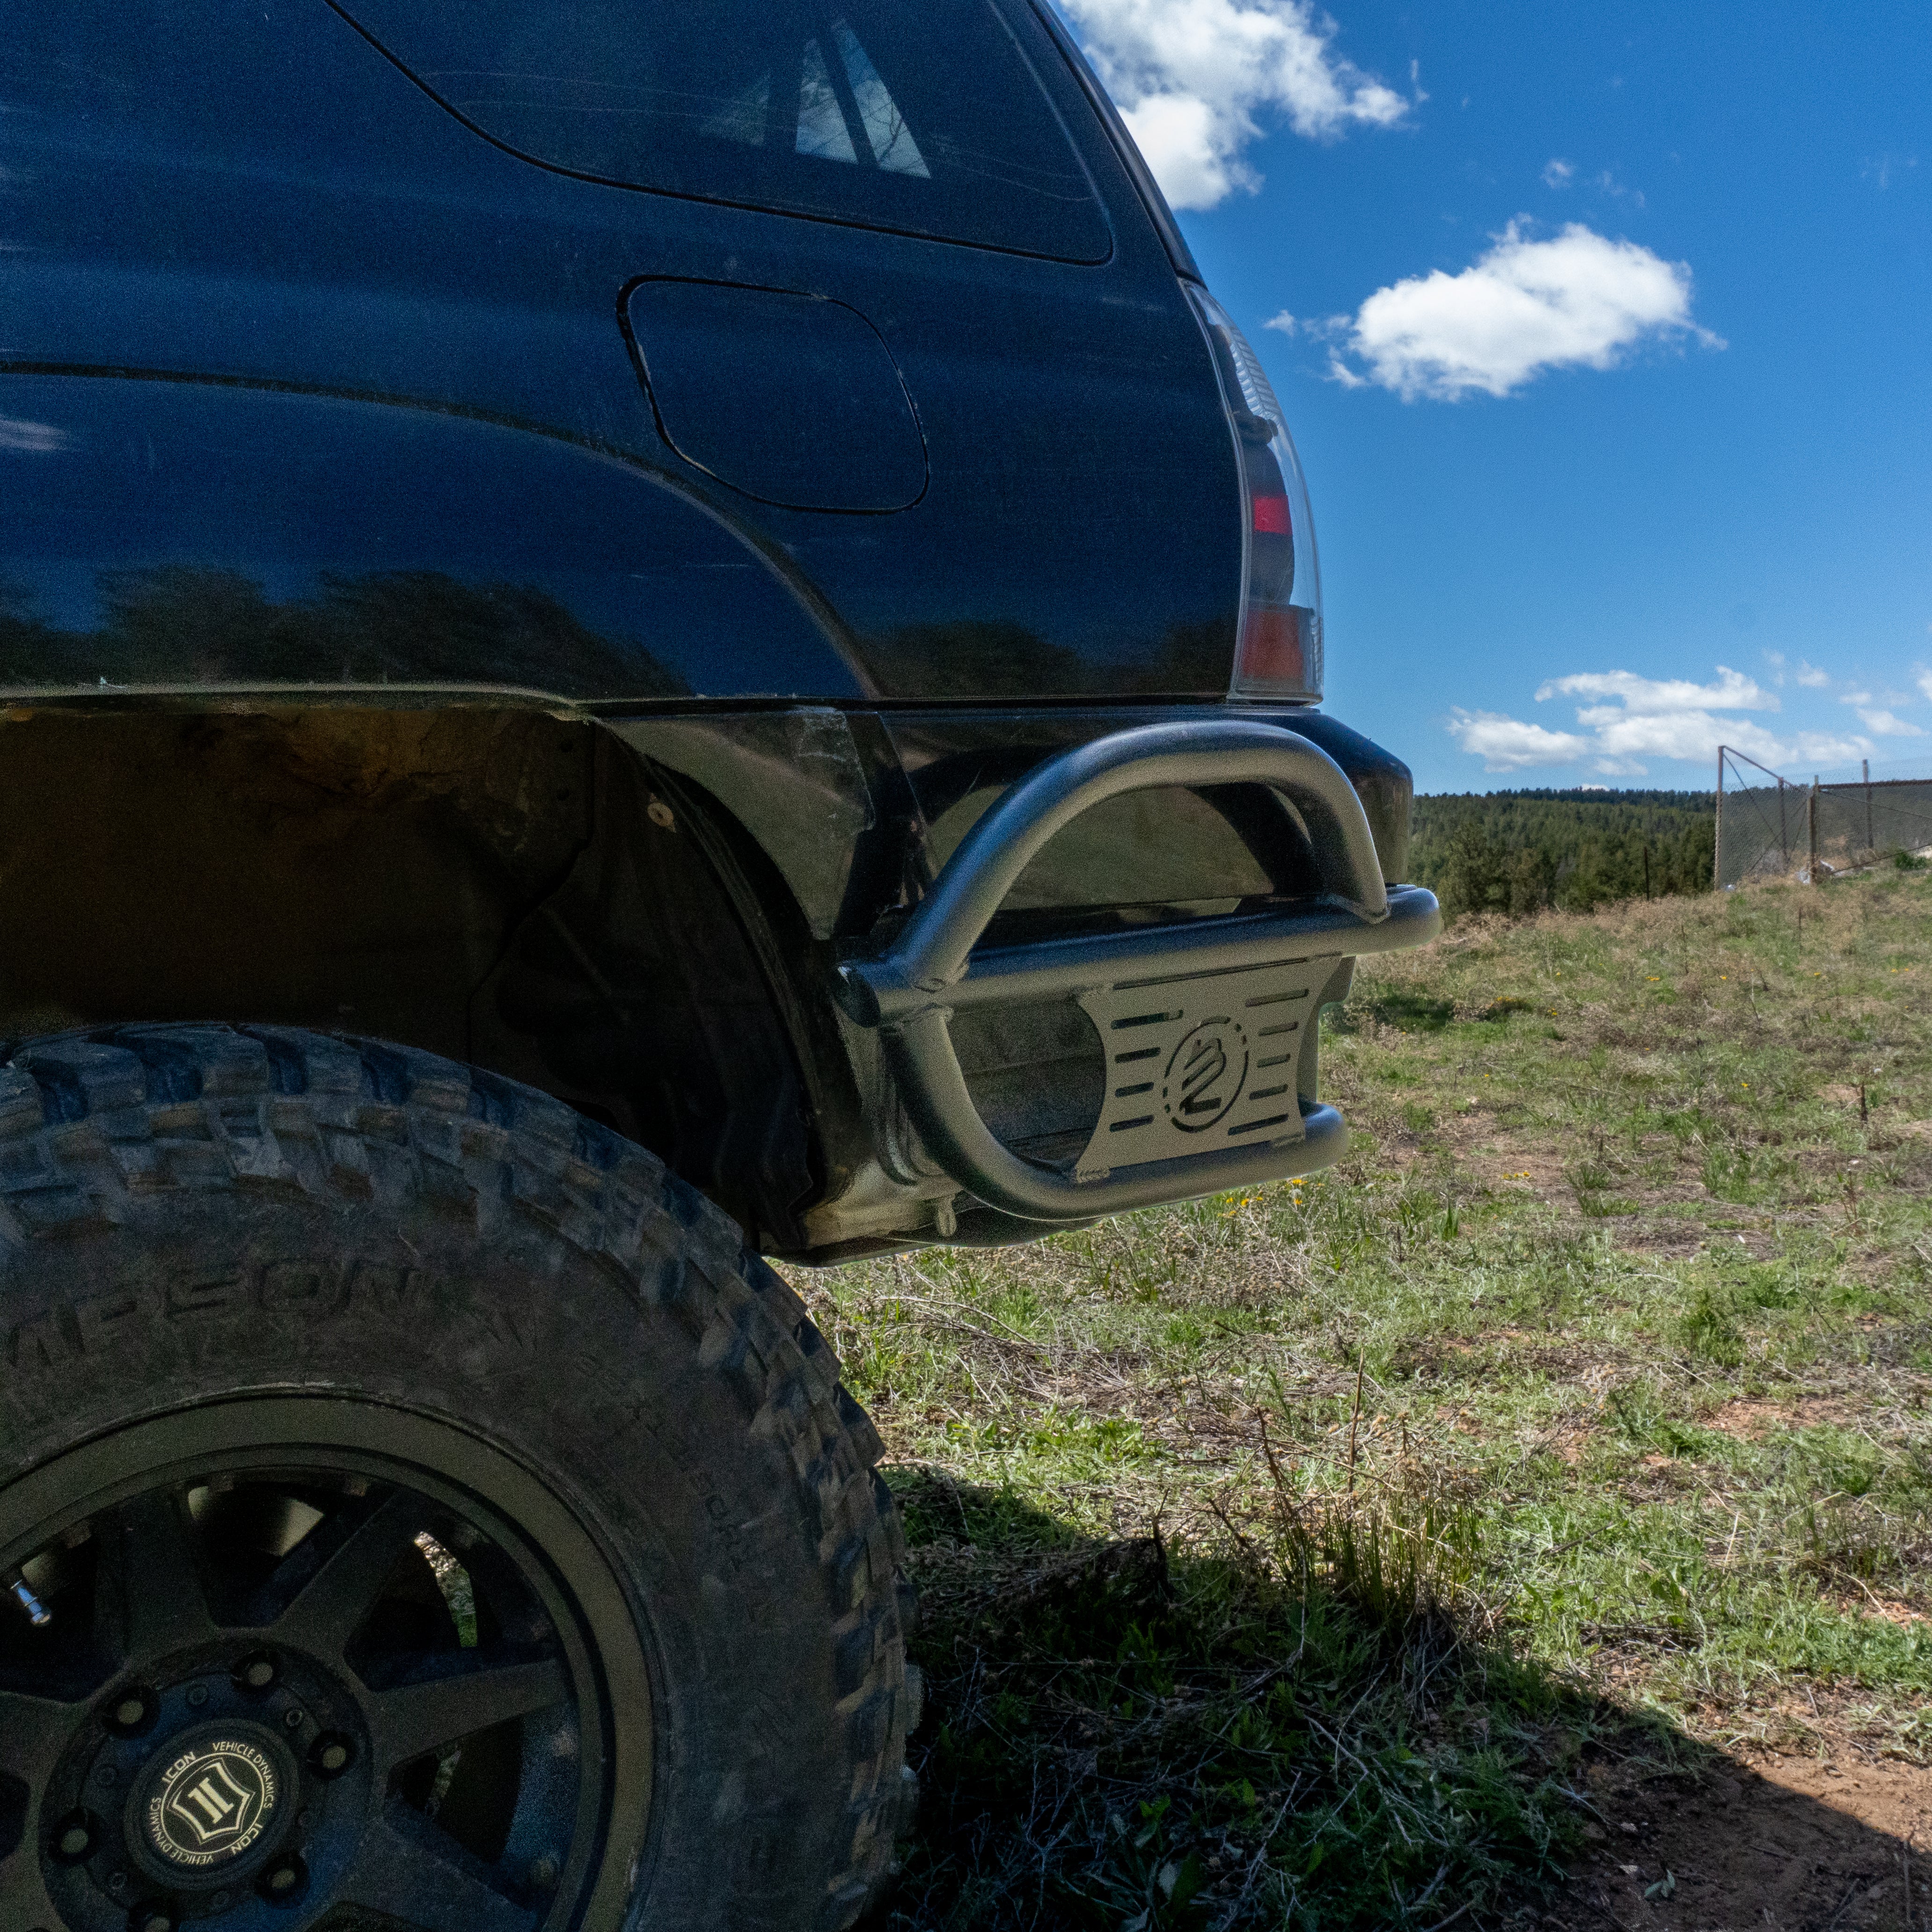
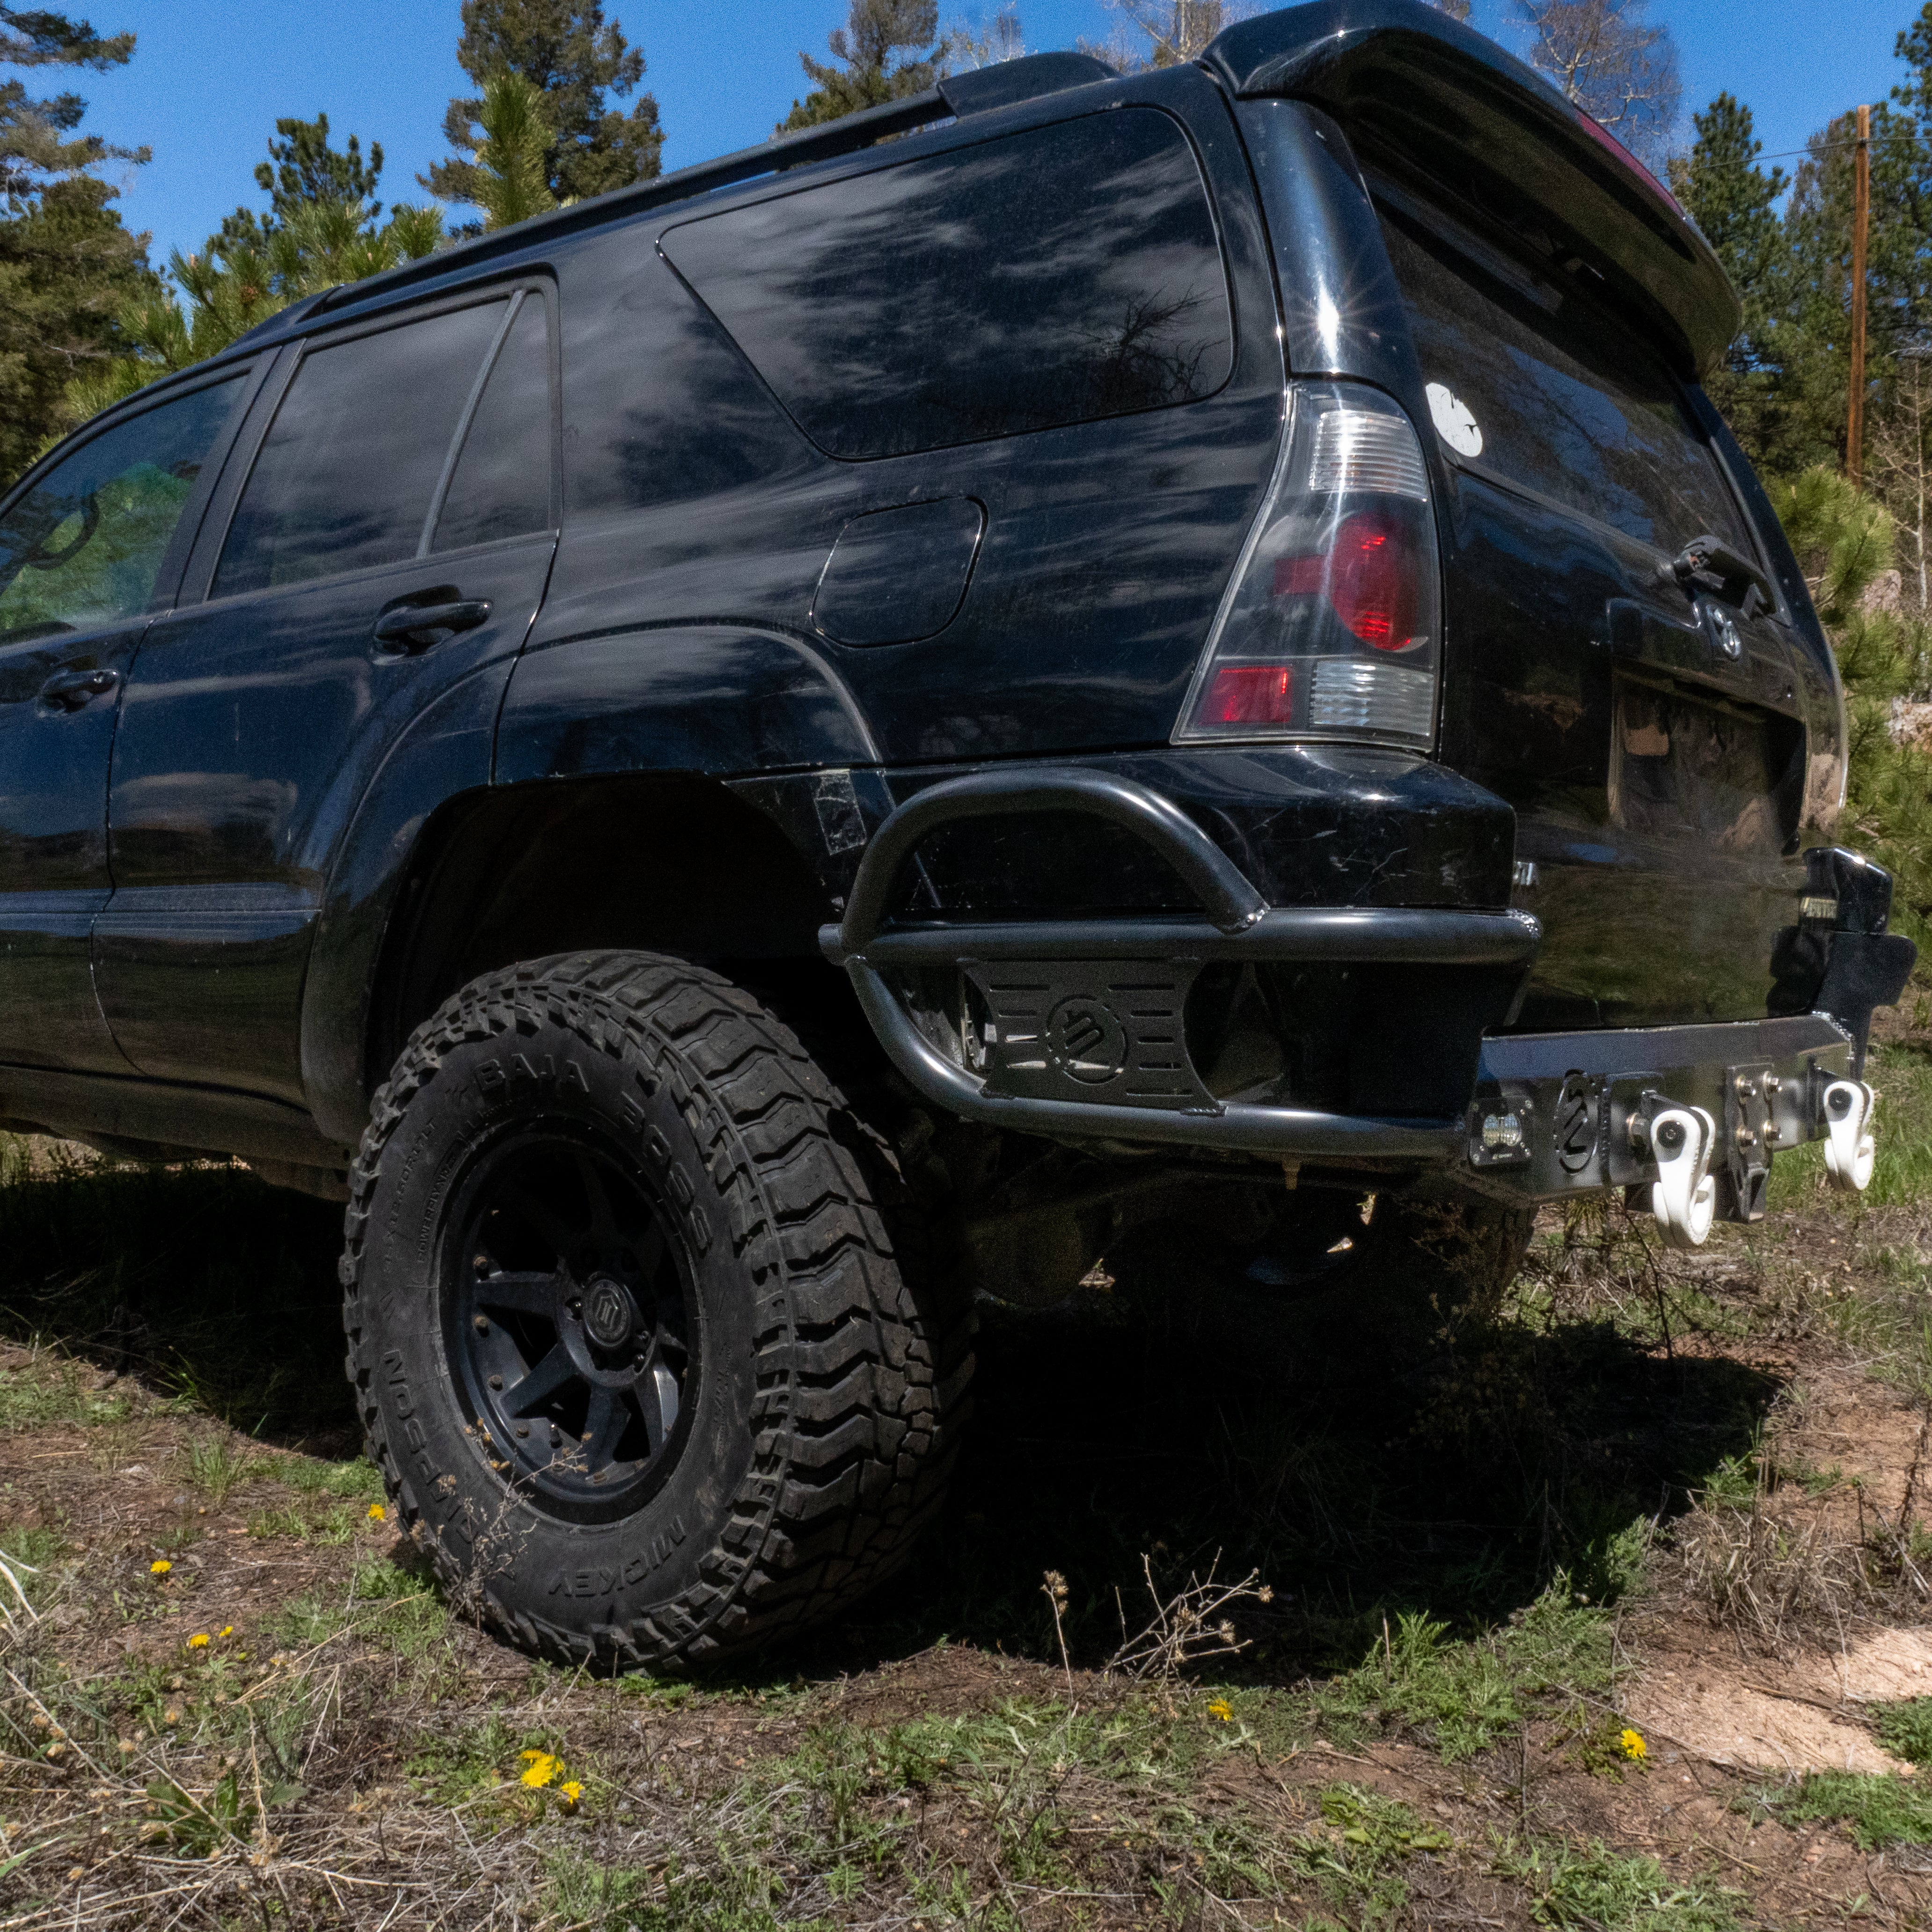
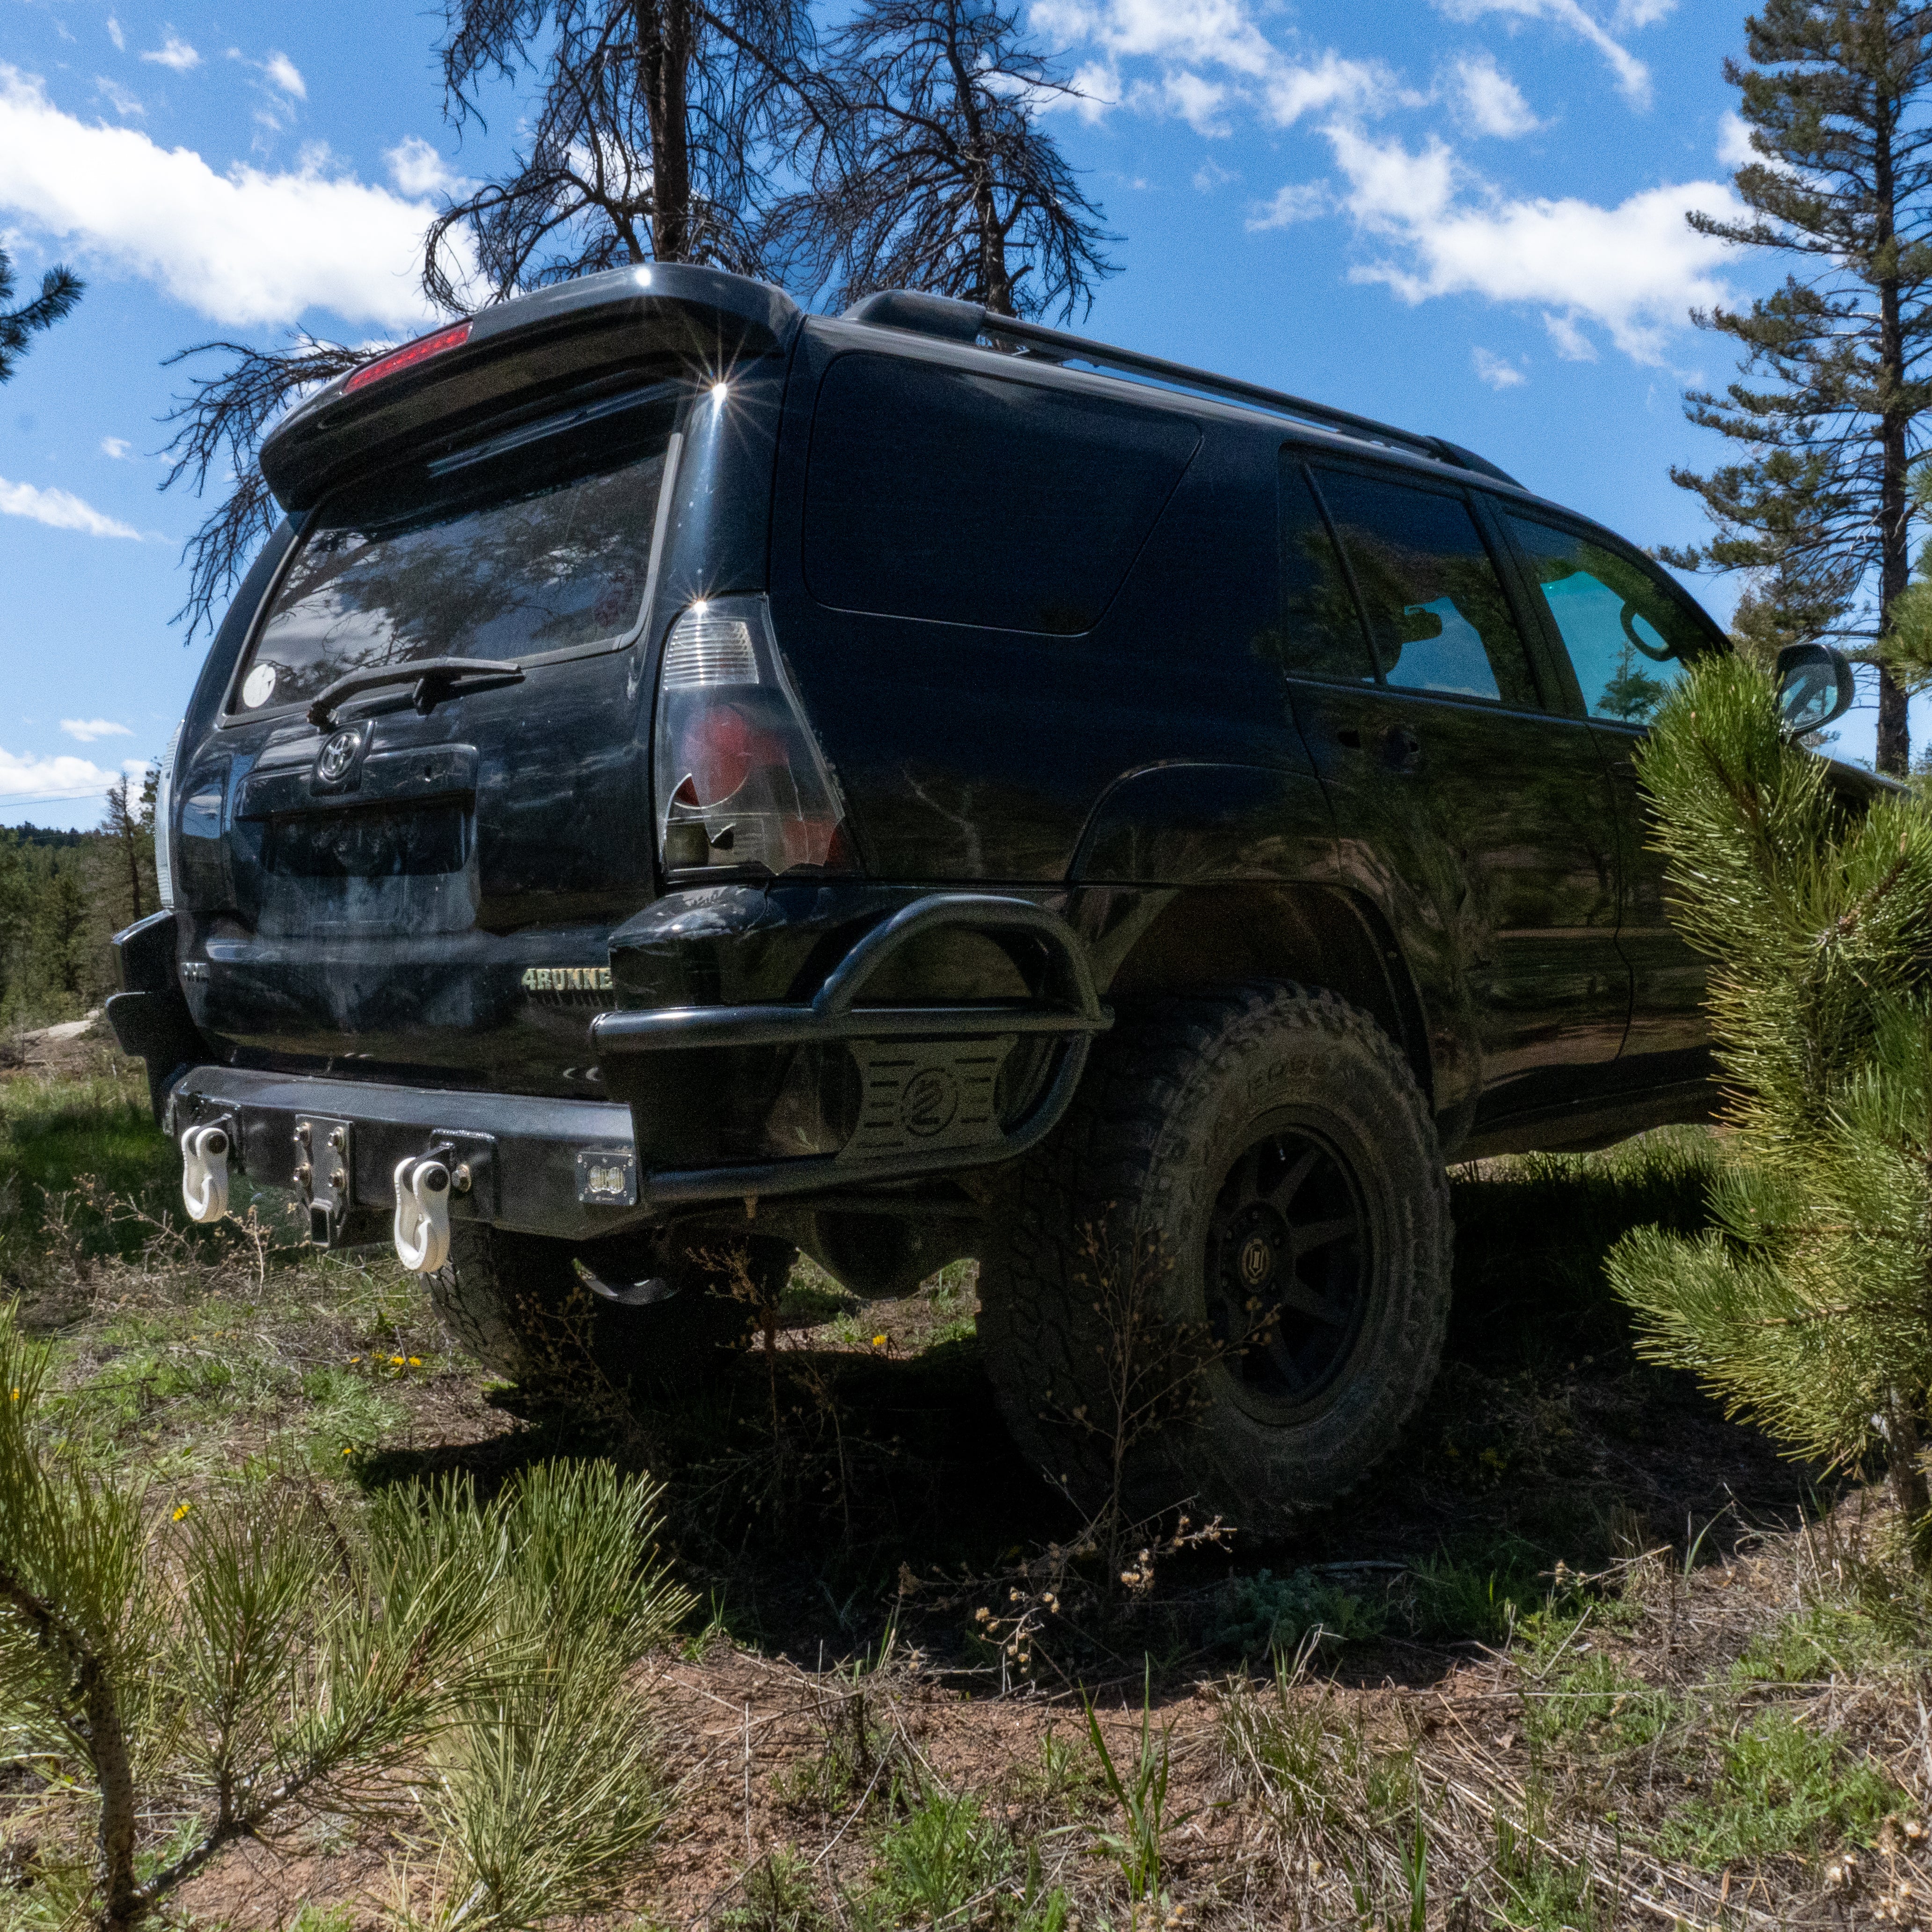
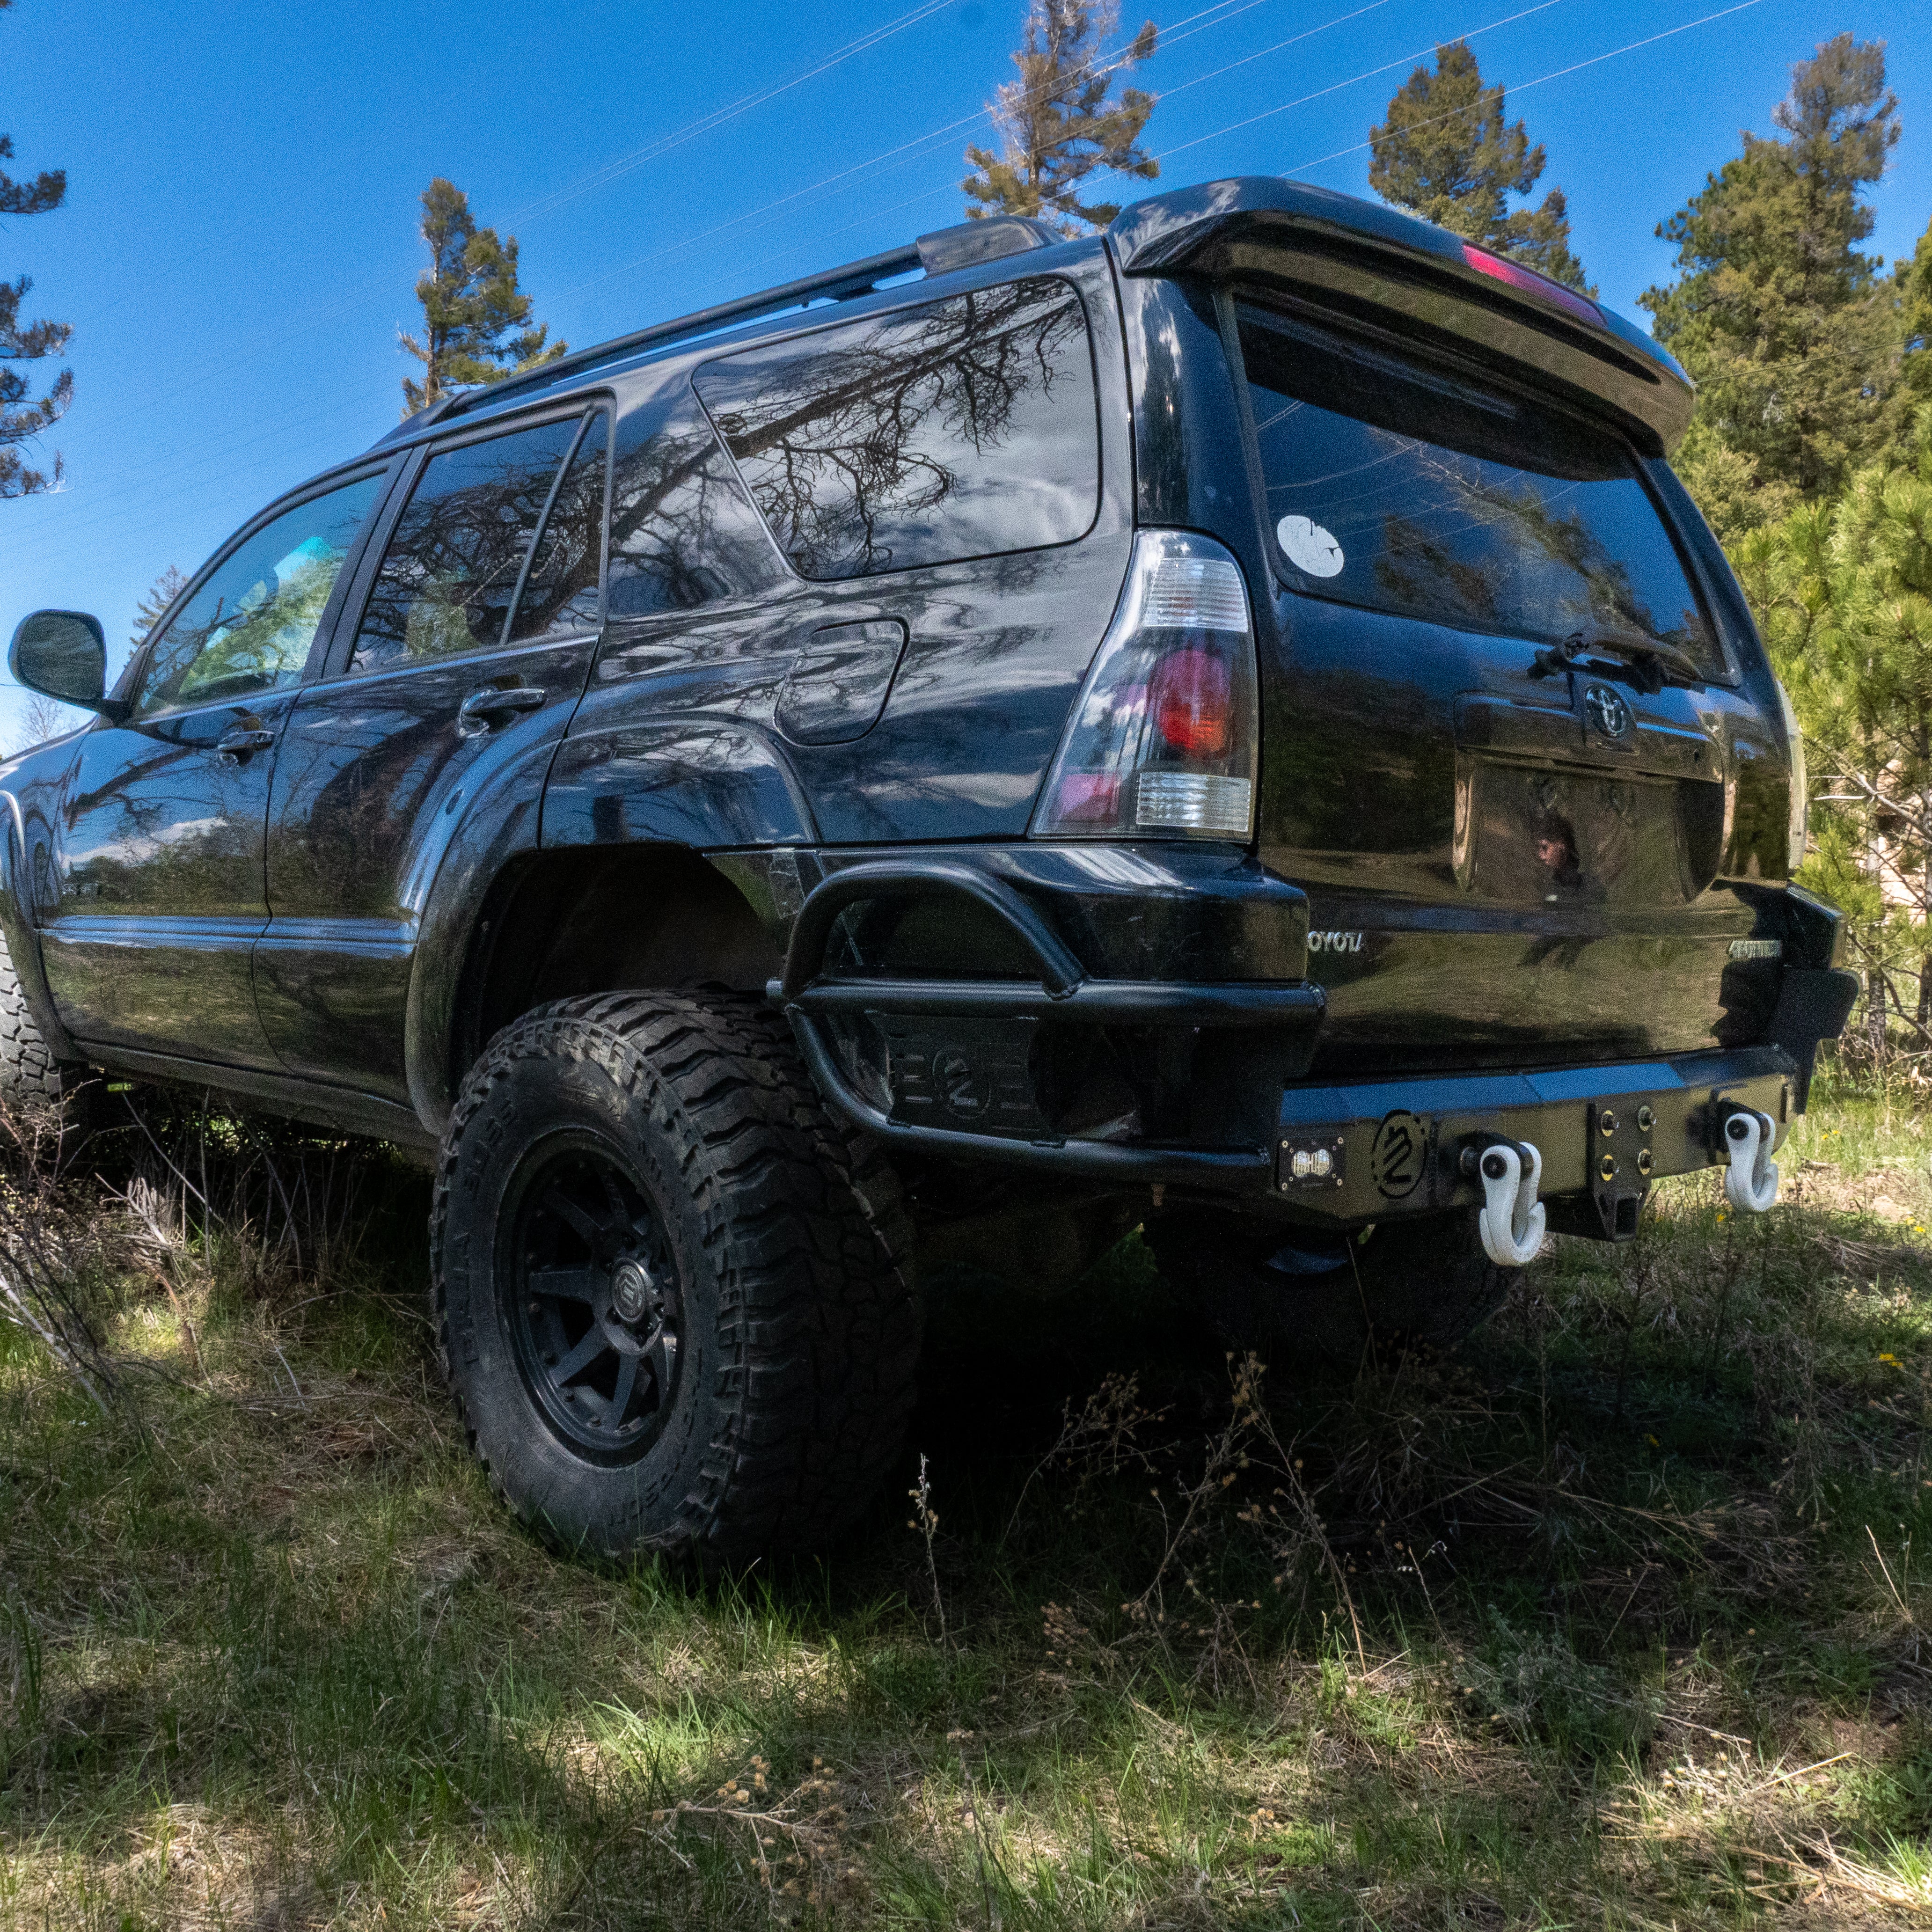
Front vs Rear: Purpose-Built Functions
Front and rear bumpers serve distinct roles. Front bumpers protect radiator and engine components, carry winches, and mount lights. Rear bumpers handle hitches, step access, and departure angles. Pick each bumper to match the primary risk it faces.
-
Front: winch-ready plates, high-clearance profiles, light mounts.
-
Rear: reinforced hitch mounts, step designs, swing-out options.
What to Ask Your Installer: Can the bumper be fitted without modifying frame mounts? Clarify whether cutting or drilling is required and if the shop offers reversible solutions.
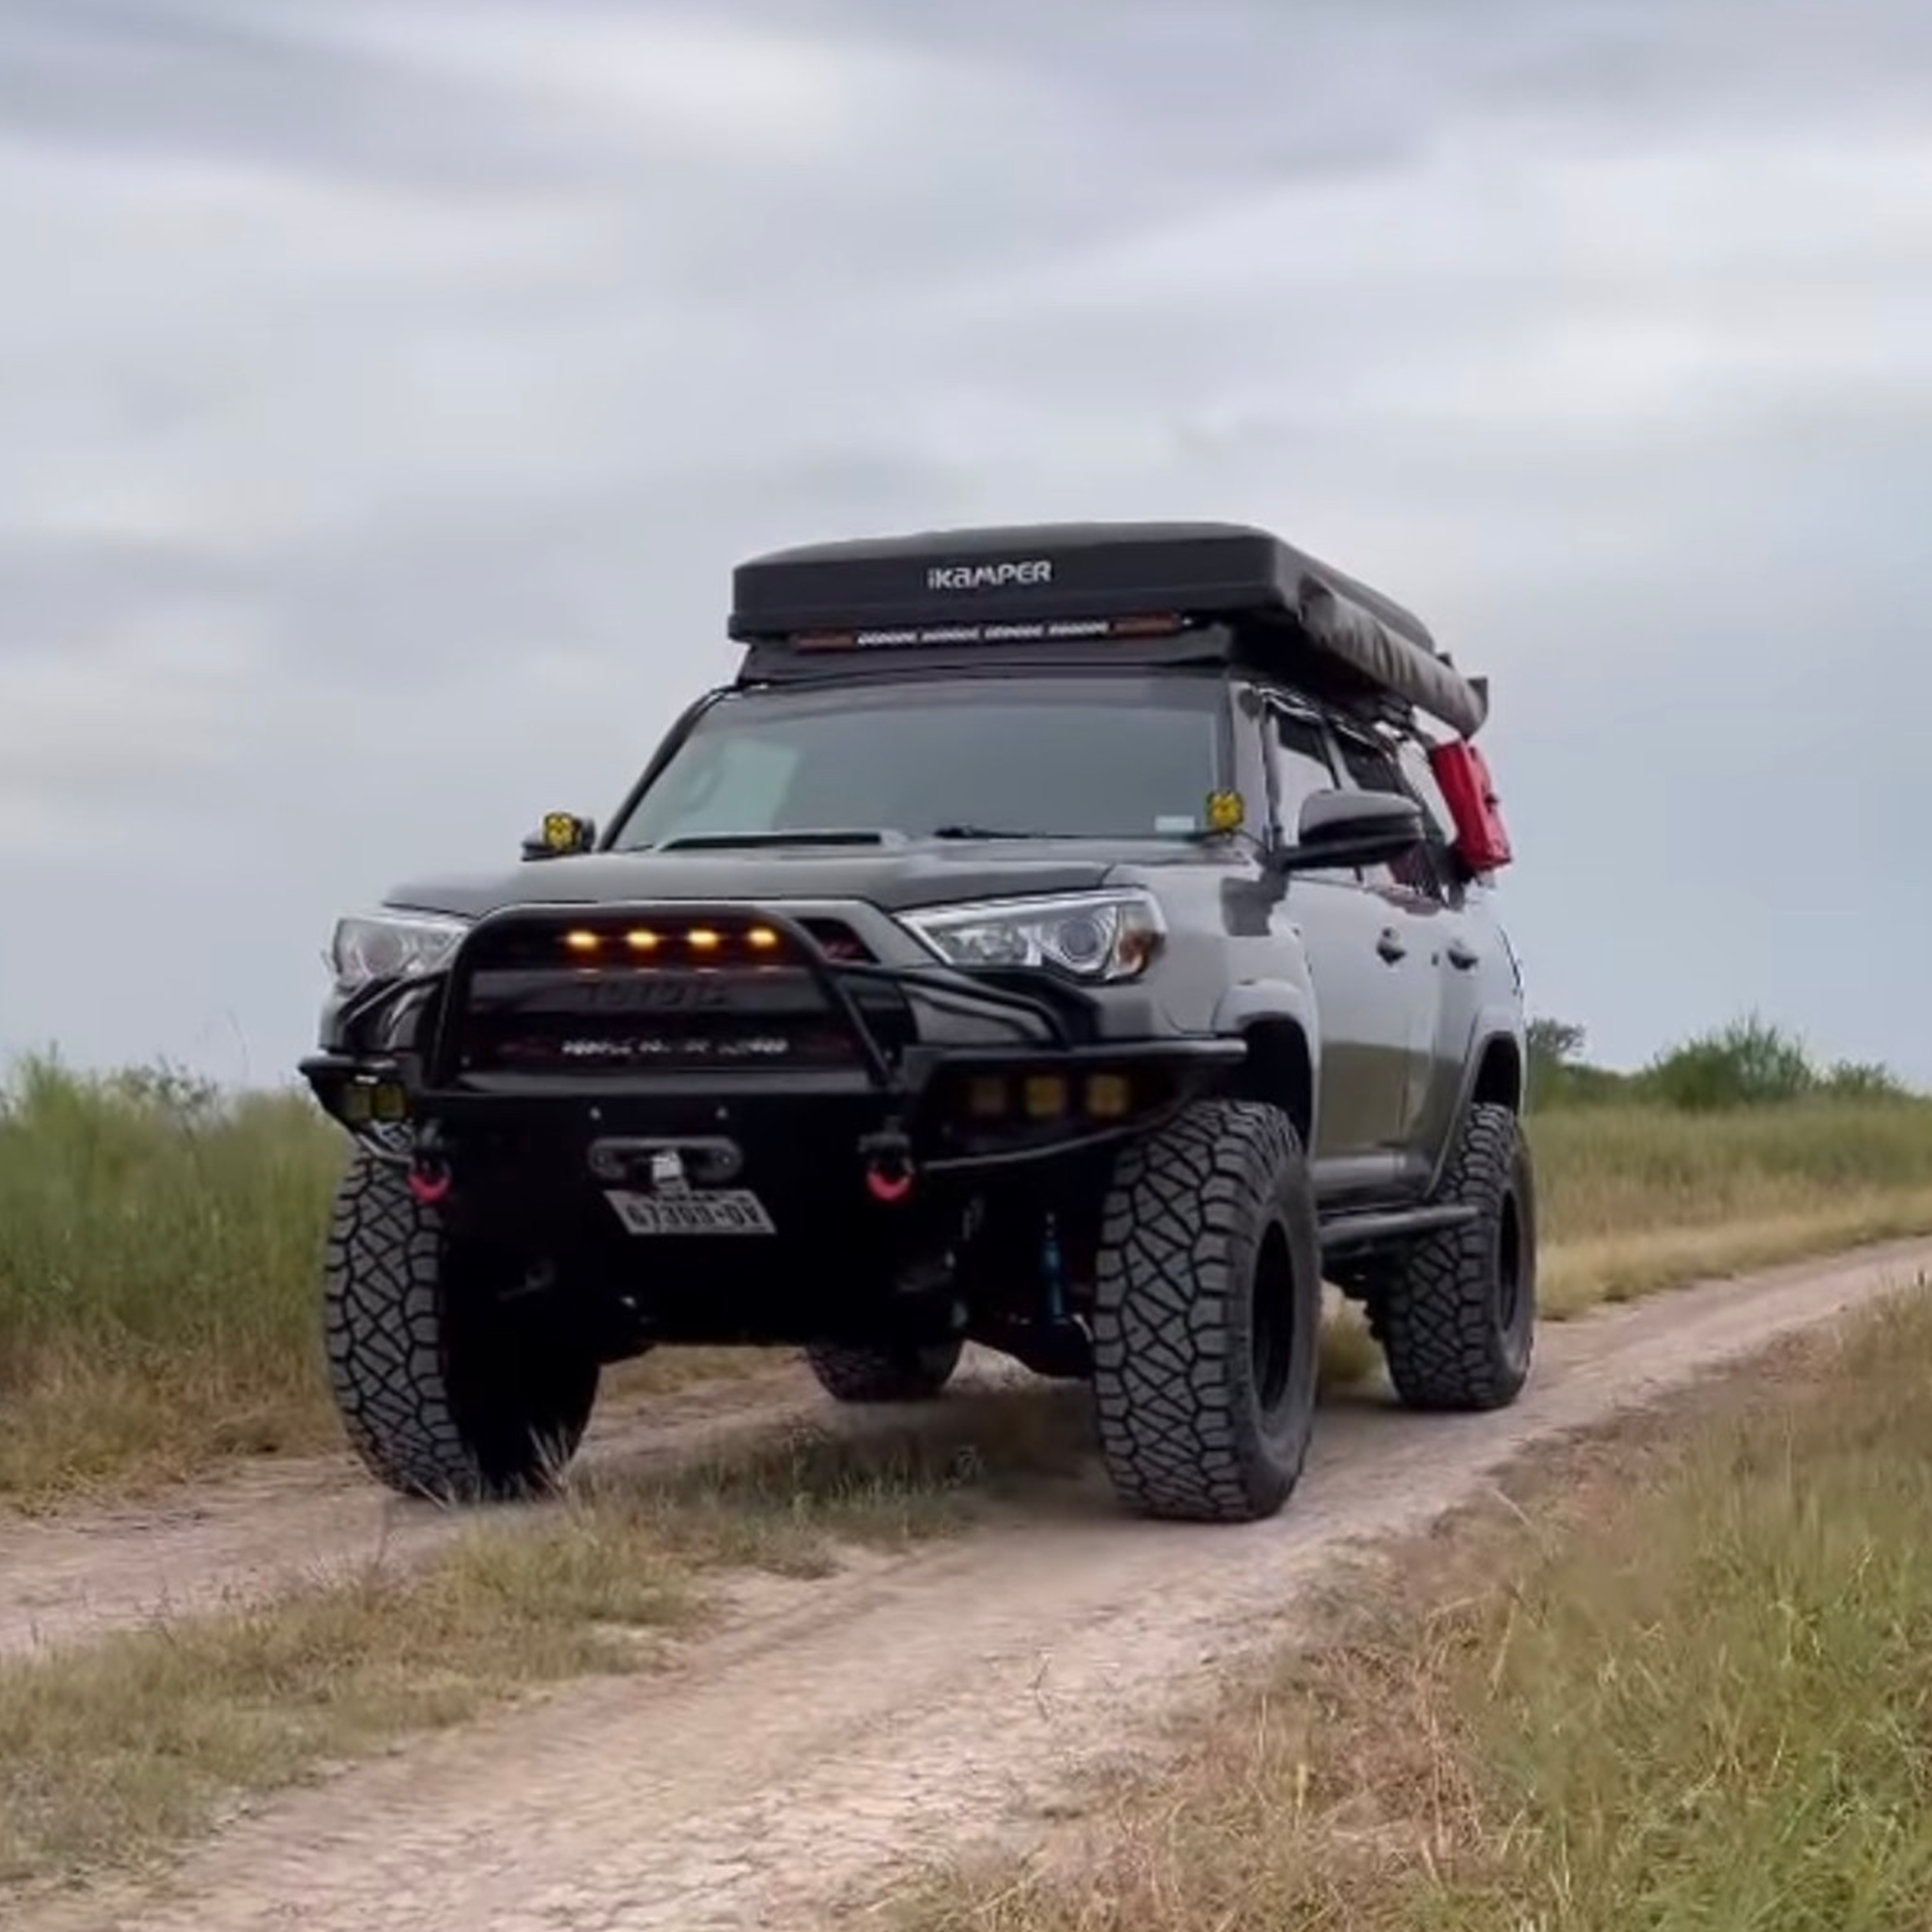
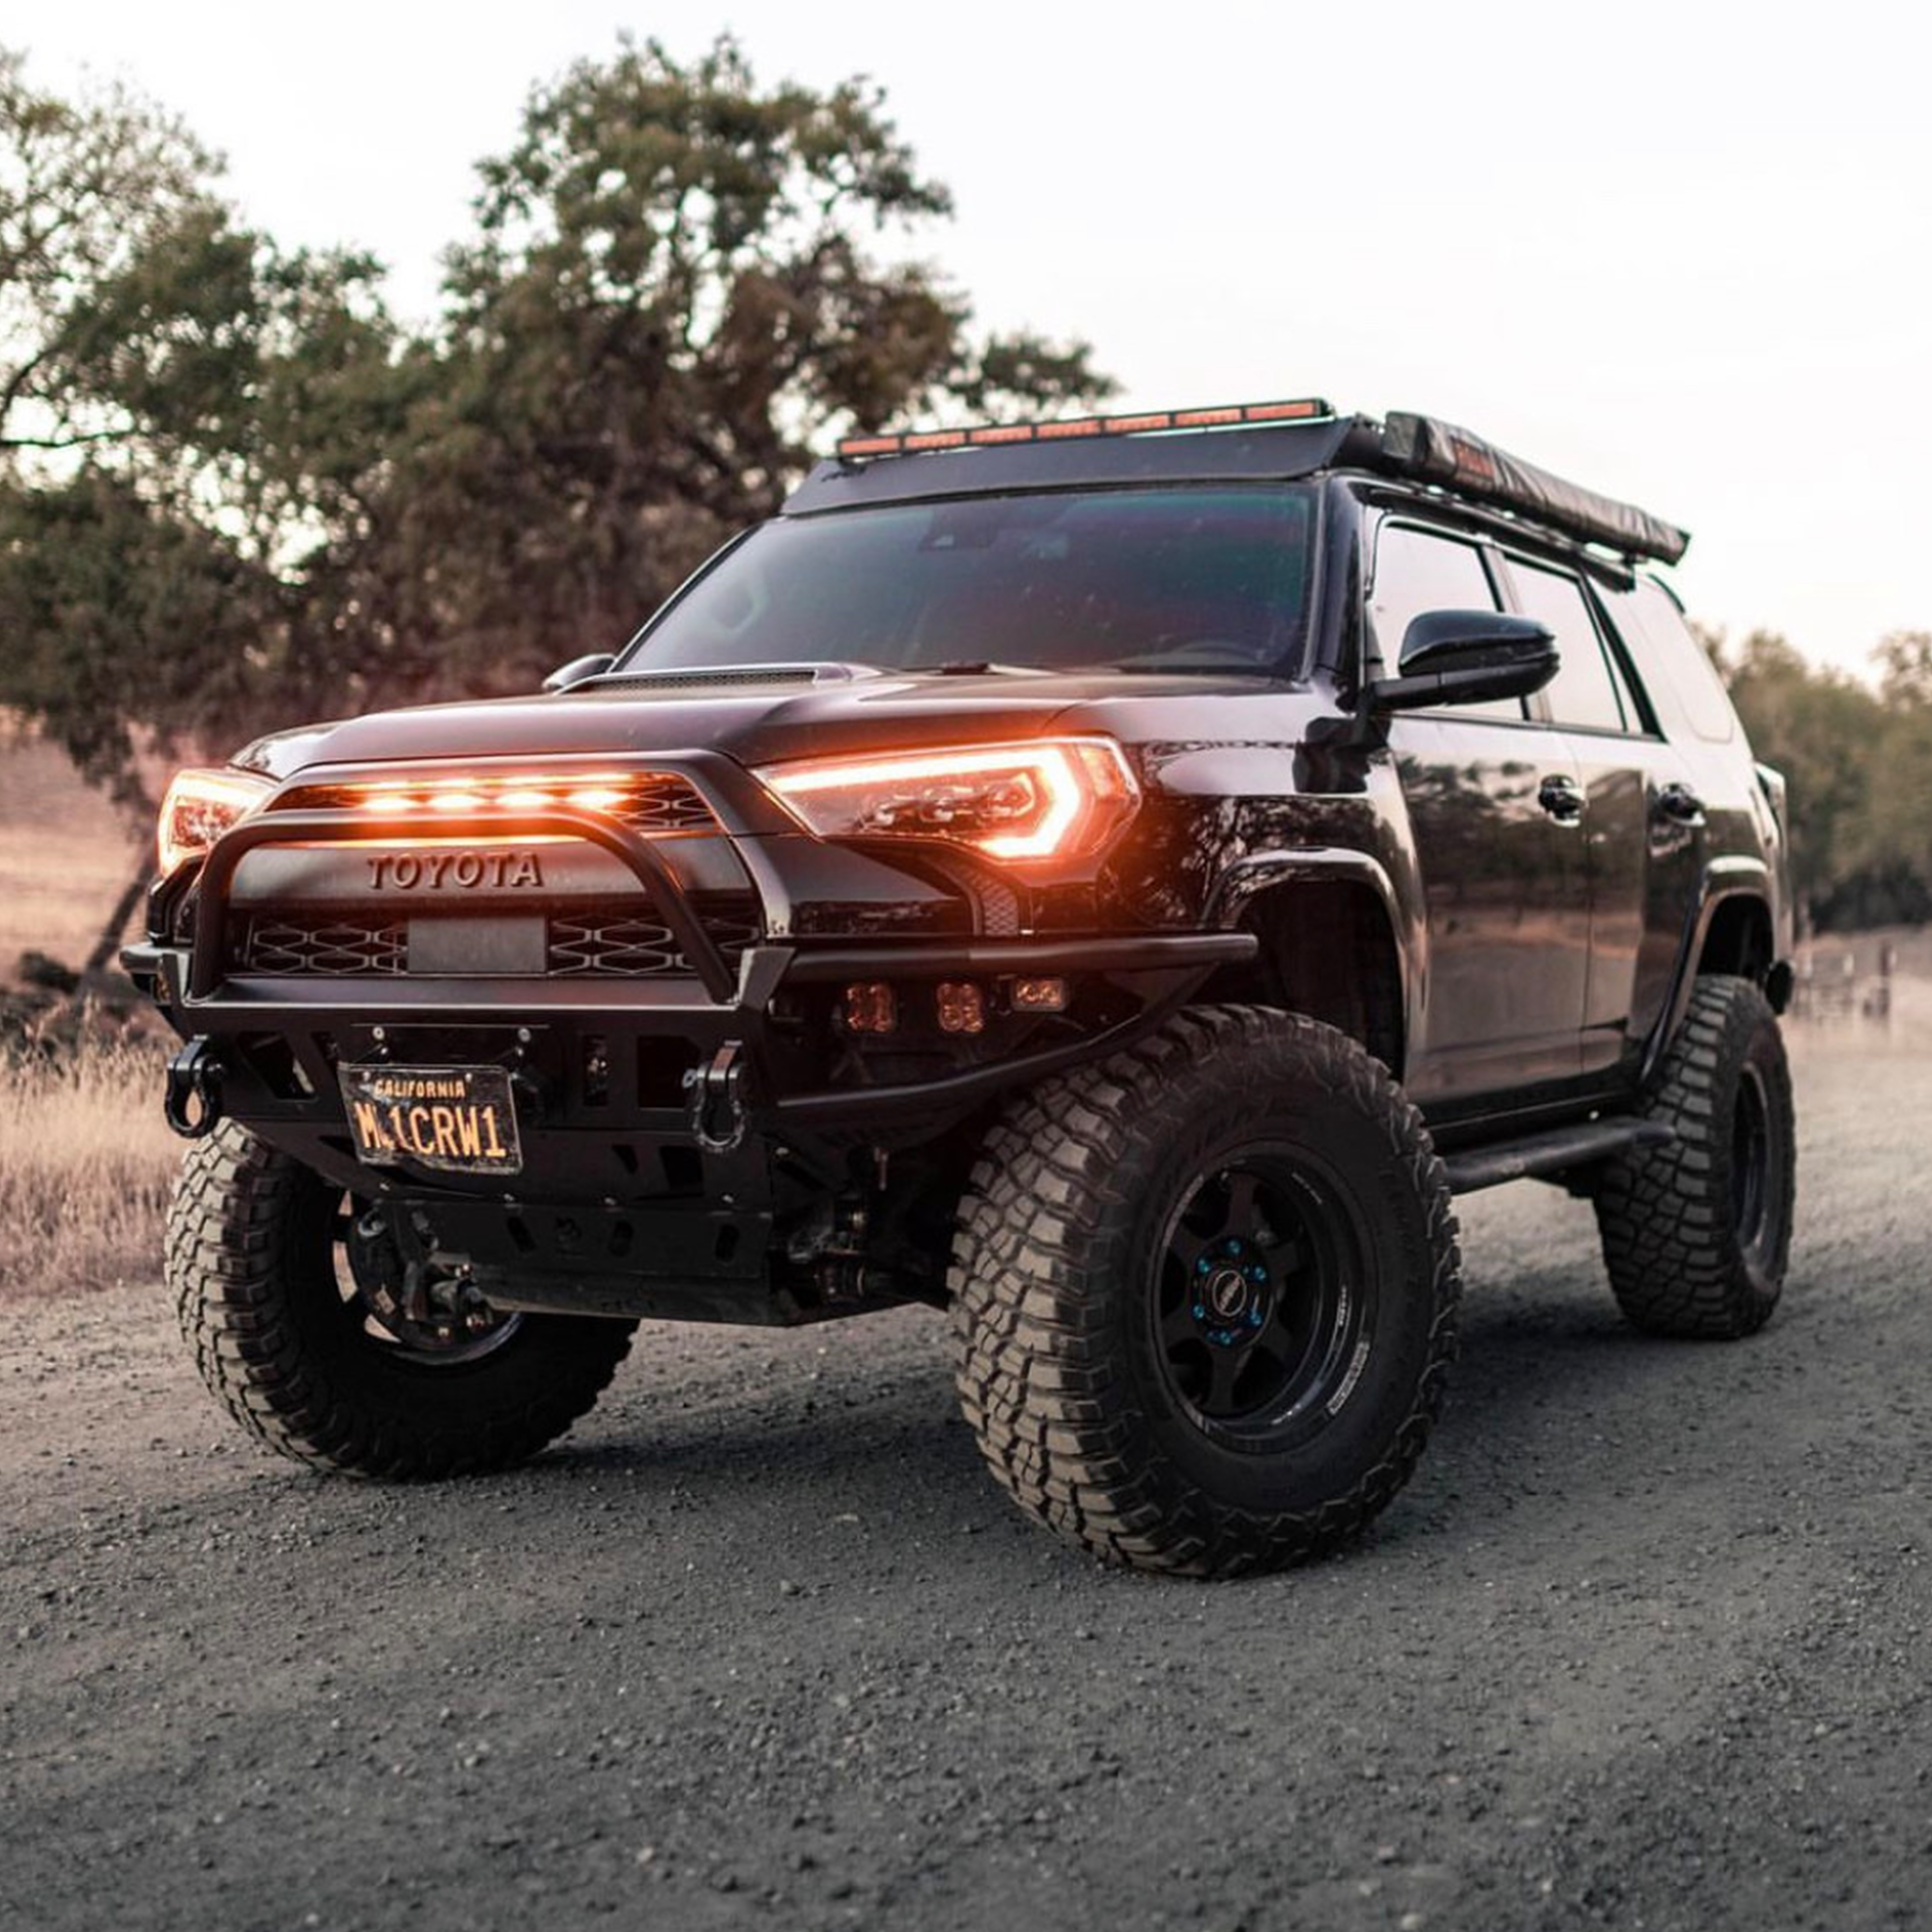
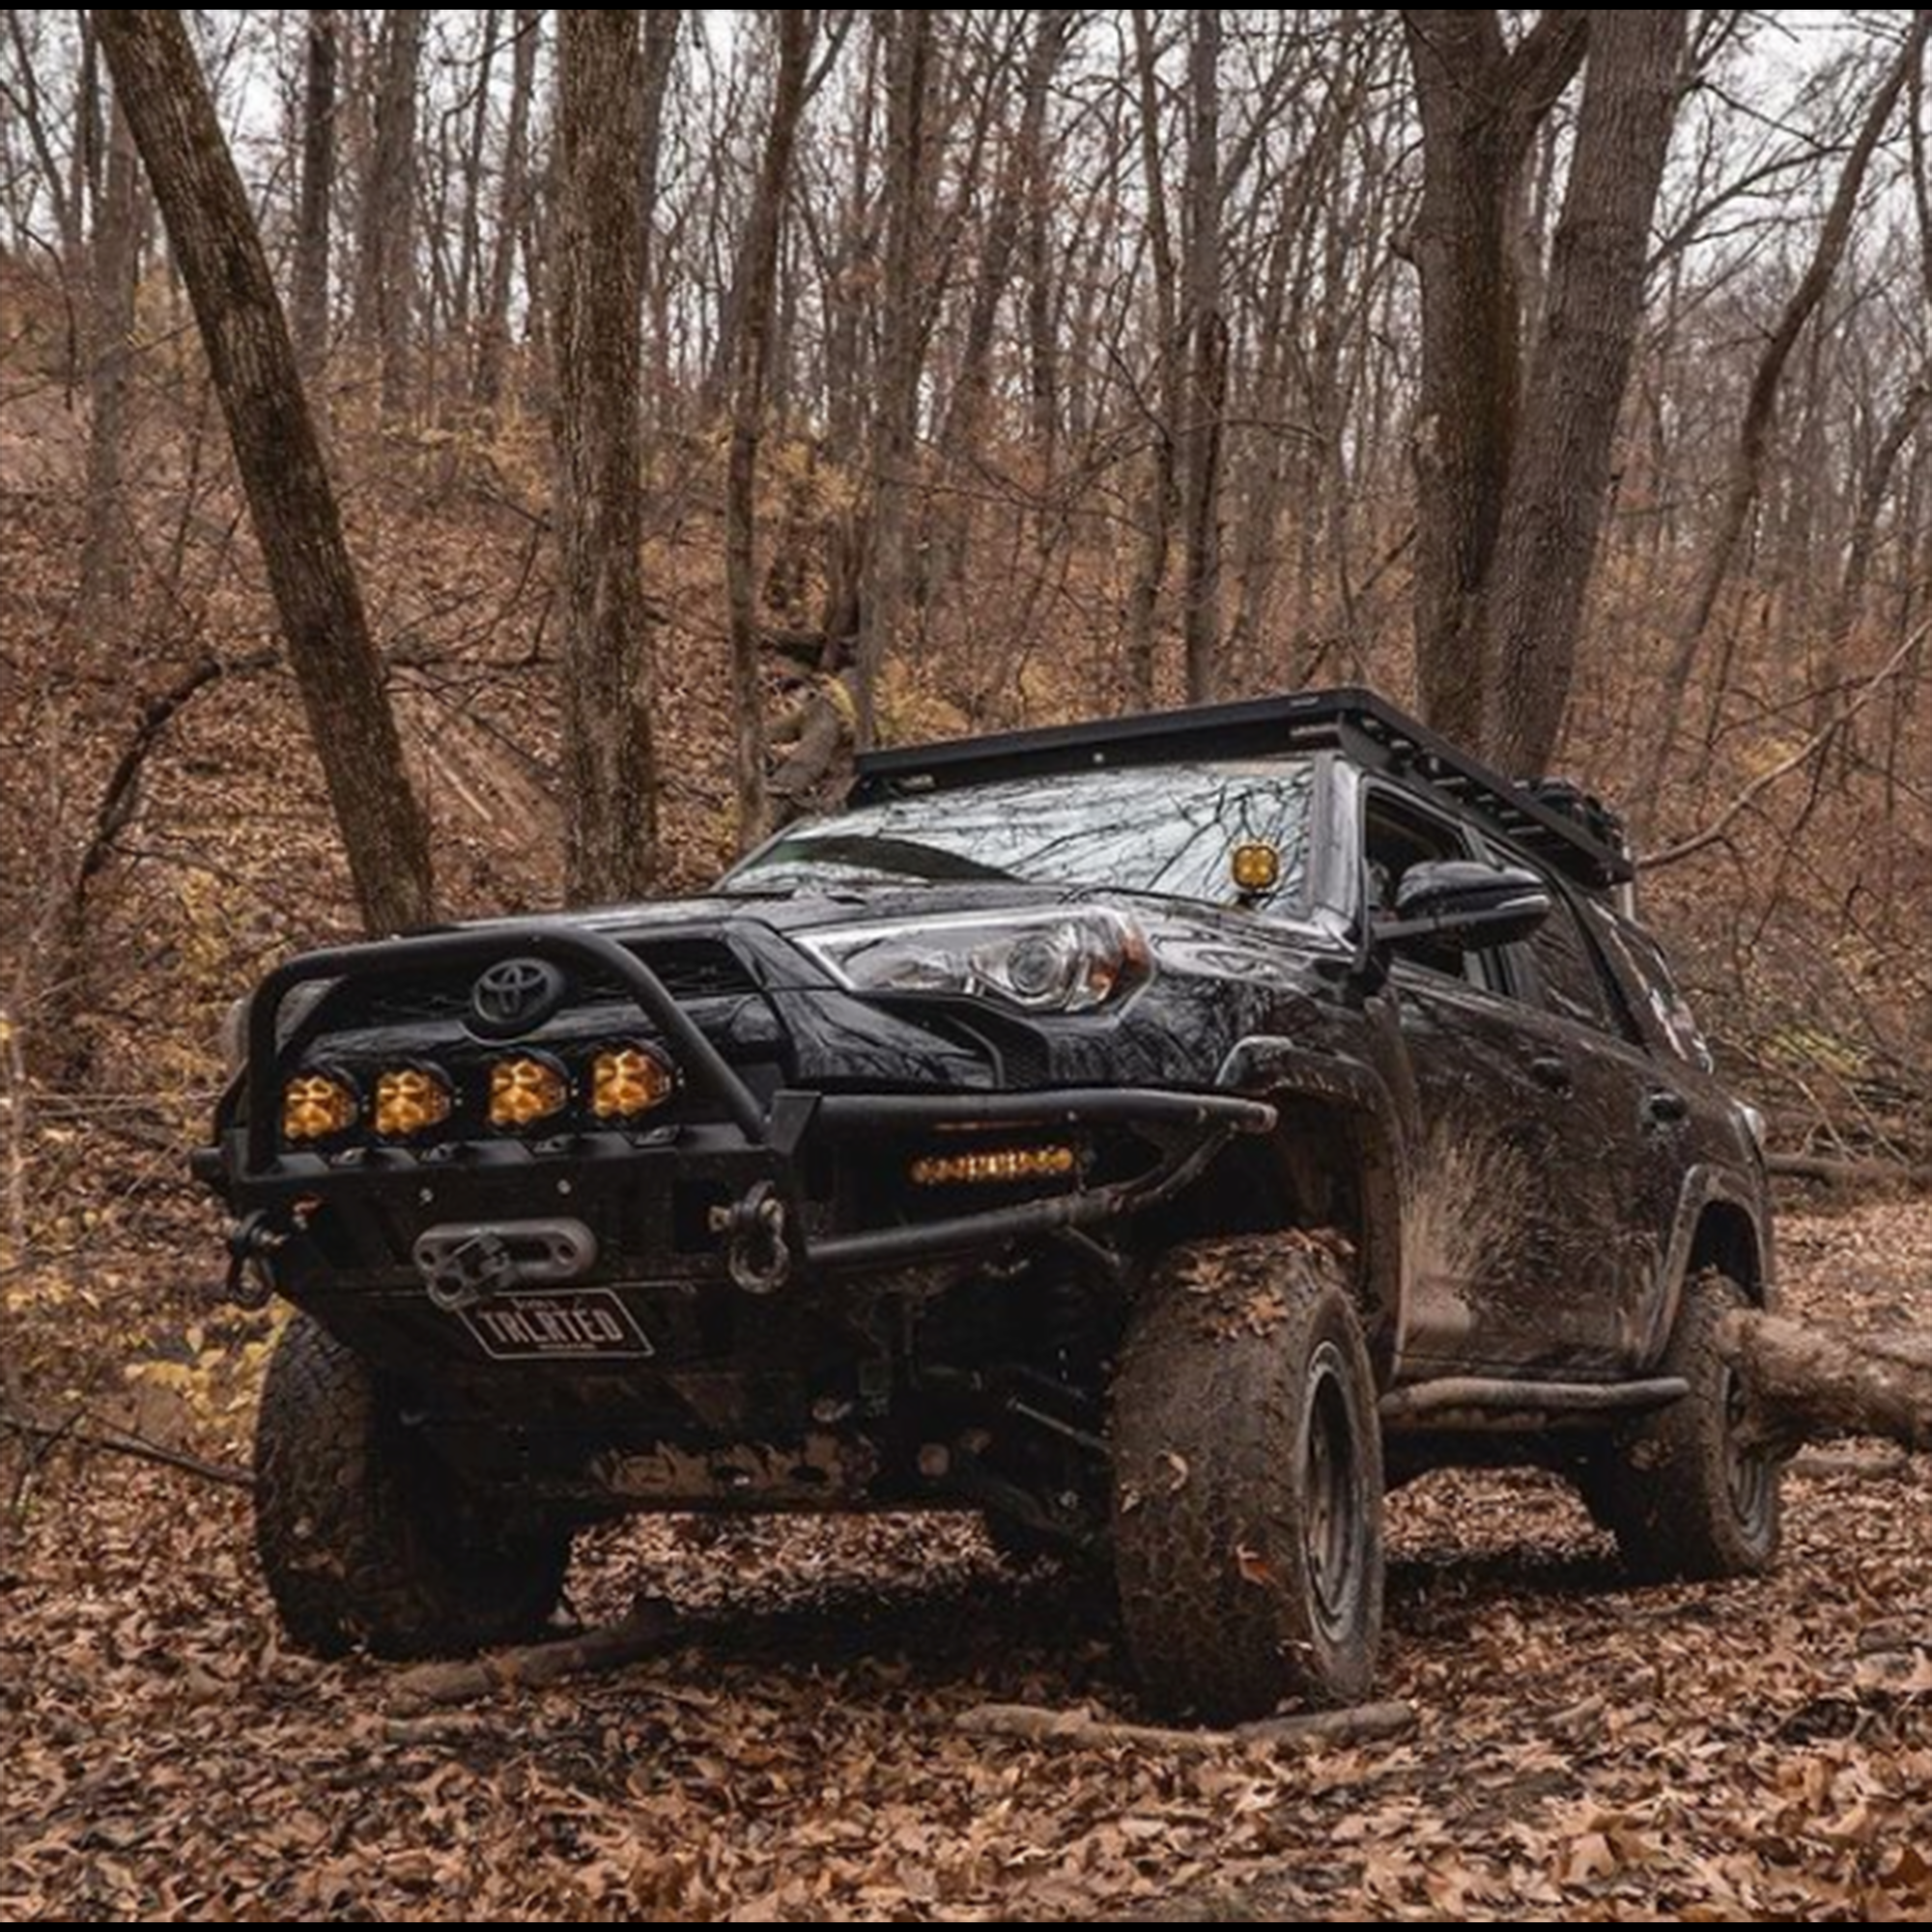
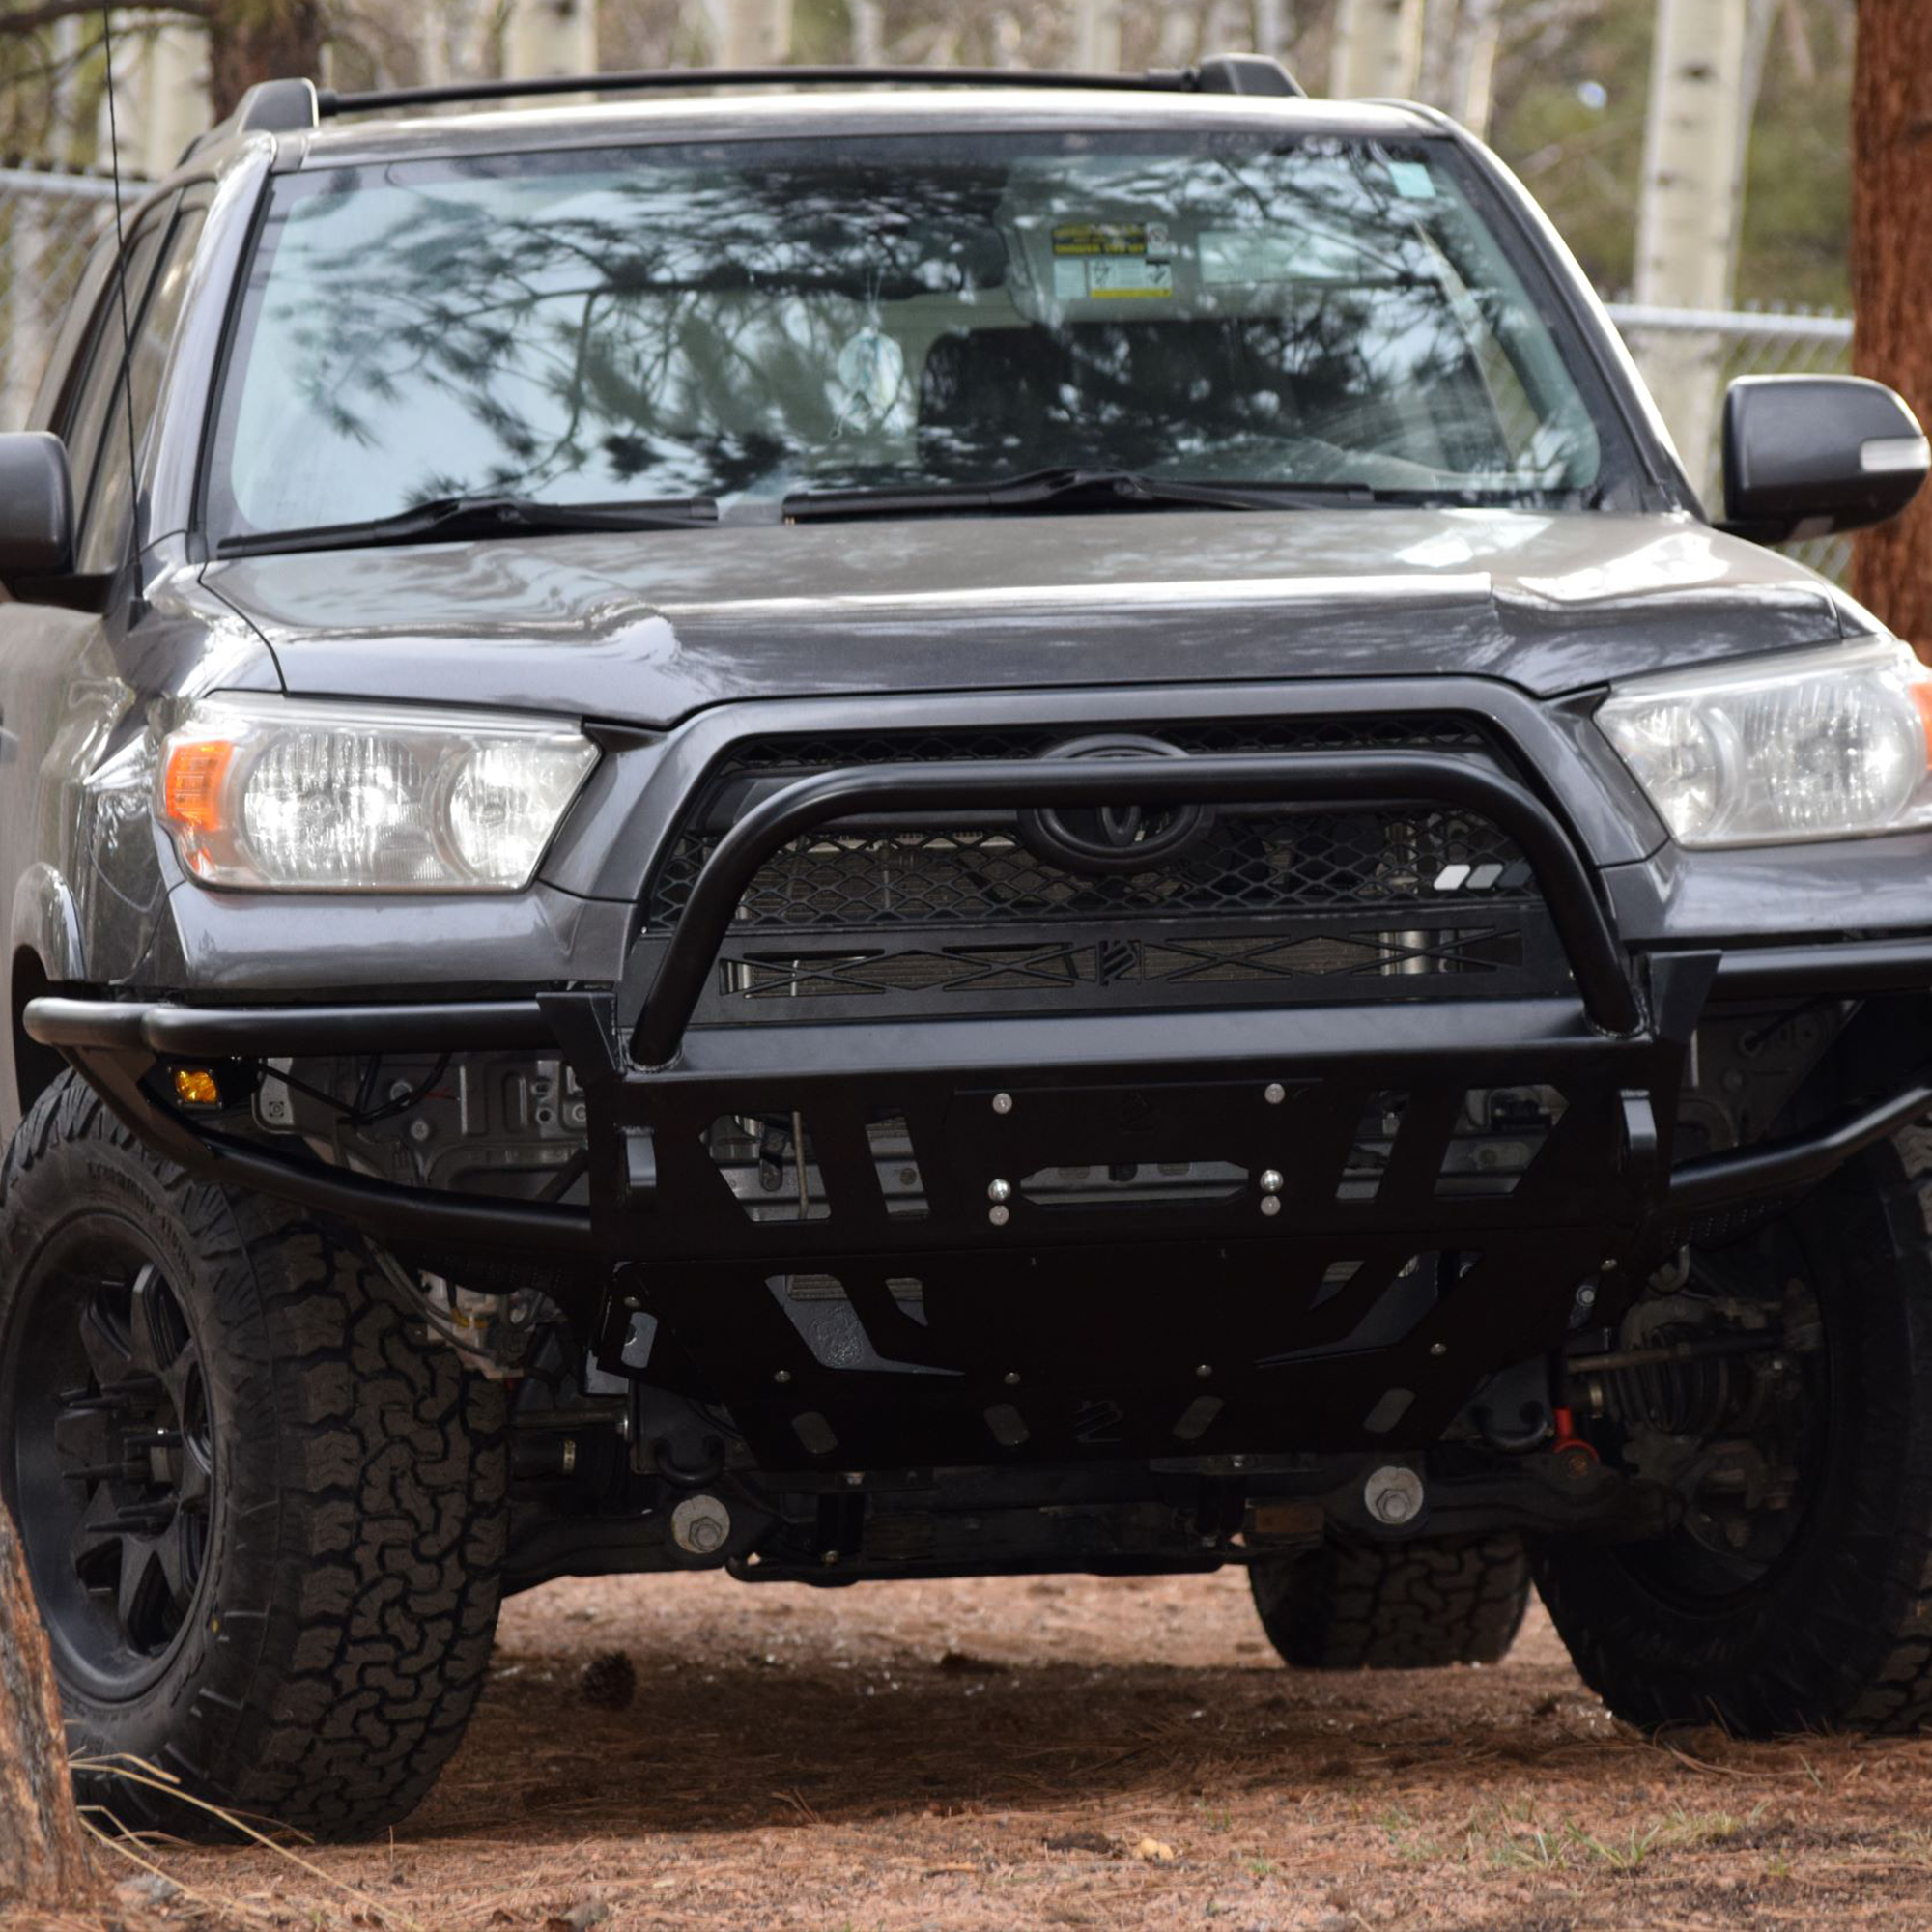
Bumper Styles: Low-Profile to Full Replacement
Tundra bumpers range from subtle low-profile pieces to full replacement designs that wrap the front or rear. The trade-off is usually weight versus coverage. Low-profile keeps looks and approach angles modest, while full replacements radically improve protection.
-
Low-profile: lighter, street-friendly, modest protection.
-
Mid-weight/hybrid: balance between street use and trail durability.
-
Full replacement: maximum coverage and recovery capability.
Buyer Note: Match style to use. Don’t overbuild a commuter truck; don’t underbuild a dedicated trail rig.
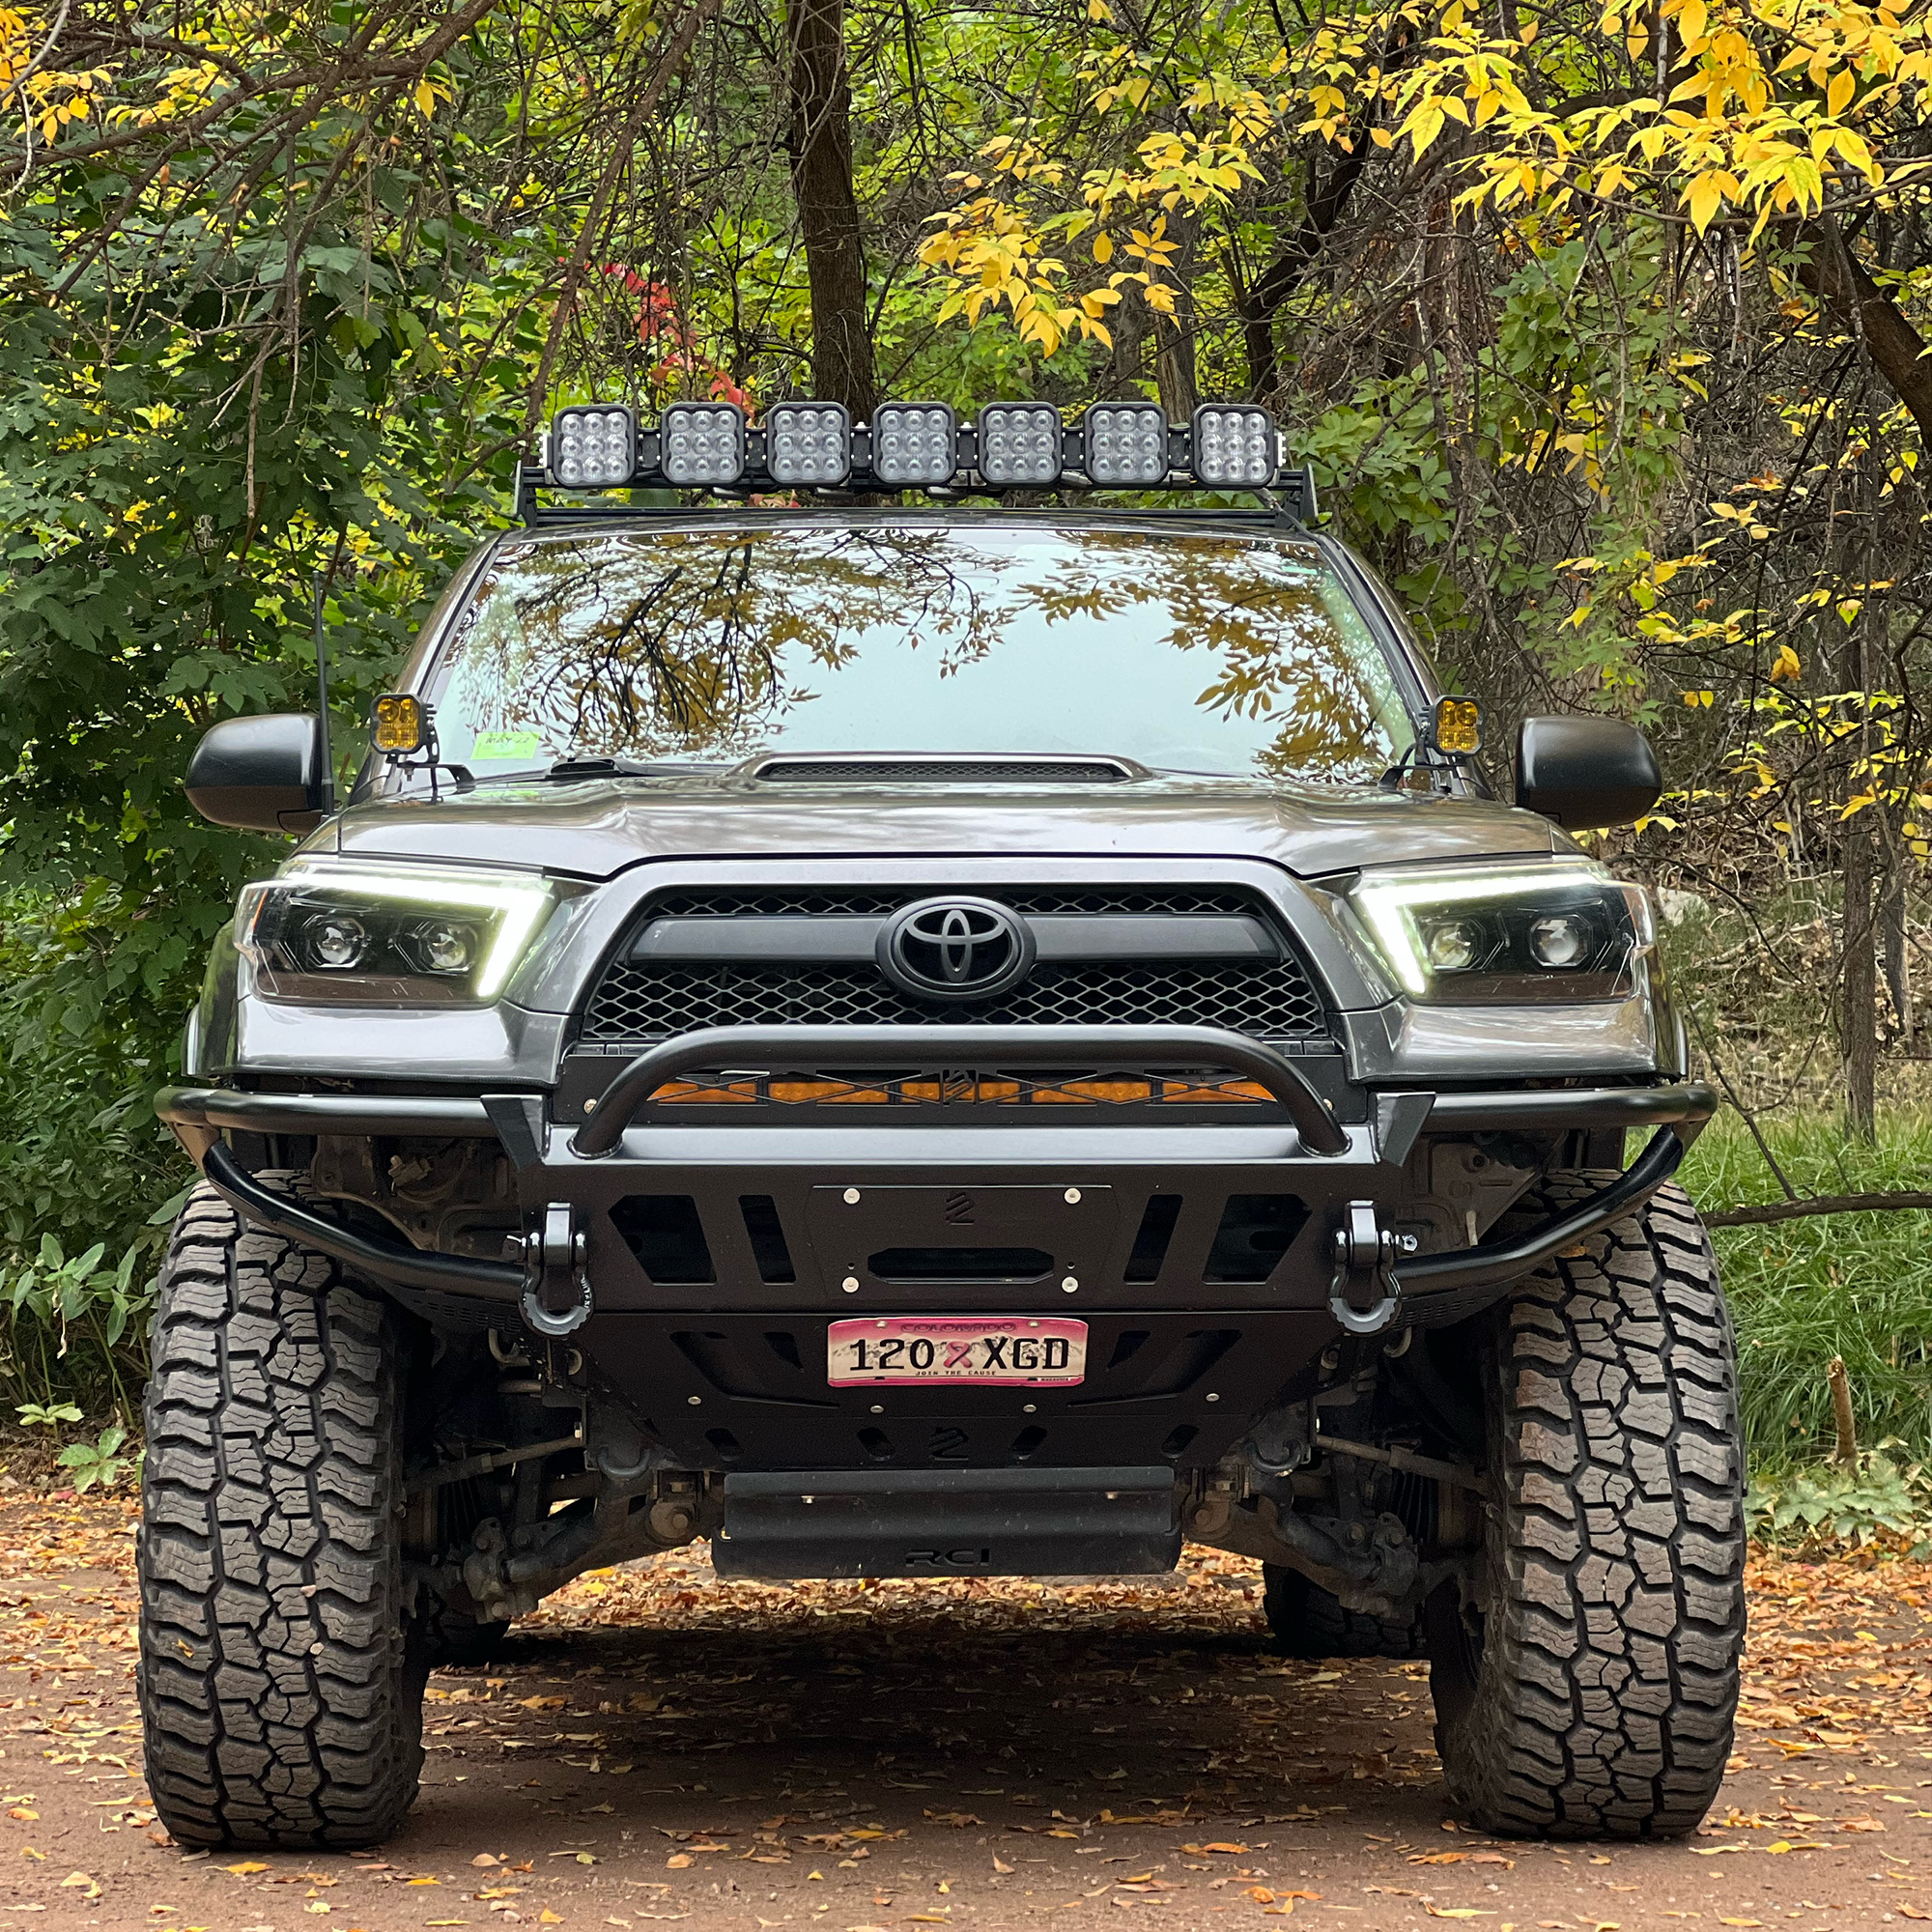
Accessory Integration: Lights, Winches, and Recovery
Custom bumpers are platforms for accessories that expand capability. Built-in mounts simplify wiring and maintain fit and finish. Consider wiring access, protected mounting points, and integrated recovery tabs when choosing a design.
-
Built-in light bar or pod mounts.
-
Winch compatibility and hidden winch fairleads.
-
Shackle or D-ring mounts rated to tow specs.
Quick Checklist: Confirm rated shackle capacity, wiring access, and whether the bumper supports your preferred winch dimensions and fairlead type.
Weight, Suspension, and Handling Effects
A heavier bumper changes how your Tundra rides and handles, especially at the front. Added unsprung or heavy front mass can increase stress on springs and steering components. Account for this when planning a steel bumper install.
-
Heavy steel bumpers increase front axle load.
-
Aluminum reduces curb weight impact.
-
Suspension upgrades may be needed for heavy setups.
Pro Insight: If you exceed factory front axle limits with a heavy bumper and winch, plan a suspension upgrade in the same budget cycle to keep handling predictable and ride height correct.
Installation Options: DIY vs Professional
DIY installs save money but require the right tools, space, and mechanical experience. Professional shops handle wiring, sensor calibration, and fitment glitches. Fabricators can tailor mount points, while dealerships maintain OEM-style fitment and warranty work.
-
DIY pros: cost savings, personal control.
-
Professional pros: guaranteed fit, wiring, sensor integration.
-
Fabricator pros: custom fits, modified mounts, weld repairs.
What to Ask Your Installer: Do you include wiring for sensors and lights? Will you calibrate ADAS or rear sensors if removed? Ask for a labor warranty to protect the investment.
Cost Expectations and Budgeting
Expect wide price ranges that depend on material, features, and finish. A basic aluminum bumper with no accessories will be significantly cheaper than a steel, winch-ready, powder-coated unit. Add labor, wiring, finish, and accessories into your total cost estimate.
-
Steel front bumpers: $1,200–$2,500+
-
Aluminum front bumpers: $900–$1,700
-
Rear bumpers: $700–$1,600
-
Add-ons: $300–$1,200
Key Takeaway: Bundle purchases — bumper, winch, and lighting — to save on installation labor and get a more cohesive setup.
Finish Options: Paint, Powder Coat, and Textures
Finish affects longevity and appearance. Powder coat is the go-to for off-road gear due to abrasion resistance, while textured coatings hide rock chips and dings. Paint-matching may be desired for show or resale.
-
Powder coat: durable, scratch-resistant.
-
Textured finishes: hide chips, improve grip.
-
Paint-match: clean look but less durable off-road.
Buyer Note: For a working truck, prioritize protective finishes over showroom paint; you’ll save time and touch-ups down the line.
Compatibility and Fitment Issues
Modern Tundras have sensors, wiring, and trim pieces that can complicate installs. Always verify fitment for your exact year and trim. Avoid bumpers marketed as “universal” unless you plan to modify mounts and wiring.
-
Verify year/trim fitment.
-
Check sensor and camera relocation options.
-
Confirm bumper won’t block factory tow points.
Quick Checklist: Get a VIN-verified fitment check from the manufacturer or installer before purchase.
Long-Term Value: Resale and Durability
A well-chosen custom bumper can increase resale appeal for buyers who value capability. It lowers the risk of future frame damage and saves repair costs after a minor impact. Properly documented upgrades demonstrate care and capability.
-
Increases resale appeal for trail-ready buyers.
-
Prevents secondary damage to structural components.
-
Lowers long-term repair frequency.
Pro Insight: Keep receipts and installation documentation. Buyers prize complete service records when evaluating a used truck with aftermarket upgrades.
Common Mistakes to Avoid
Buyers often make a few predictable errors when choosing bumpers. Avoid these to keep cost and downtime down:
-
Overbuying heavy bumpers for light use.
-
Buying incompatible bumpers and forcing fitment.
-
Skipping wiring or sensor planning and adding costly rework.
What to Ask Before You Buy: Does this bumper require frame modification? If yes, ask how reversible the changes are and whether the shop supports repairs under warranty.
Final Thoughts
Custom bumpers transform the Toyota Tundra from a capable truck into a fully prepared workhorse. They protect against damage, improve recovery options, and add features that factory bumpers lack. Choosing the right one depends on your driving style, budget, and upgrade goals.
At Lil B’s Custom Fab, our Toyoto Tundra bumpers are engineered for real-world use — whether it’s hauling, towing, or trail work. If you’re ready to match your Tundra’s capability with the right armor, we’ve got you covered.
Share:
Why Custom Bumpers are a Must-Have for Every Toyota 4Runner Owner
Exploring the Best Custom Toyota Tacoma Bumpers for Off-Road Adventures