They say visibility is safety. According to the National Highway Traffic Safety Administration, 38% of fatal crashes in rural areas happen after dark, even when streetlights are present. That stat alone should get your attention if you spend time off-road or on poorly lit backroads.
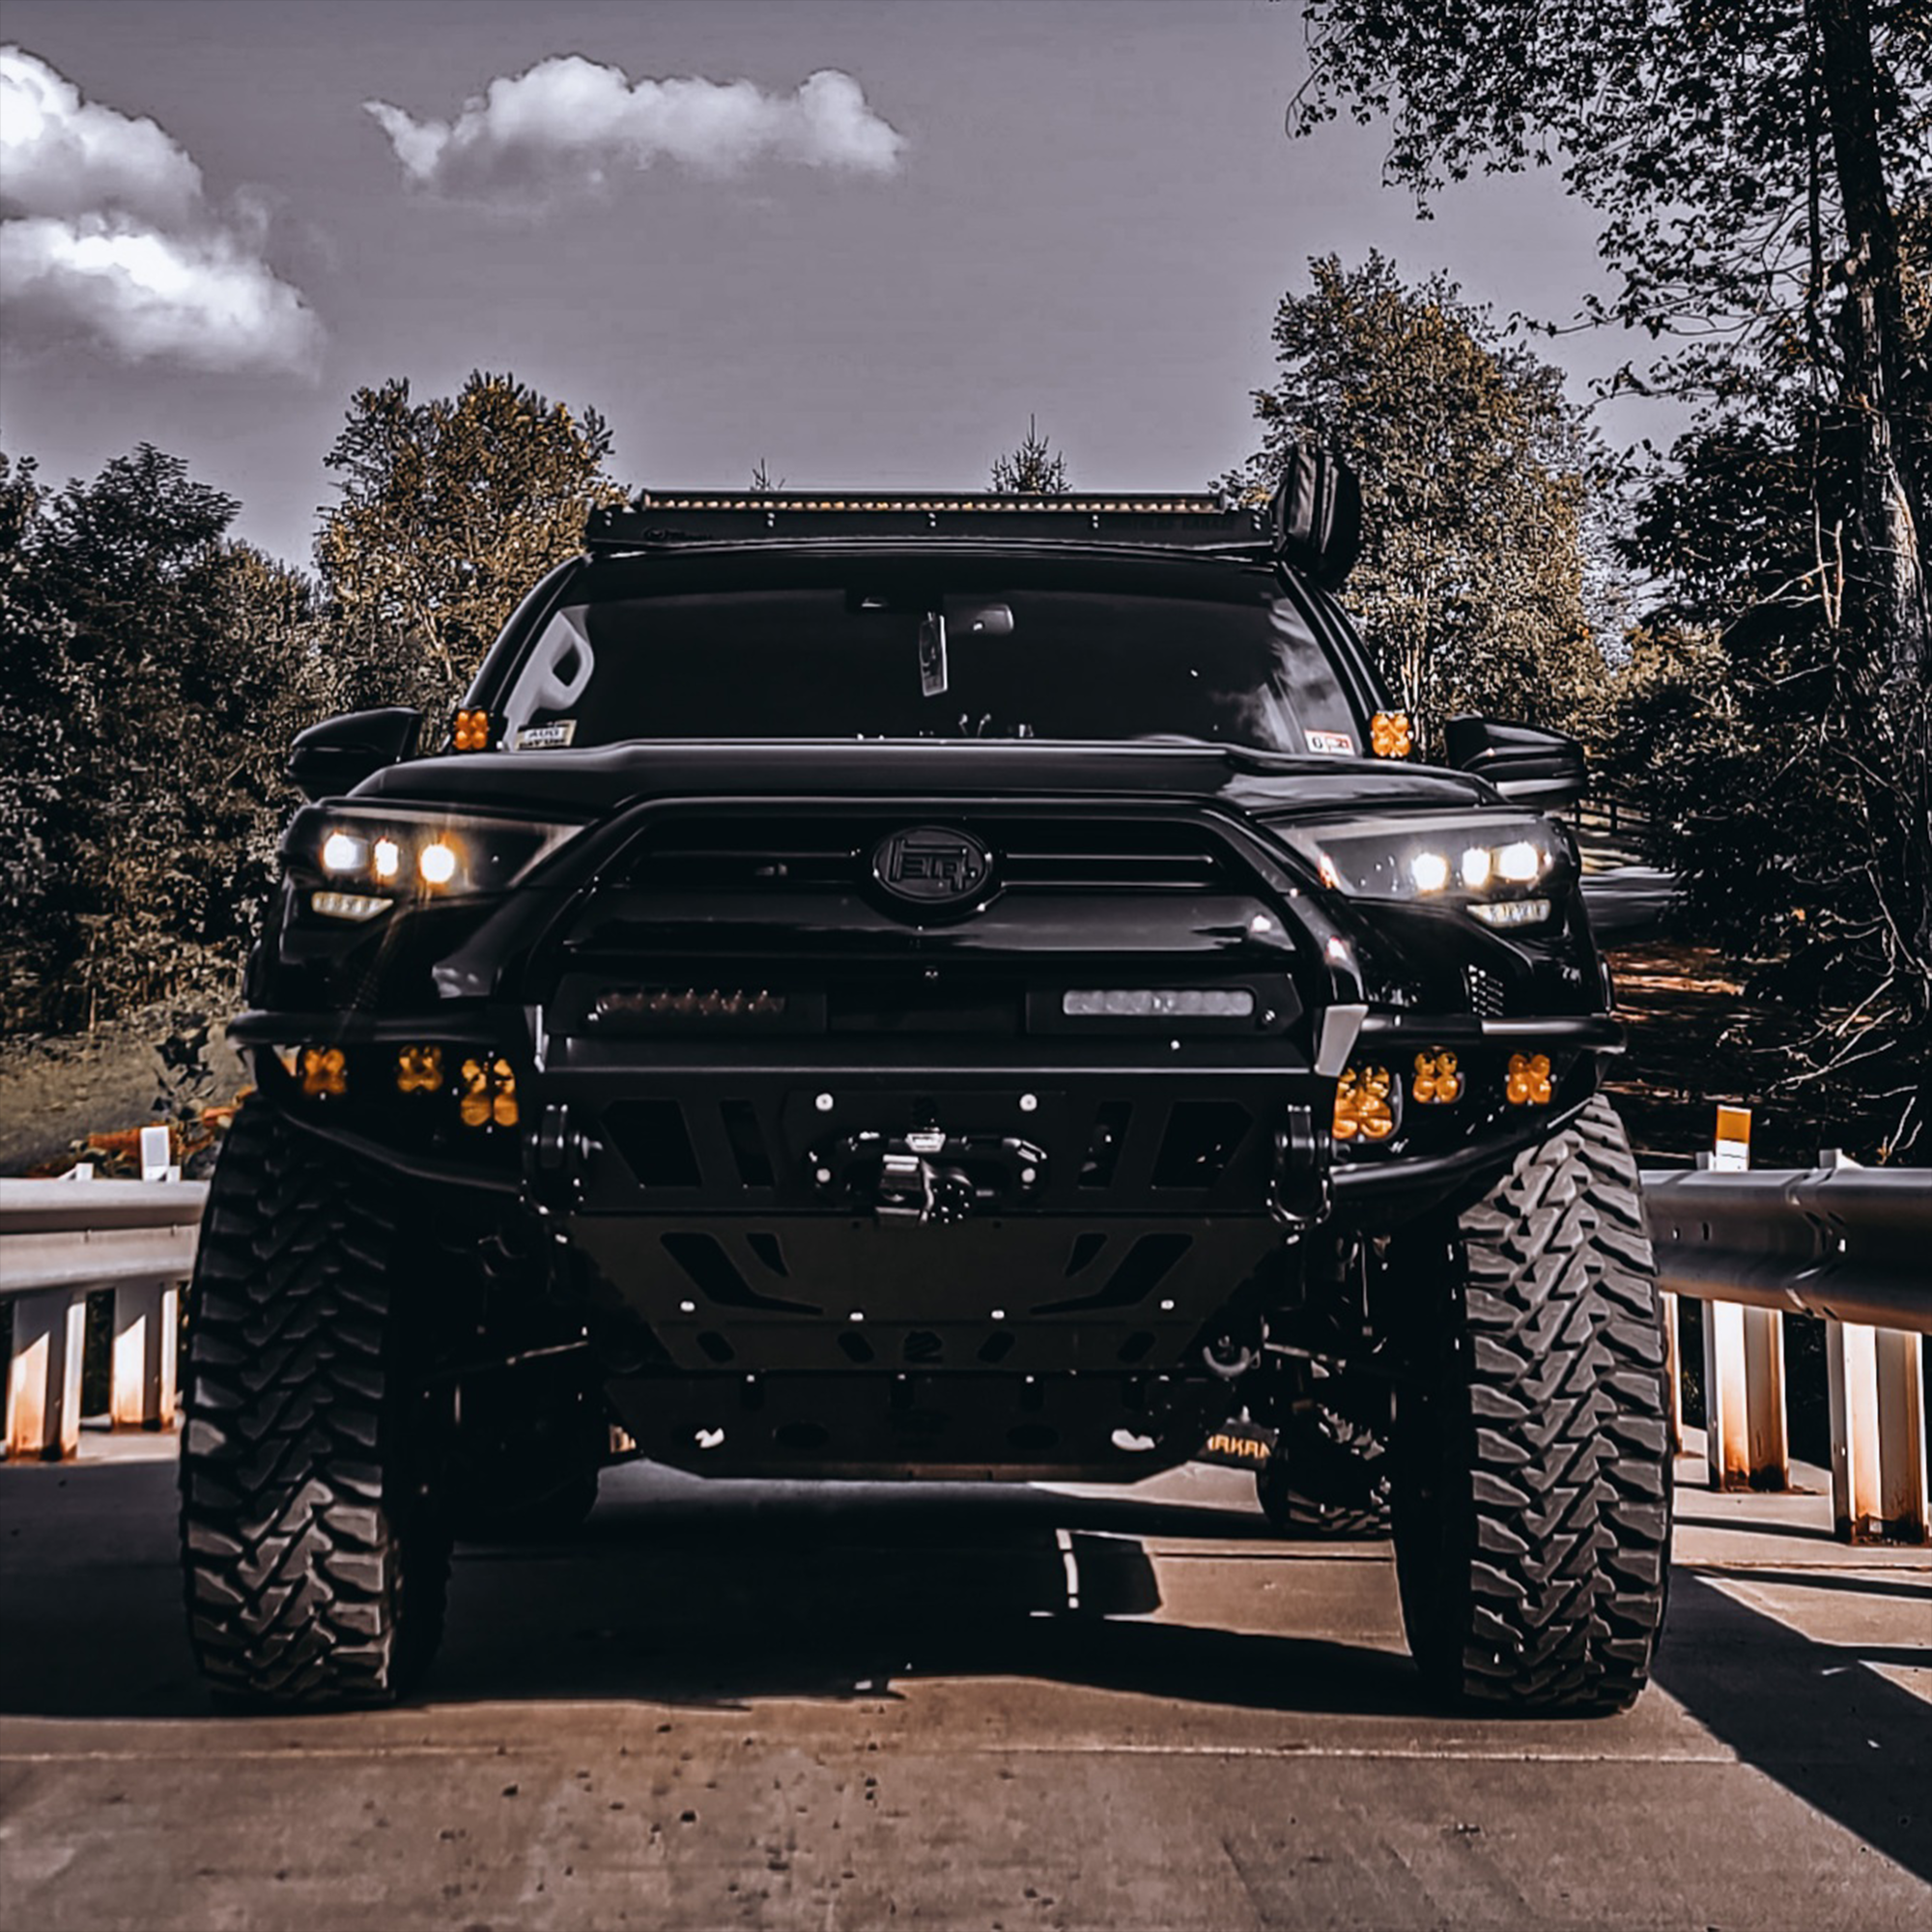
When it comes to lighting upgrades for your truck, a solid light bar and wiring harness combo can do more than just improve looks. It can help you spot obstacles before they become a problem.
But here’s the issue: there are a lot of options out there. Picking the wrong one can lead to weak lighting, short circuits, or even damage to your truck’s electrical system.
When you're ready to get quality gear that doesn't mess around, head over to Lil B's Fabrication and shop now. They’ve got reliable setups that make the job easy.
1. Start With Purpose
Before anything else, decide why you want a light bar. Not every setup suits every use case.
-
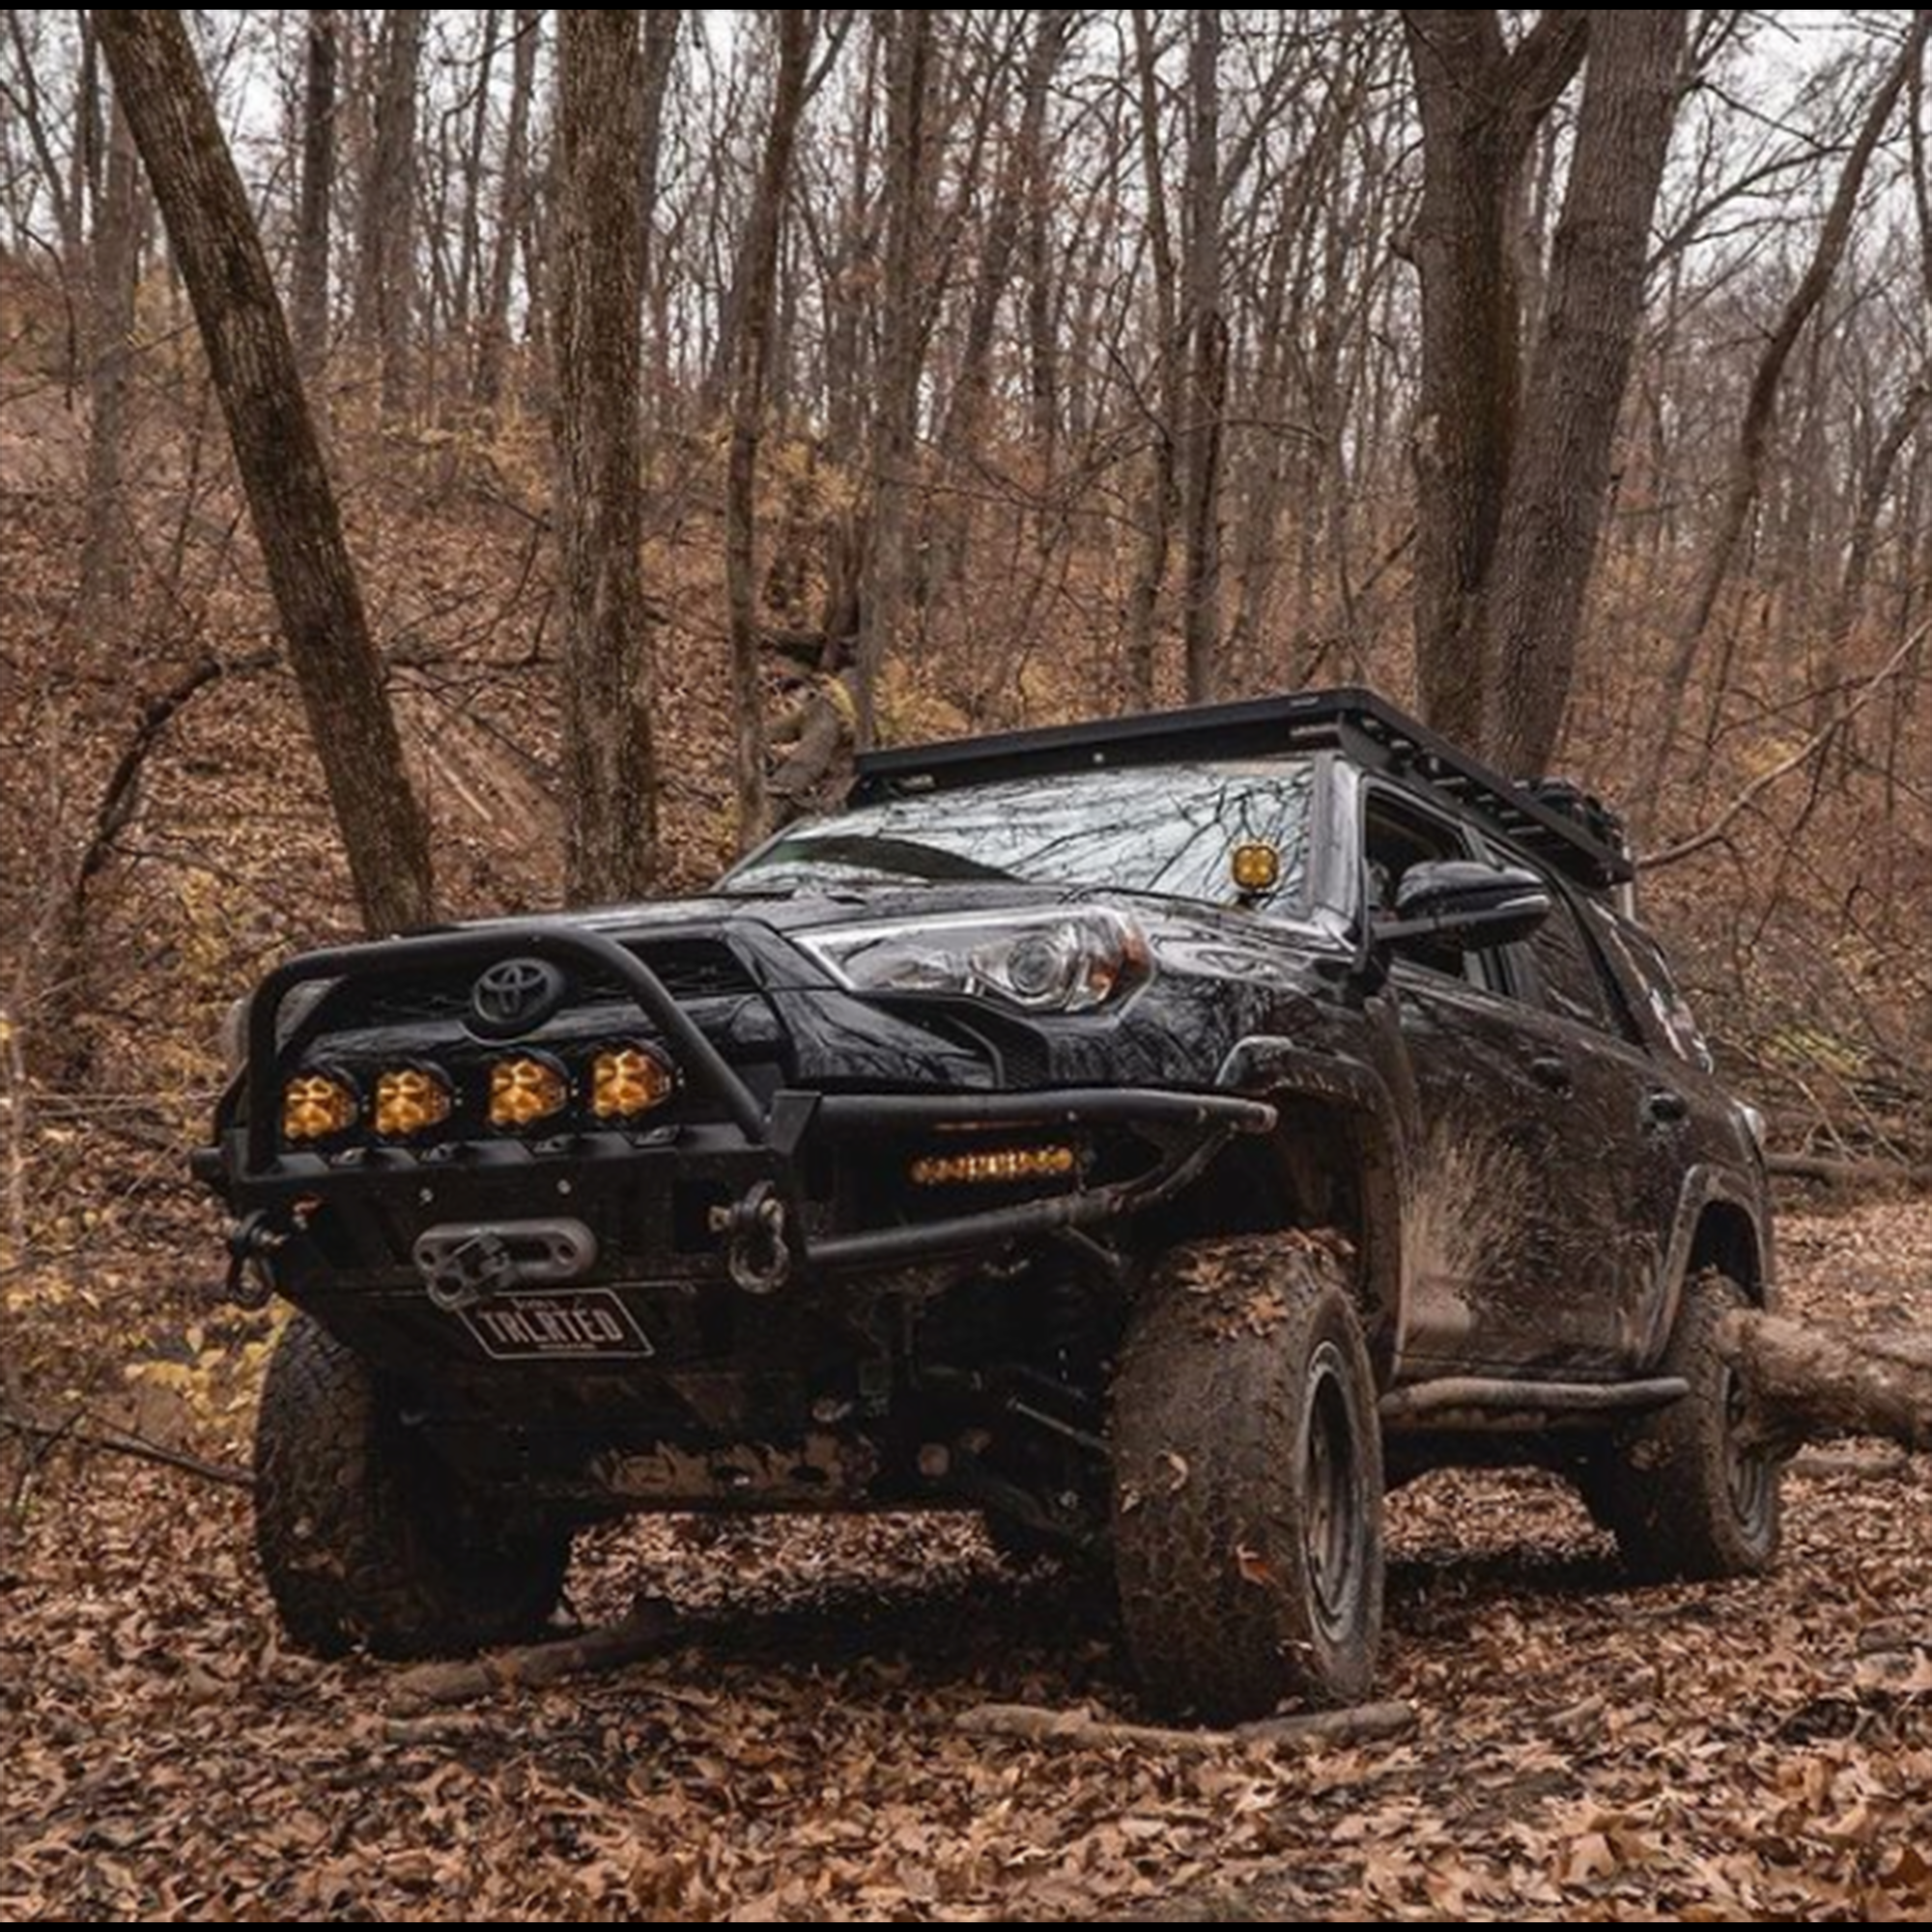
Off-roading: Go with flood or combo beams for wide visibility
-
Rural driving or farm work: A spot beam with long-range coverage works best
-
Emergency or work trucks: Choose models with strobe or amber options
This helps you narrow down the beam pattern, size, and mounting location. Don’t skip this. If your light bar doesn’t match how you use your truck, it’s a waste of time and money.
2. Choose the Right Size
Light bars come in many sizes, usually from 6 inches to over 50 inches. Here’s a breakdown of what typically fits:
-
10 to 20 inches: Good for front bumpers, A-pillars, or rear chase lighting
-
30 to 40 inches: Popular for above-grille or hood mounts
-
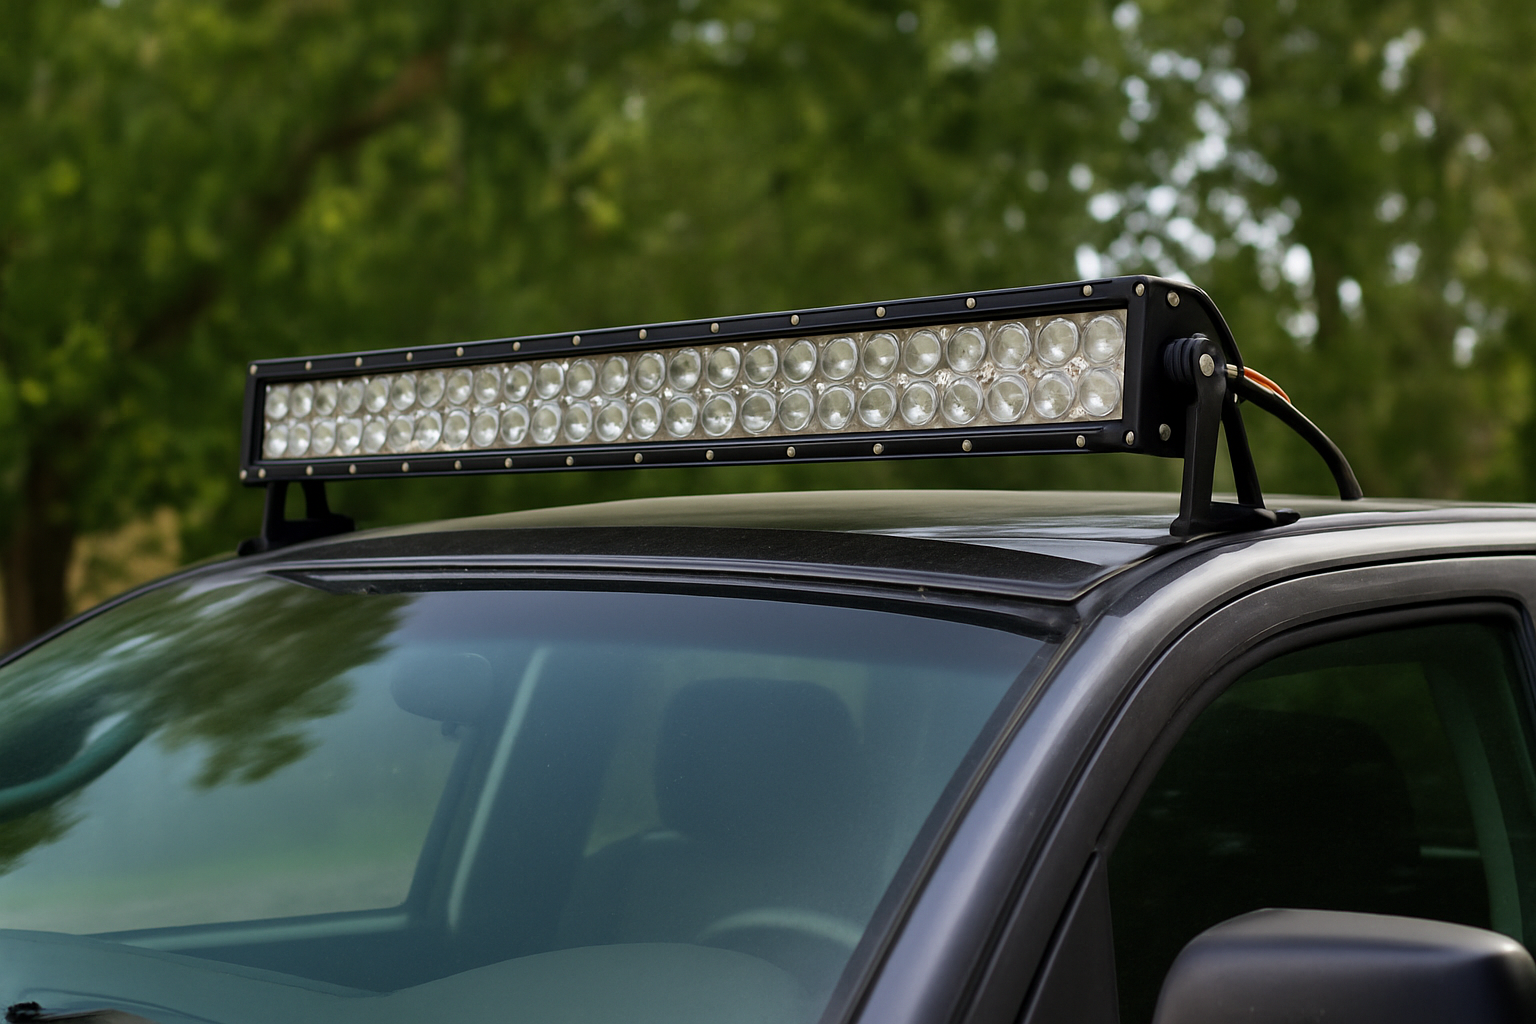
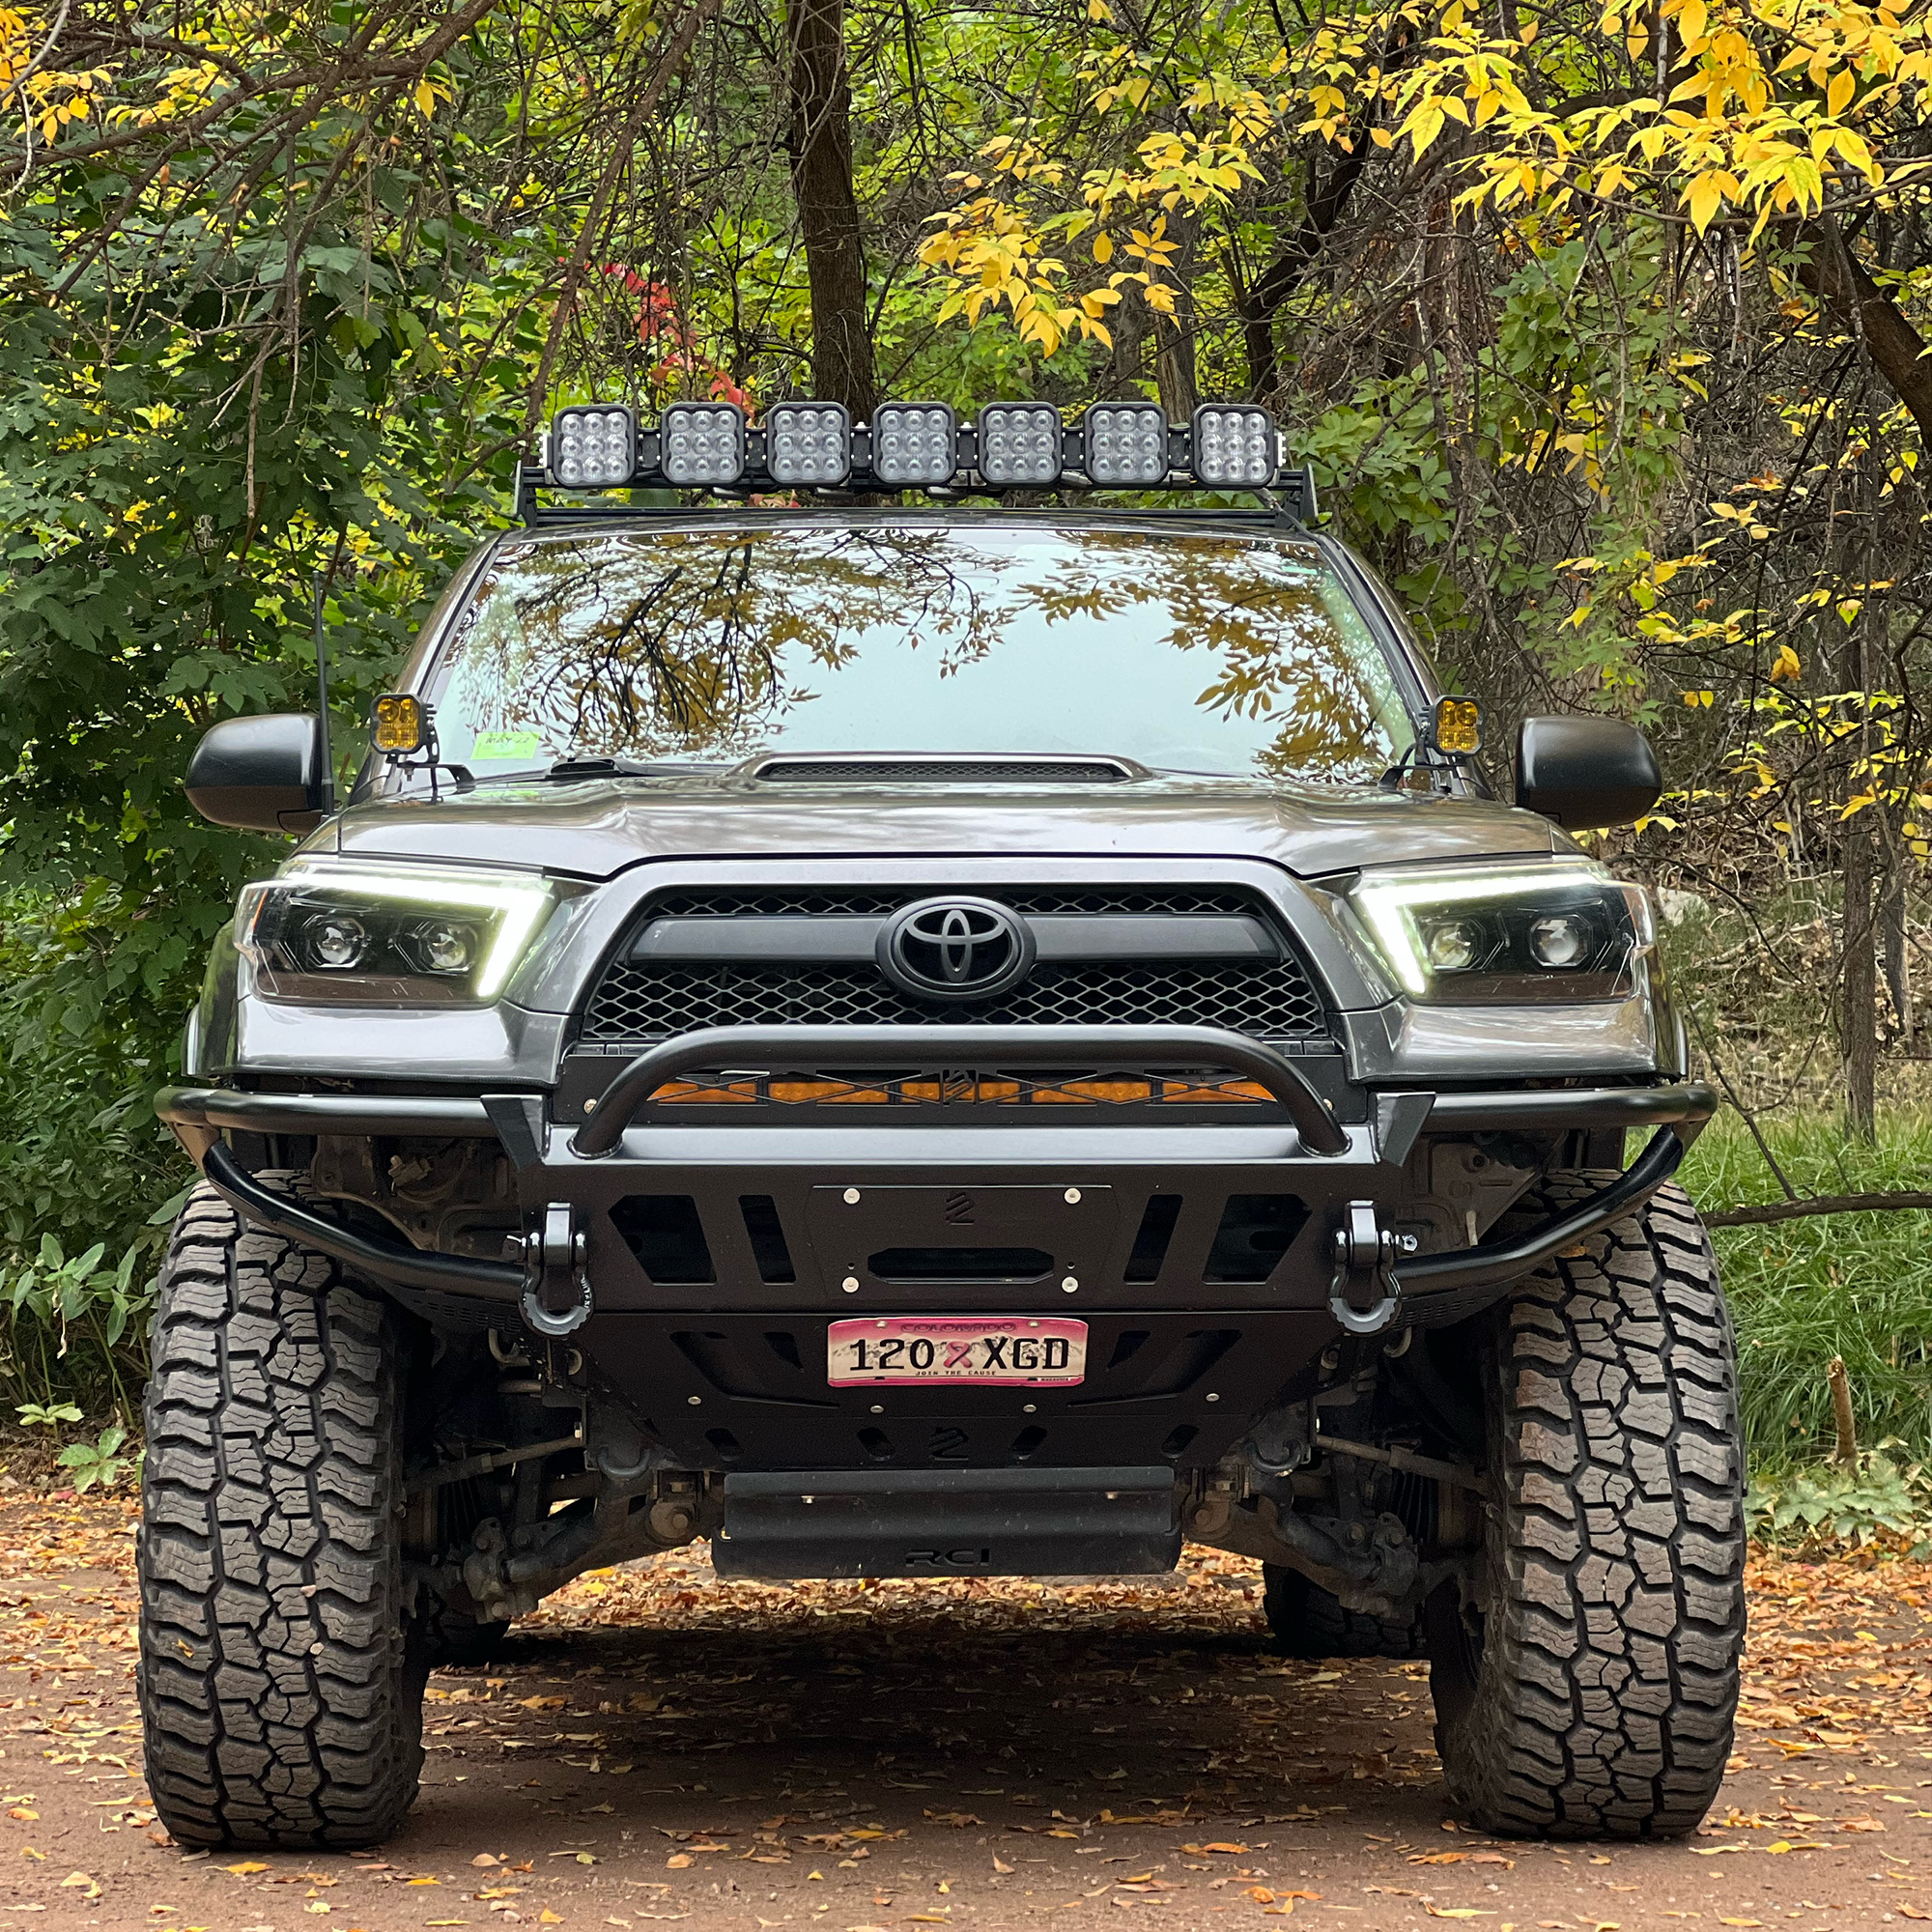
50+ inches: Roof-mounted for wide, high-output coverage
Make sure you measure the mounting area before ordering. A 42-inch bar won’t fit cleanly on a 40-inch space without sticking out or needing custom brackets.
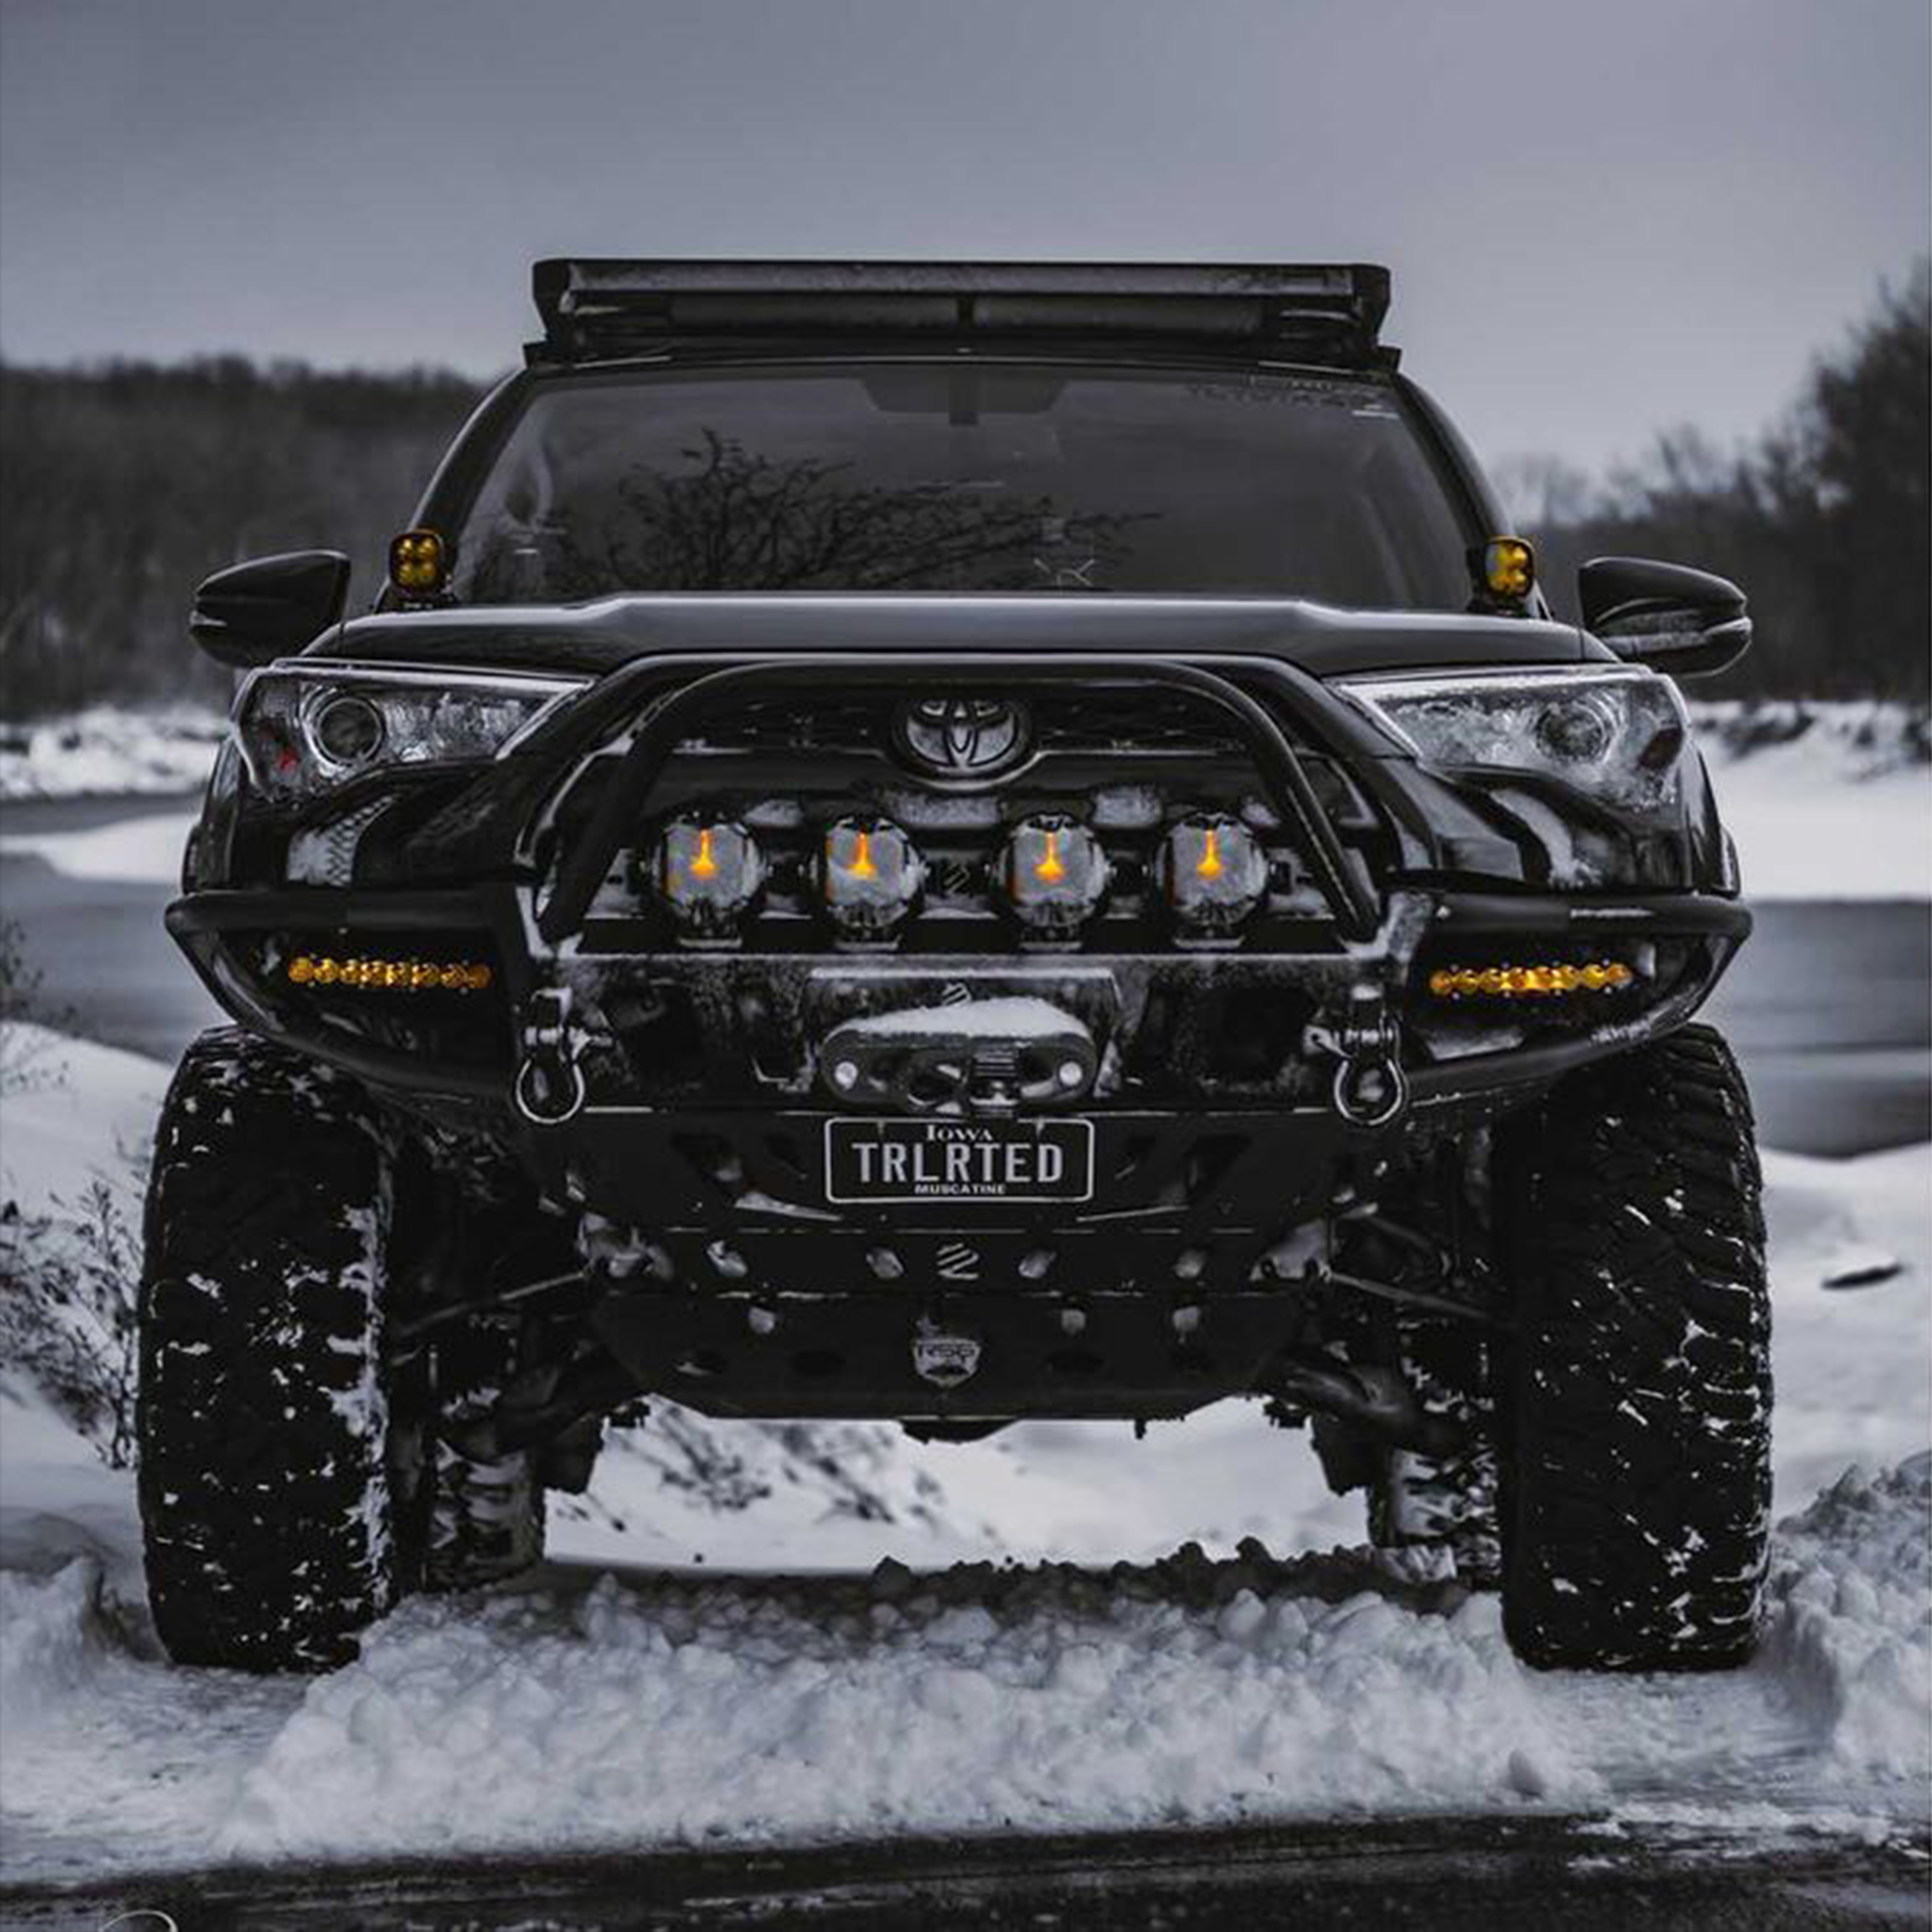
3. Know the Beam Pattern Types
You’ll see three main options:
-
Spot beam: Long and narrow. Great for distance
-
Flood beam: Shorter range but wider spread
-
Combo beam: A mix of both. Works well for all-purpose use
If you’re driving in remote areas, a combo beam is usually the safest choice. It gives you front-facing reach and side illumination.
4. Pay Attention to Lumens and Wattage
Don’t just grab the brightest option on the shelf. Higher lumen counts don’t always mean better performance.
-
Lumens tell you how much light it emits
-
Watts reflect how much power it draws
For most off-road setups, look for bars in the 6,000 to 12,000 lumen range. Anything higher tends to draw unnecessary power or requires a high-output alternator. If you run multiple accessories, stay on the lower side or use a dedicated relay harness.

5. Get the Right Wiring Harness
A wiring harness isn’t just a bundle of wires. It’s the backbone of a reliable lighting system. A poor-quality harness can lead to flickering lights, blown fuses, or worse, electrical fires.
Here’s what to look for:
-
14-gauge wire or thicker handles most LED loads without overheating
-
Inline fuse protects your truck’s electrical system
-
Waterproof connectors are necessary for off-road use
-
Relay switch prevents high current from reaching your cabin switch
-
Switch type: Toggle, rocker, or OEM-style depending on where you mount it
Most reputable light bar kits come with a harness, but they’re not all built the same. If you’re adding multiple light bars or auxiliary lights, use a dual-output or multi-relay harness to keep everything running smoothly.
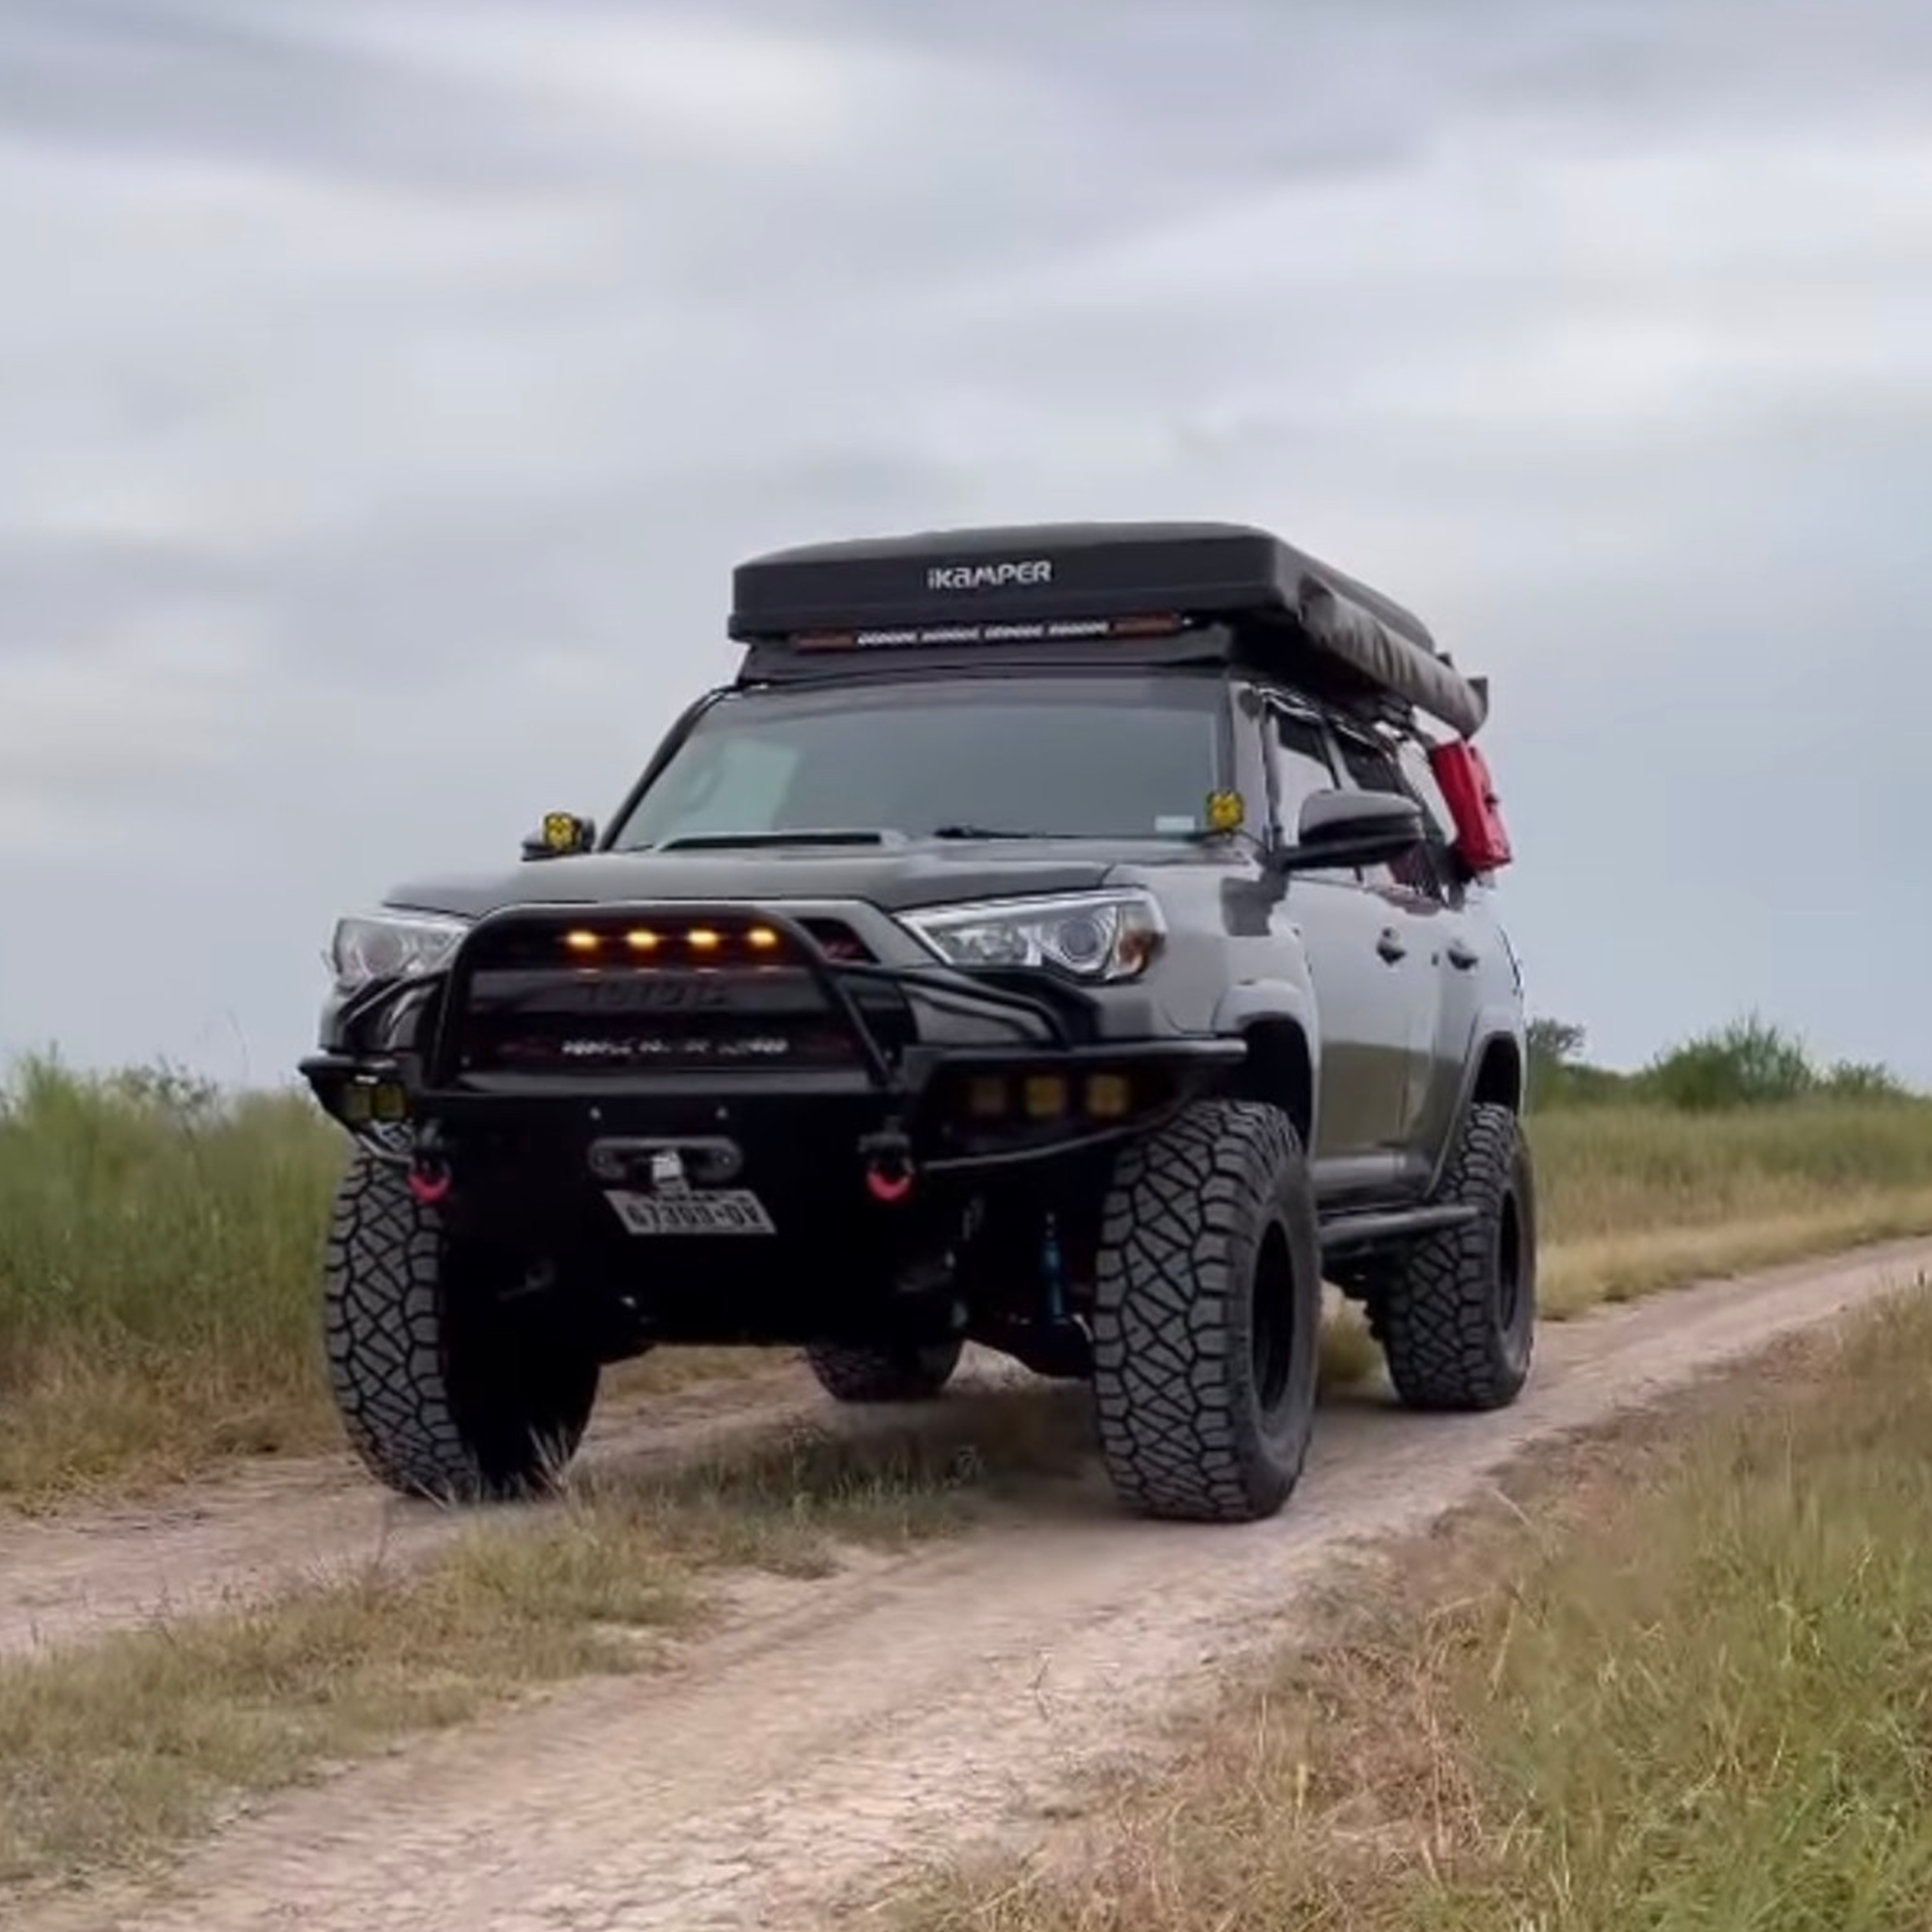
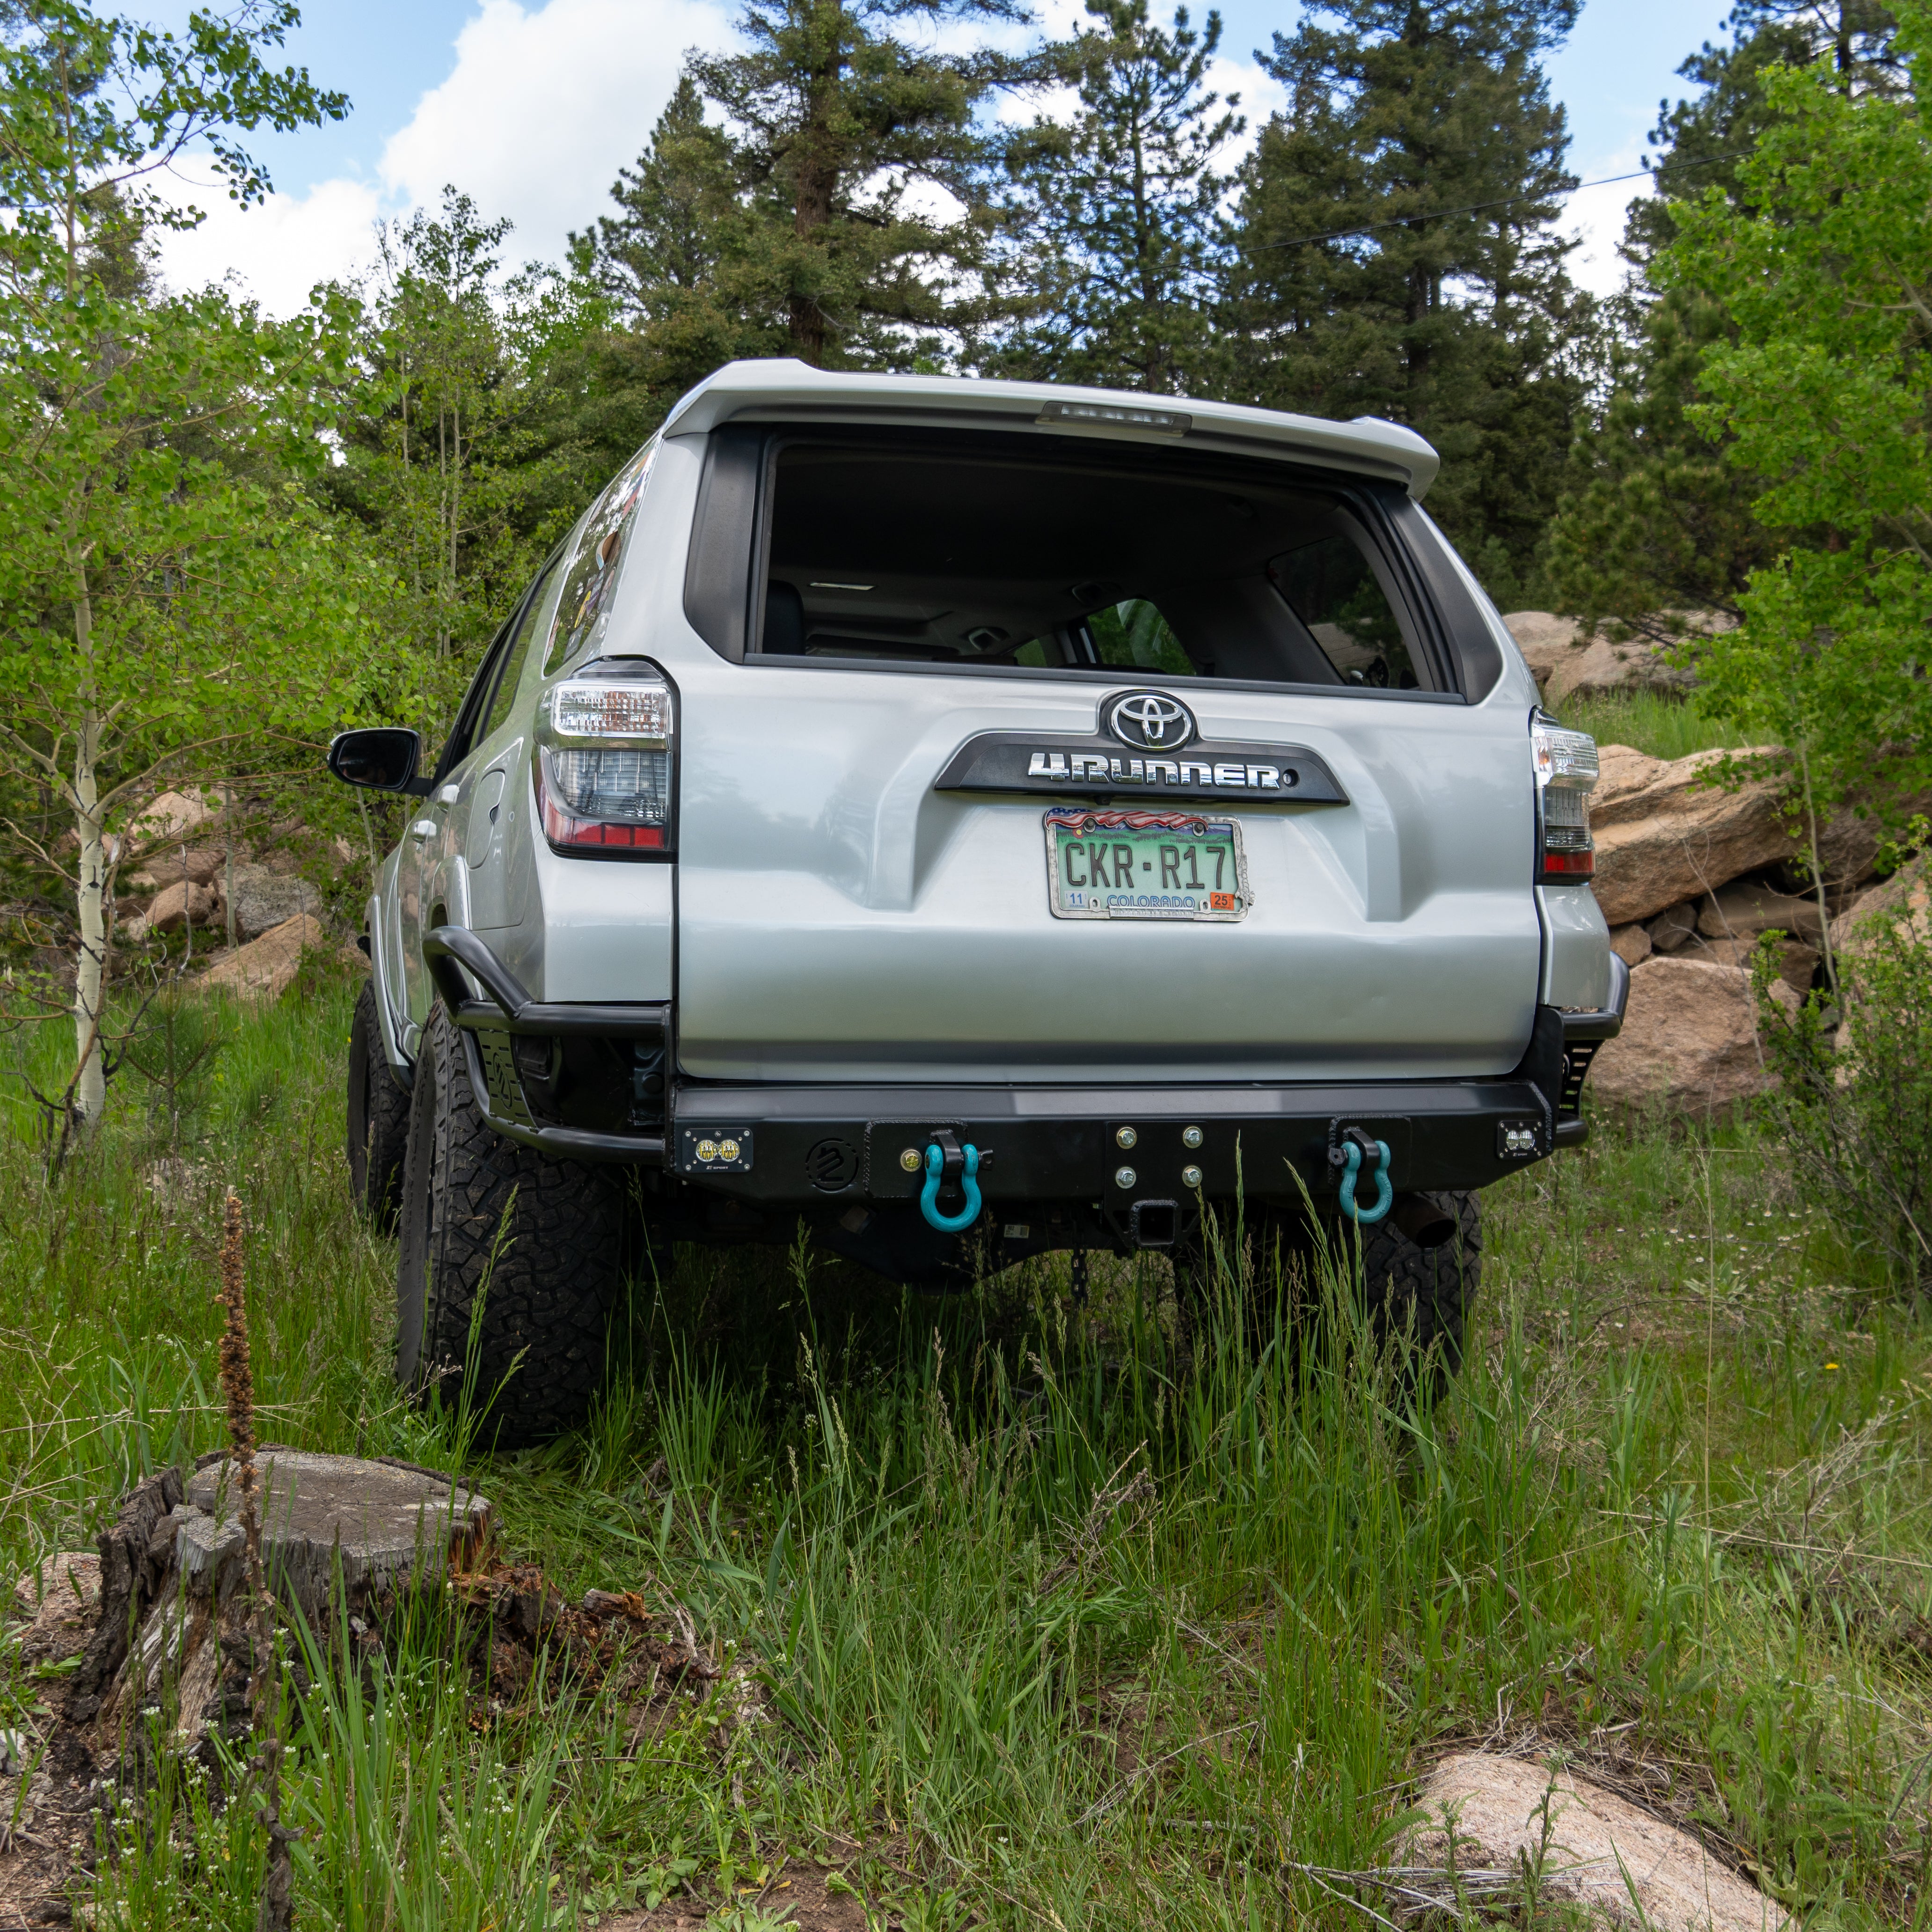
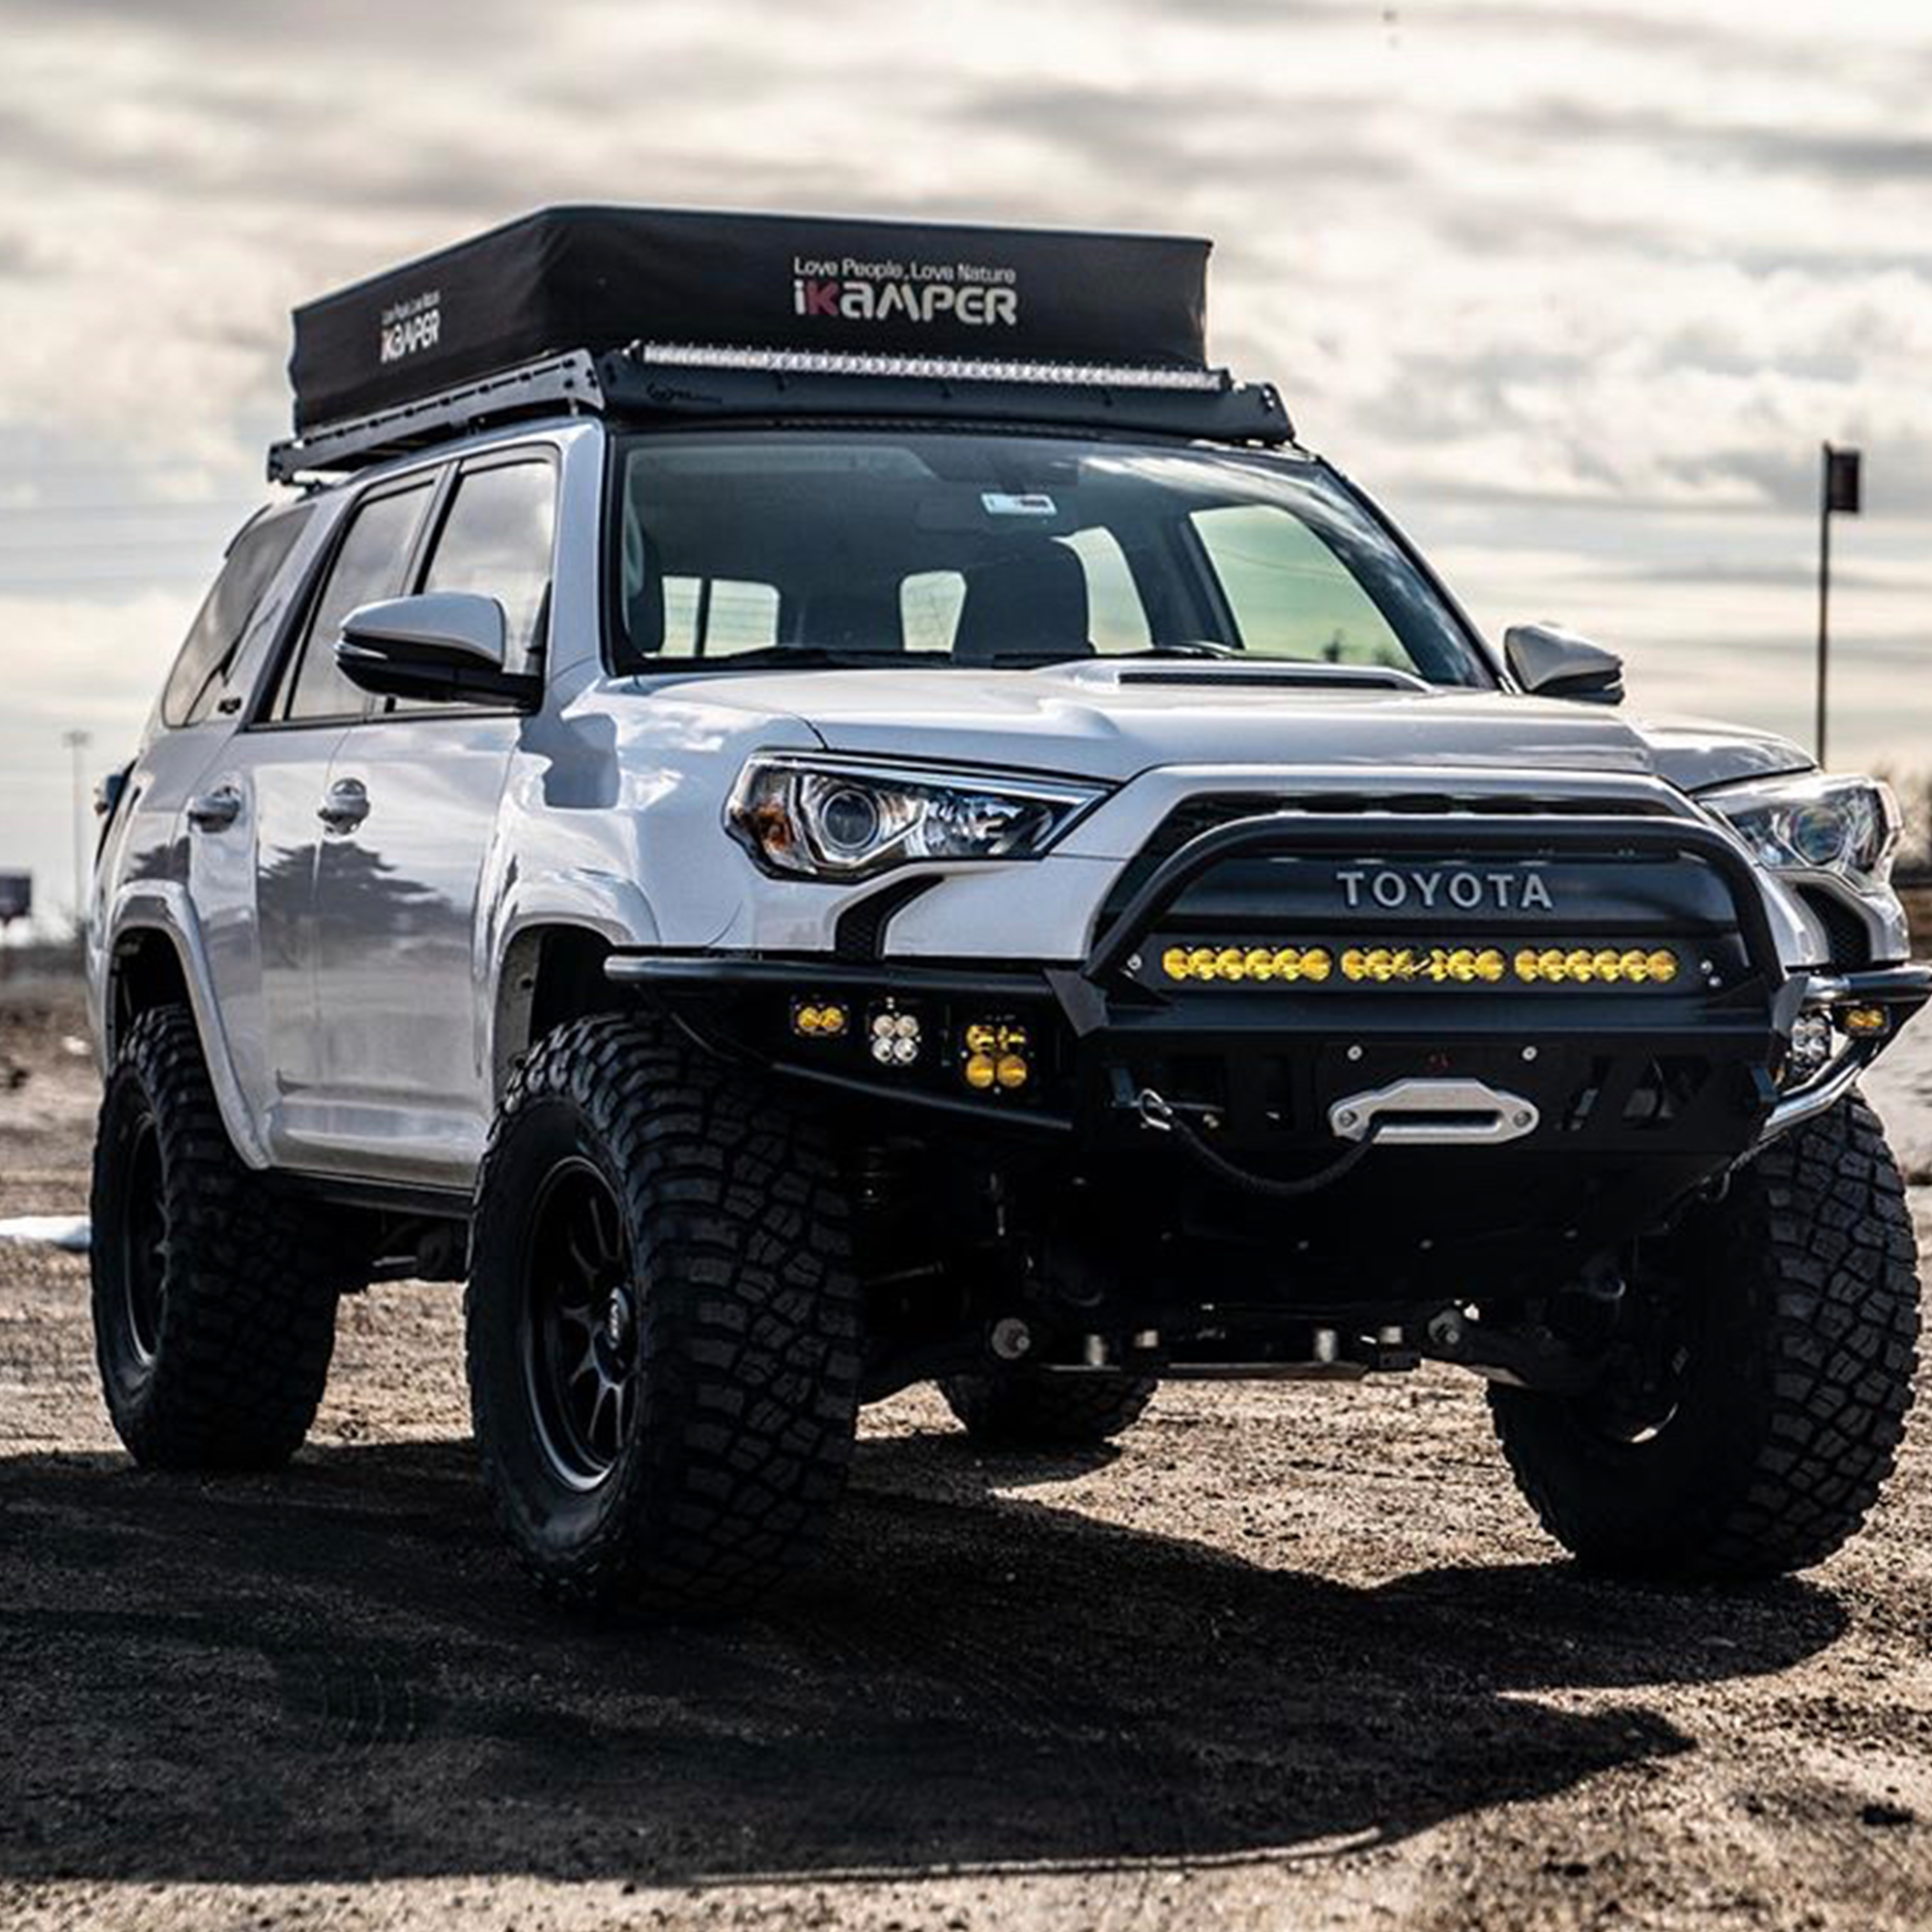
6. Mind Your Mounting Location
Where you mount the light bar affects beam spread, wind noise, and legality.
-
Roof: Best for wide beams but adds drag and noise
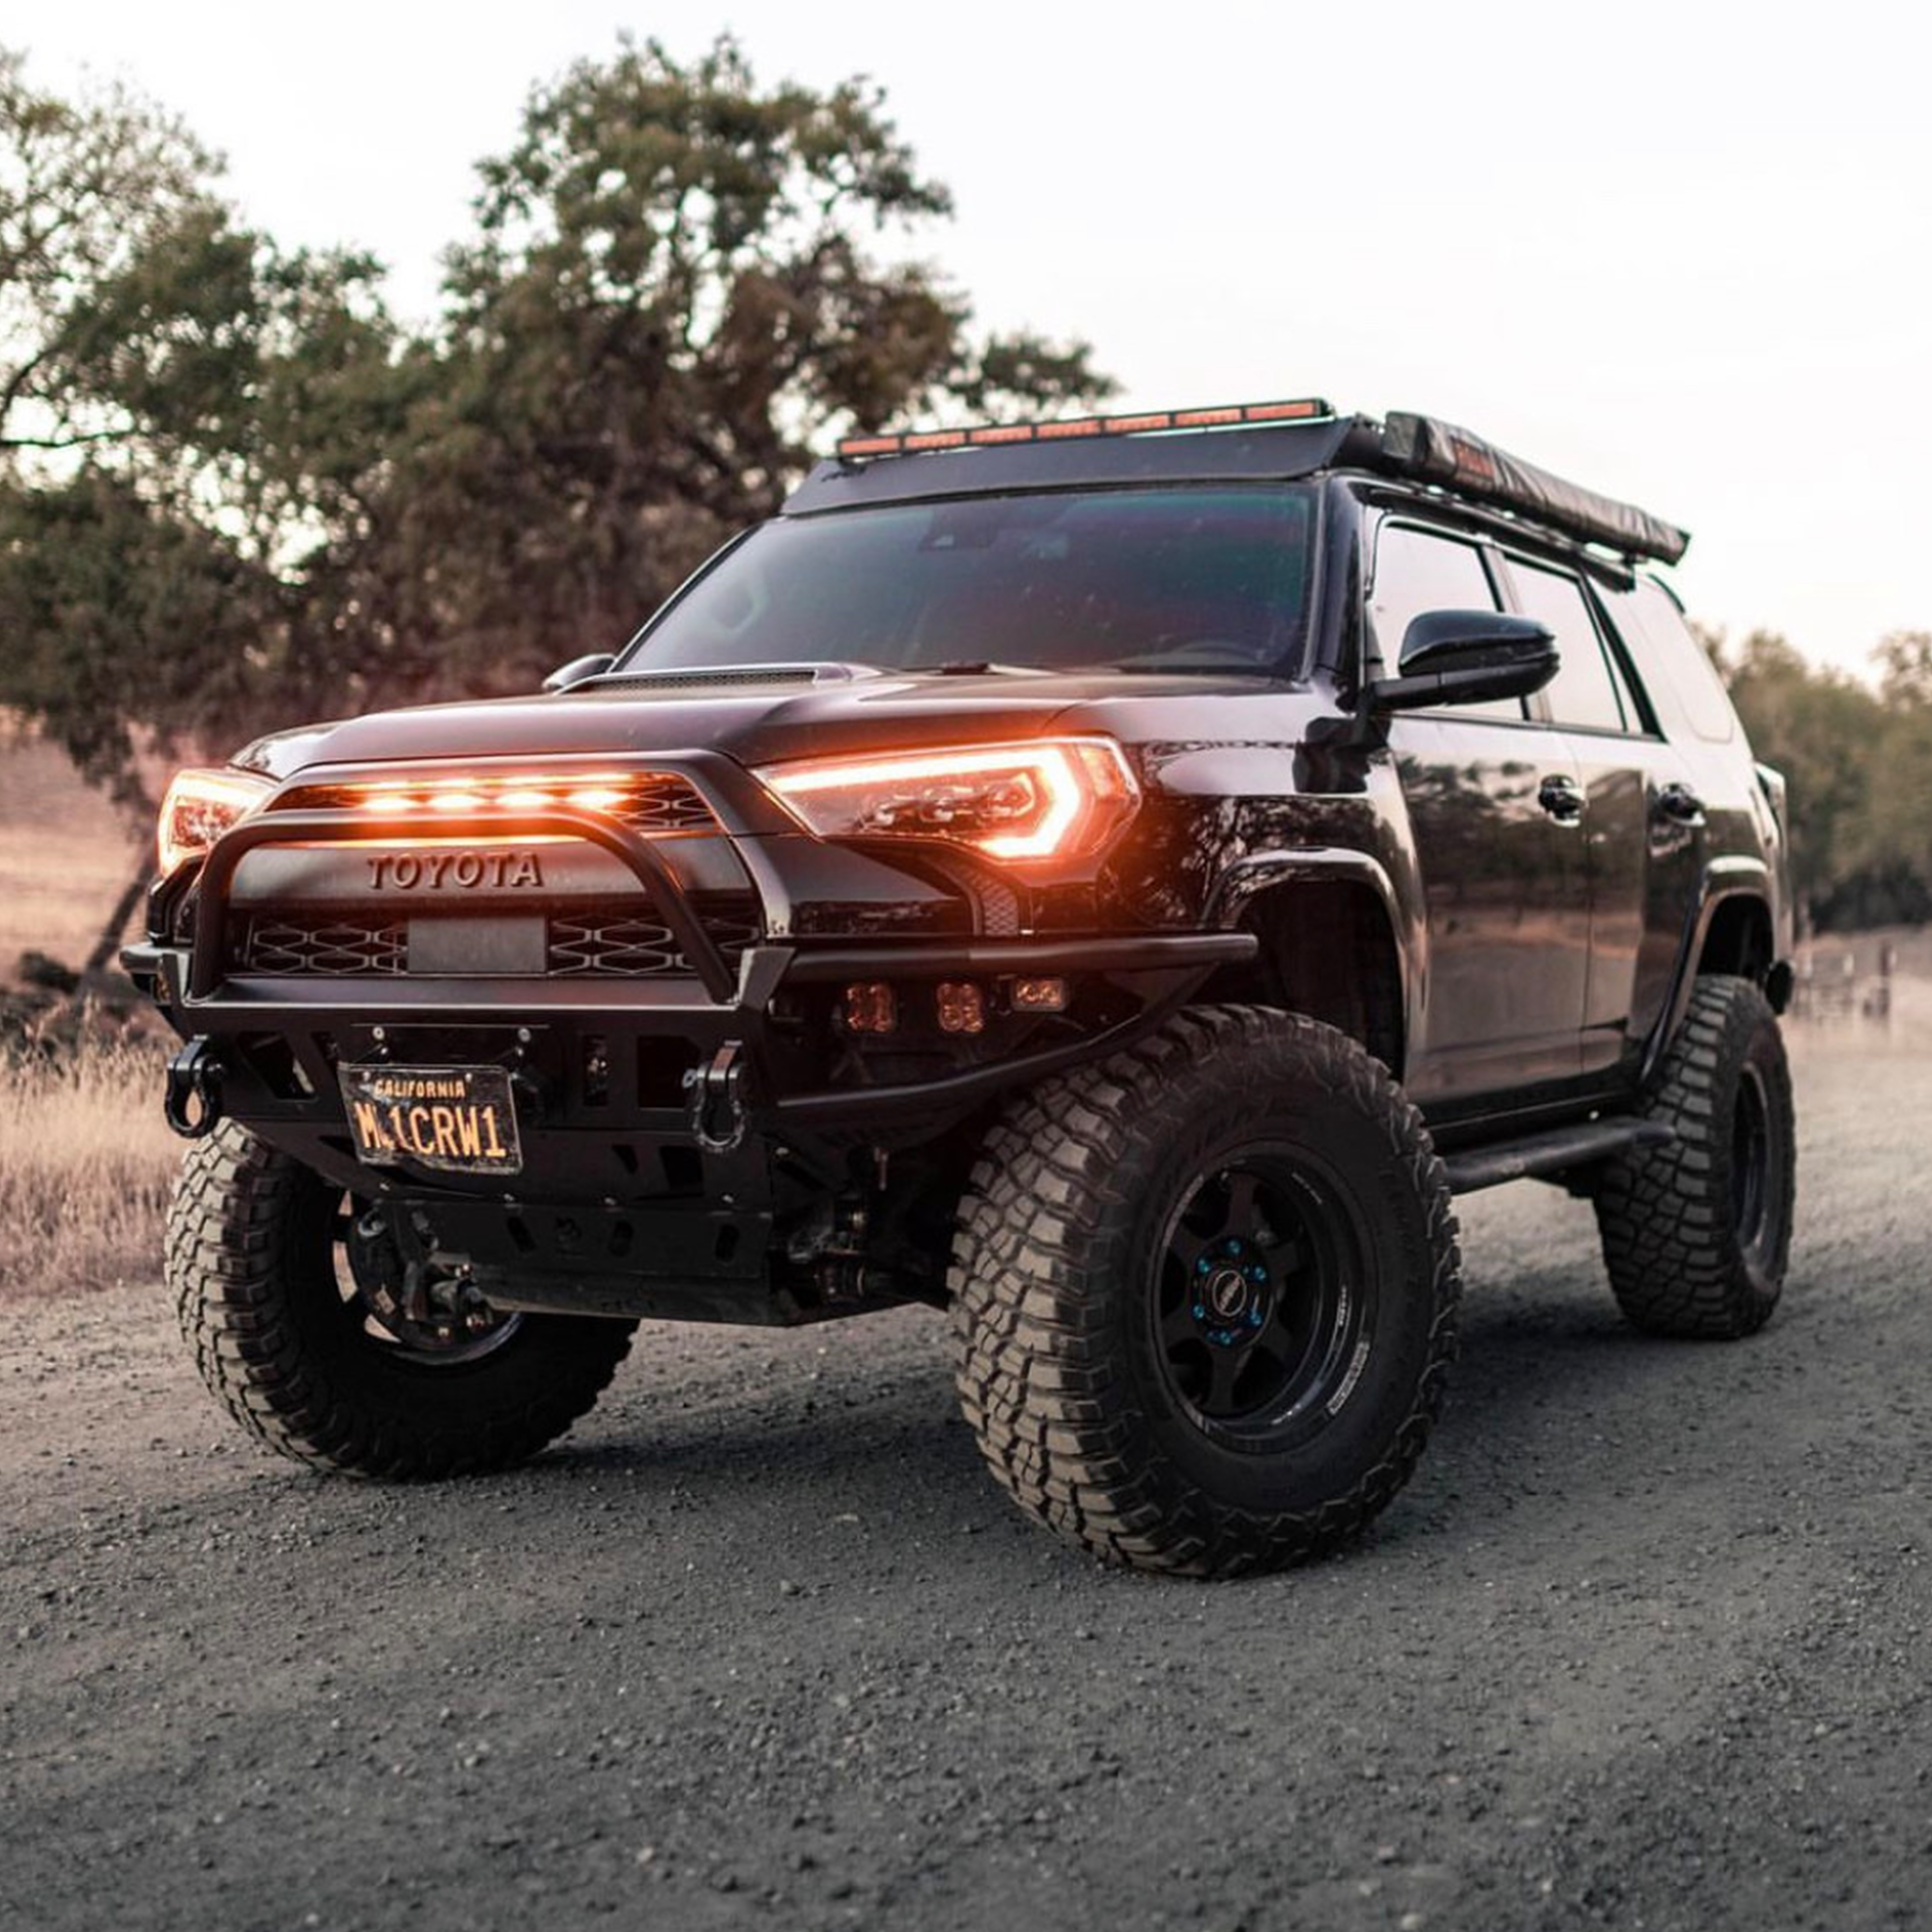
-
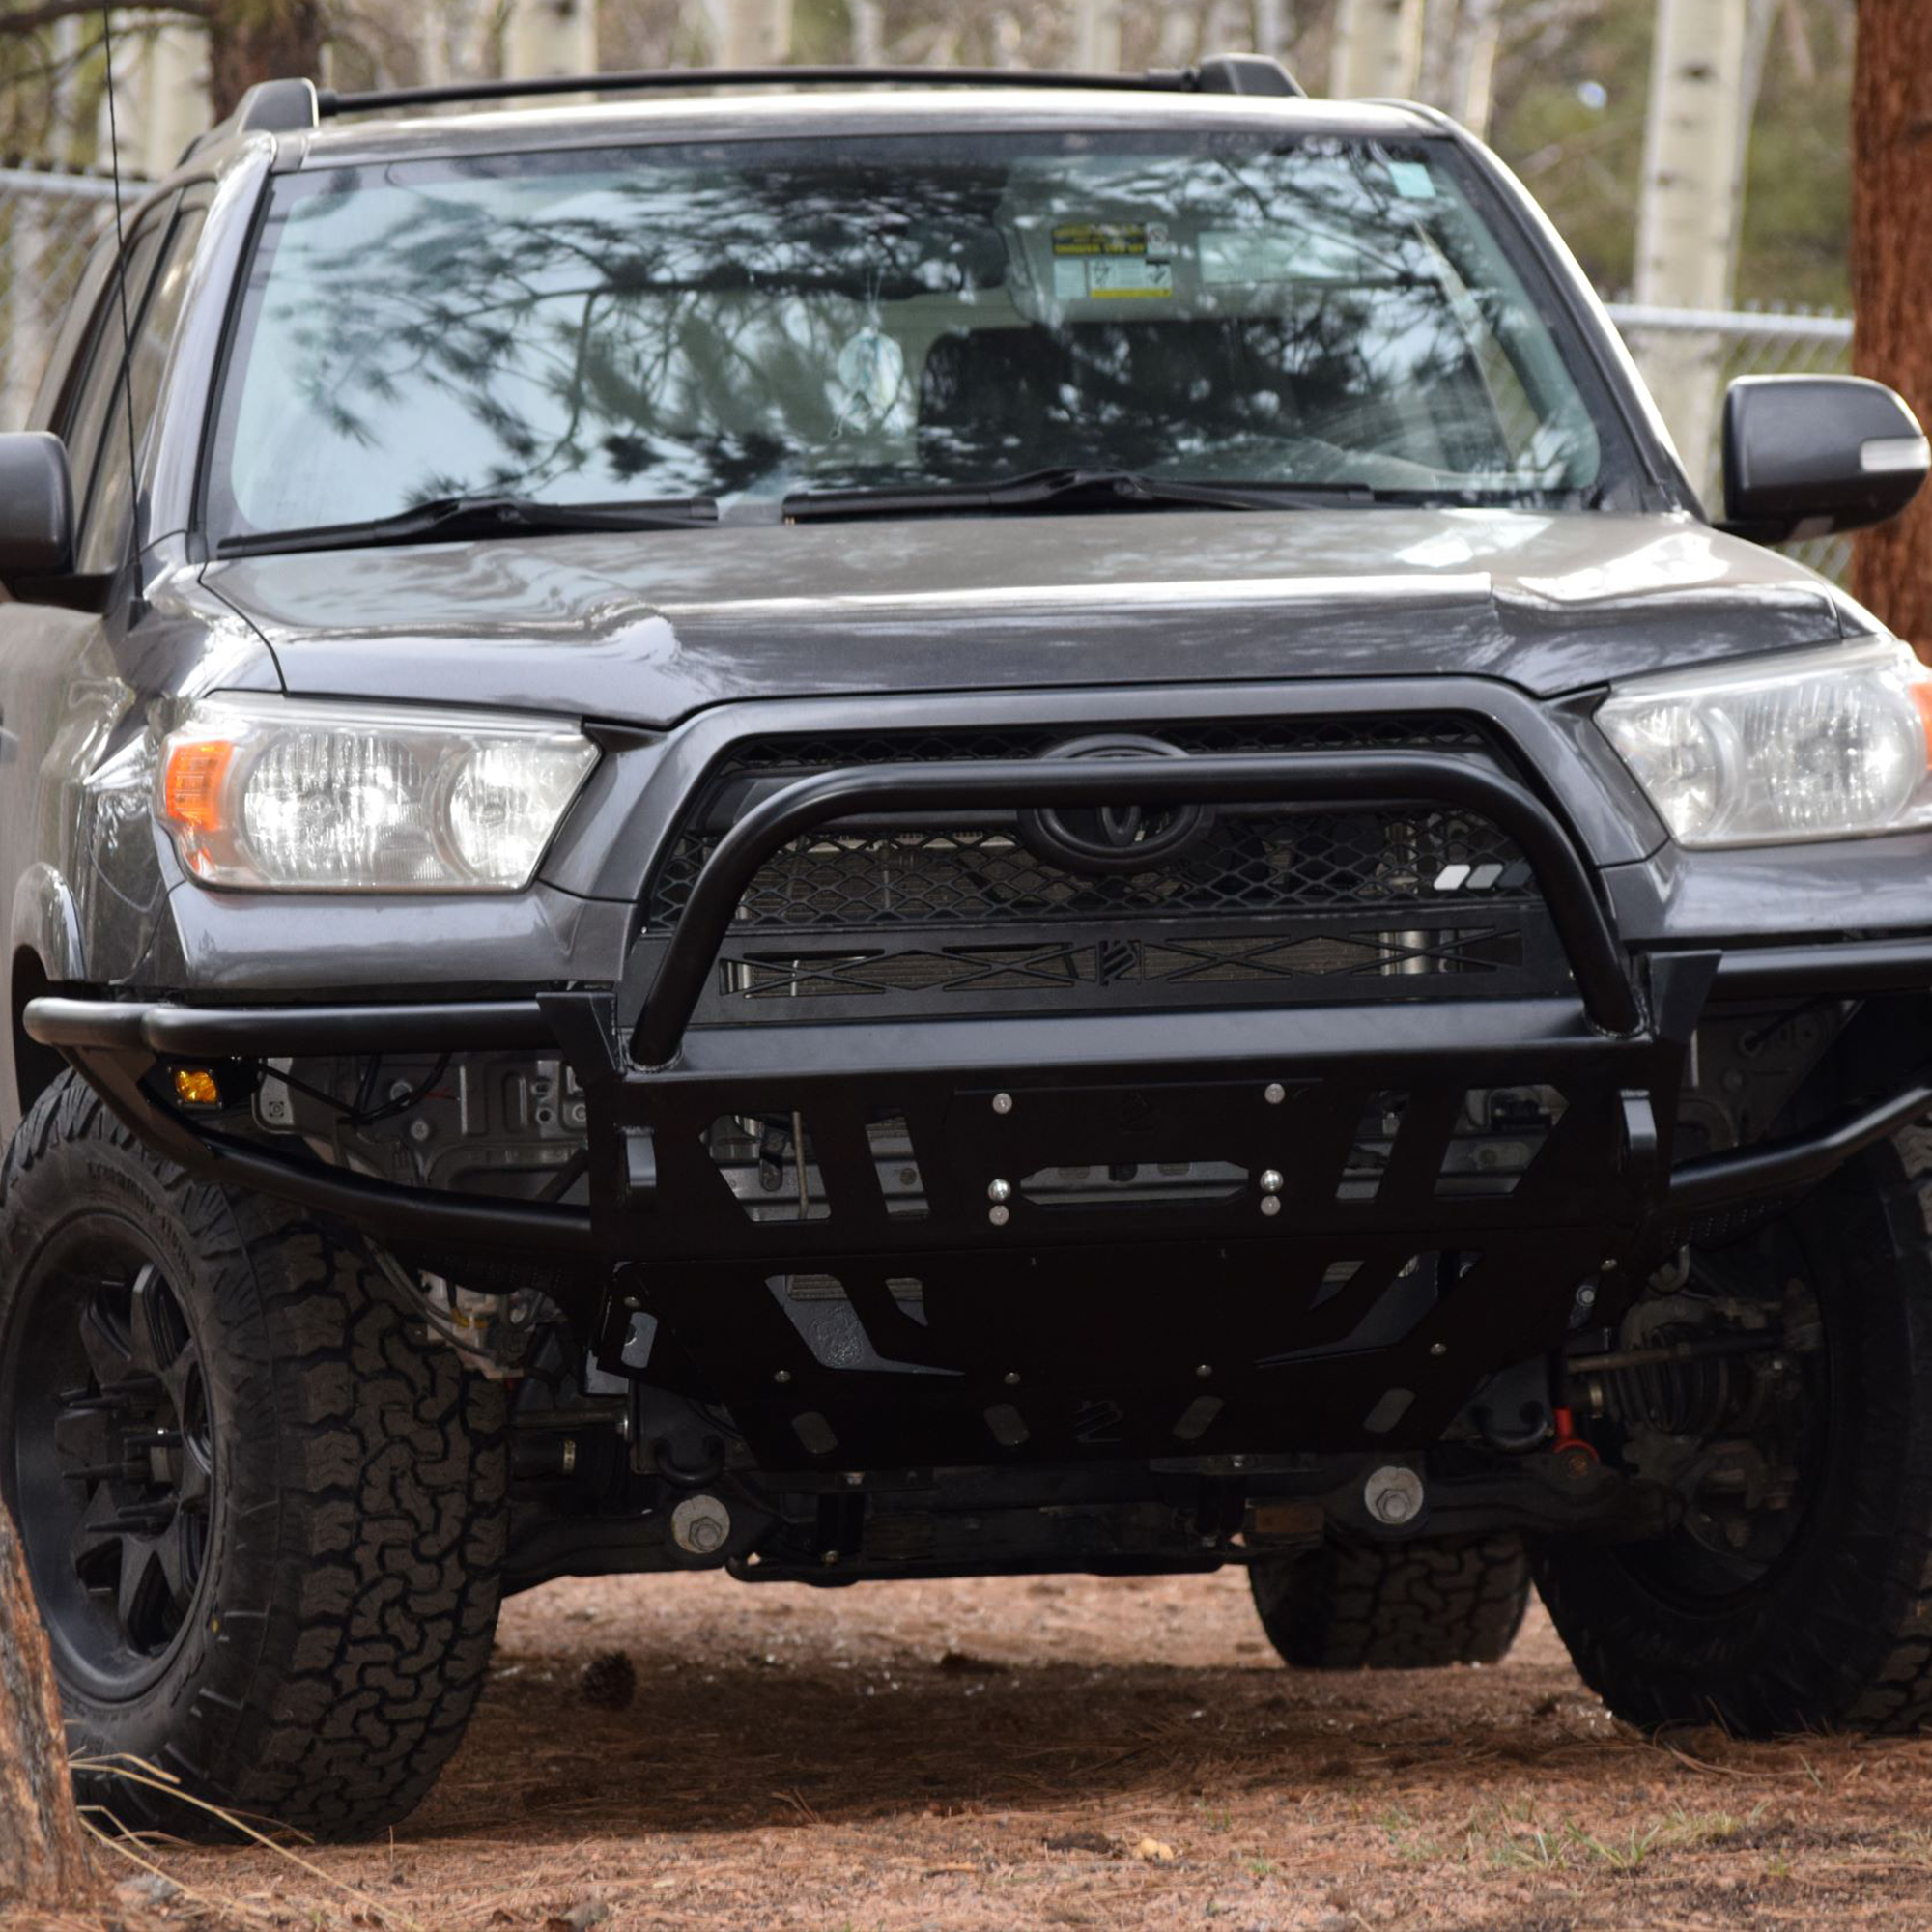
Grille: Low profile and stealthy, but may have reduced range
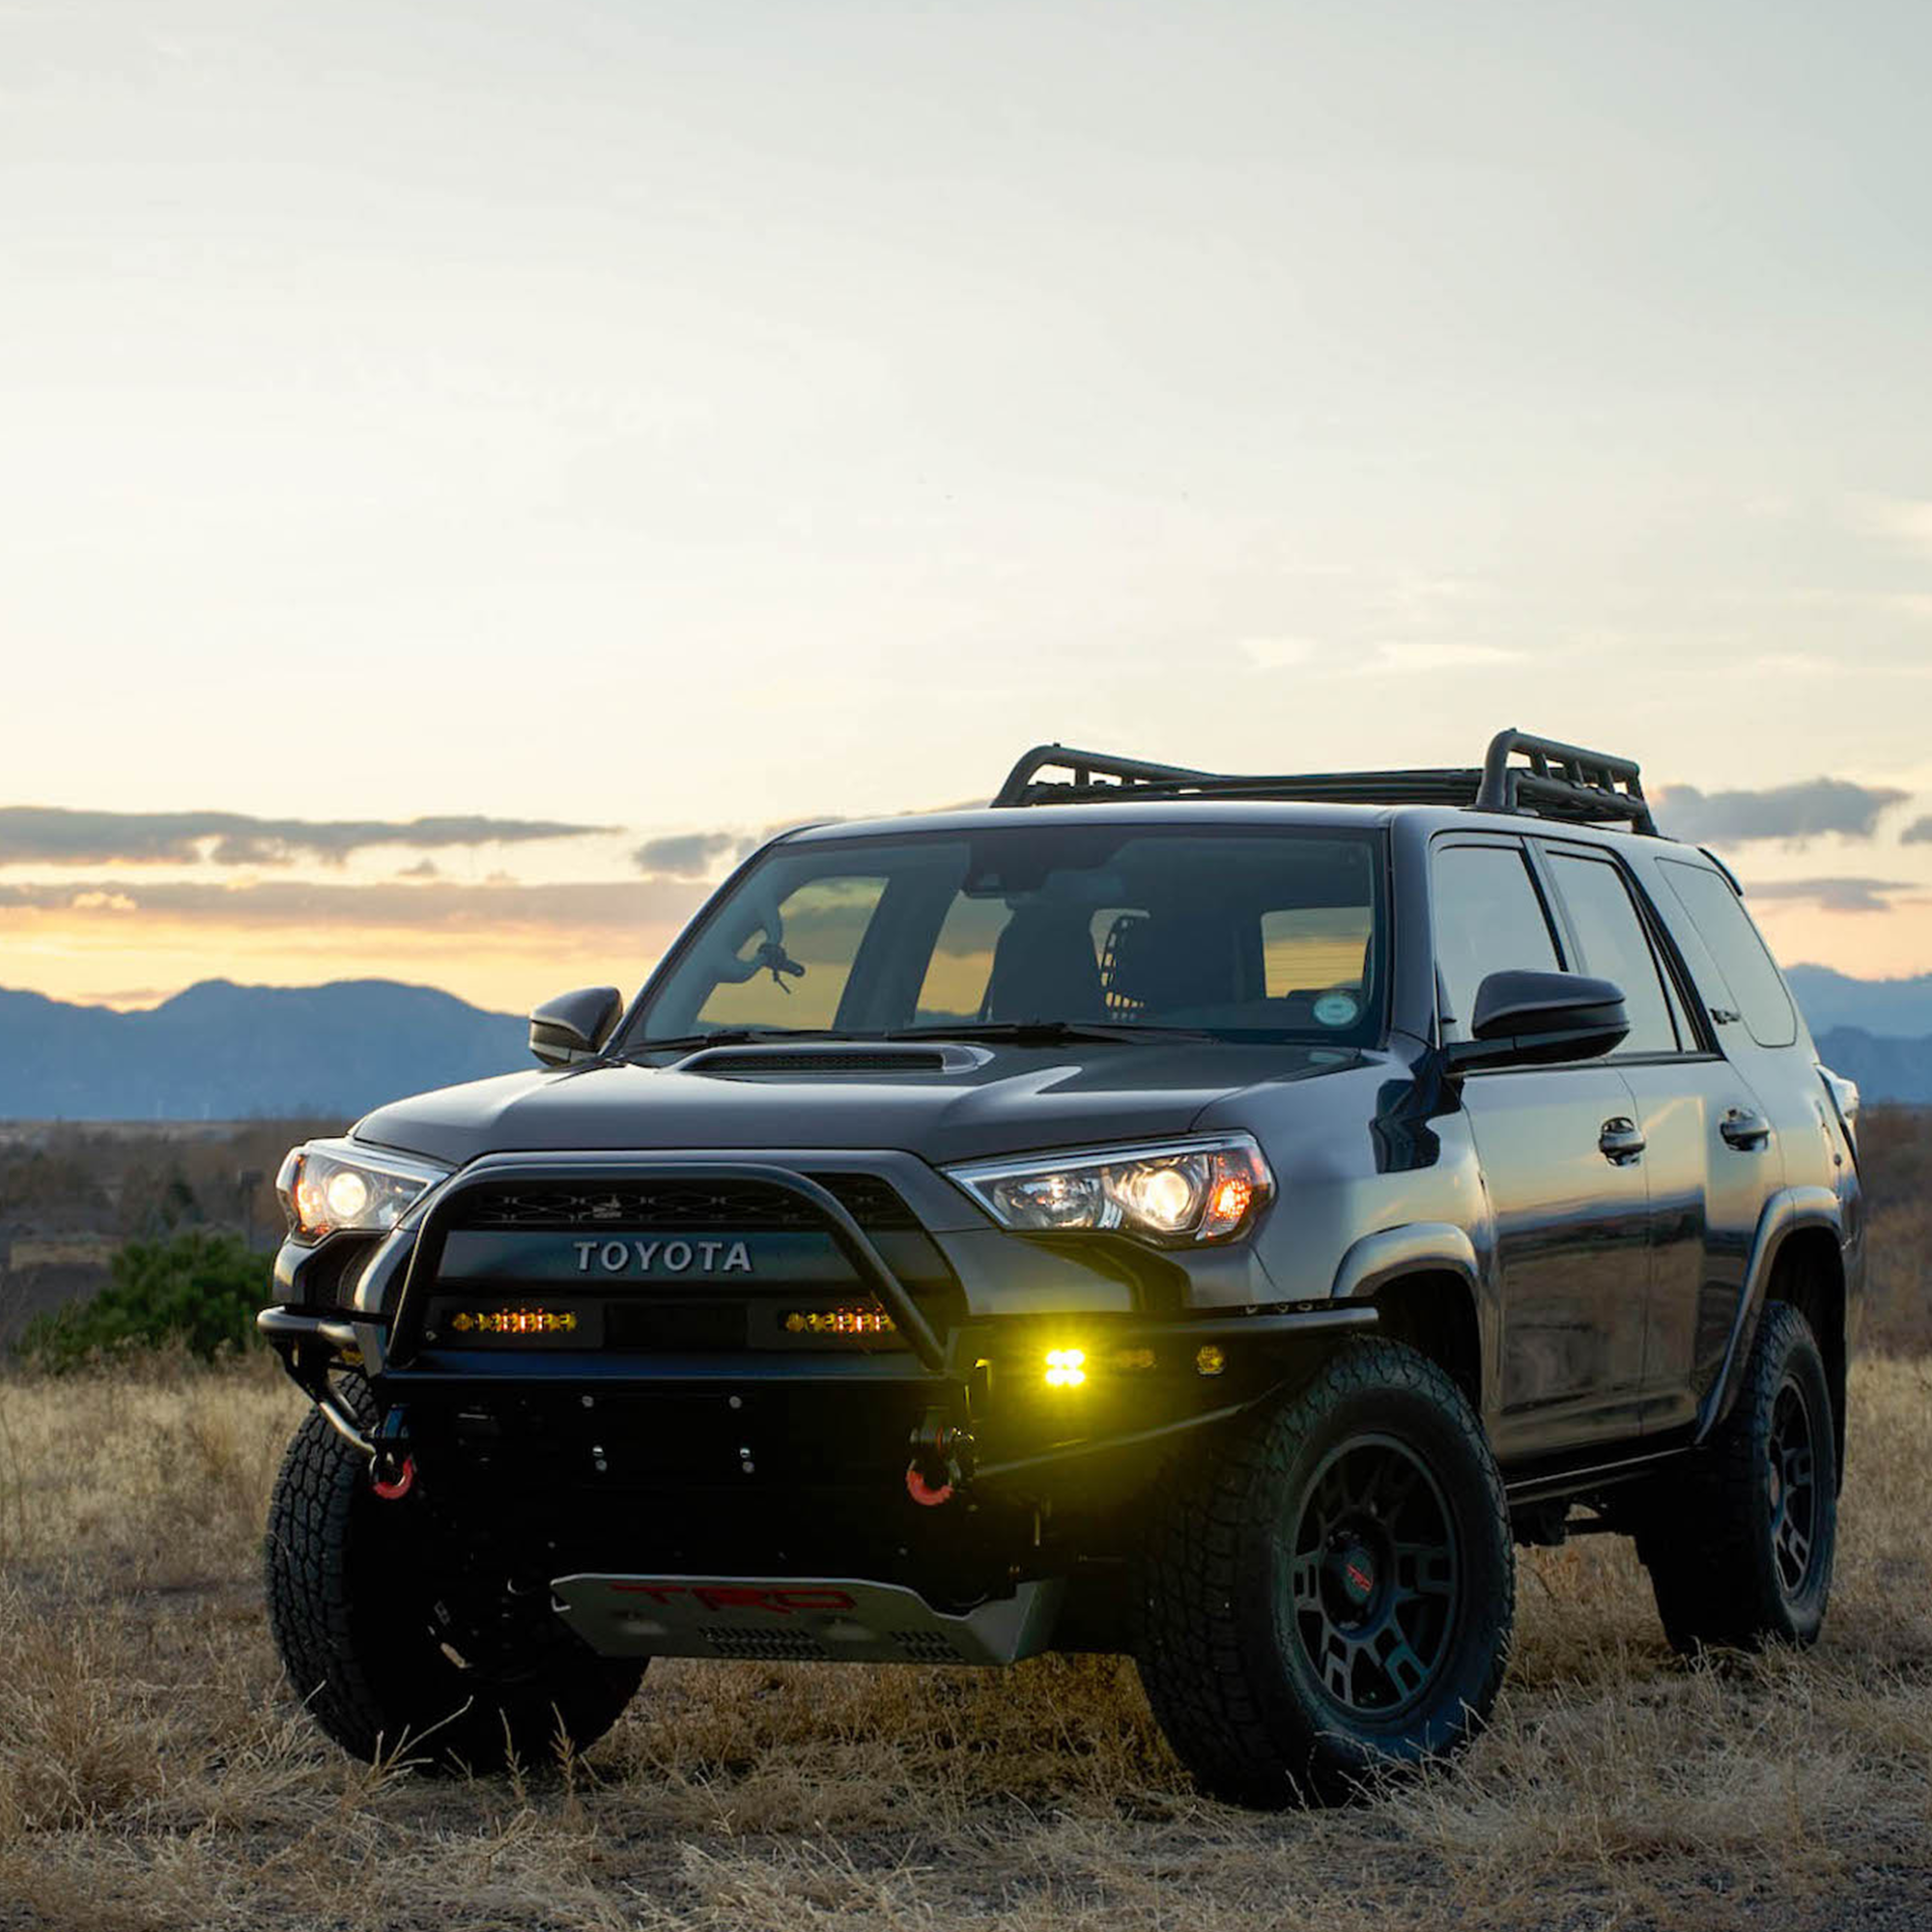
-
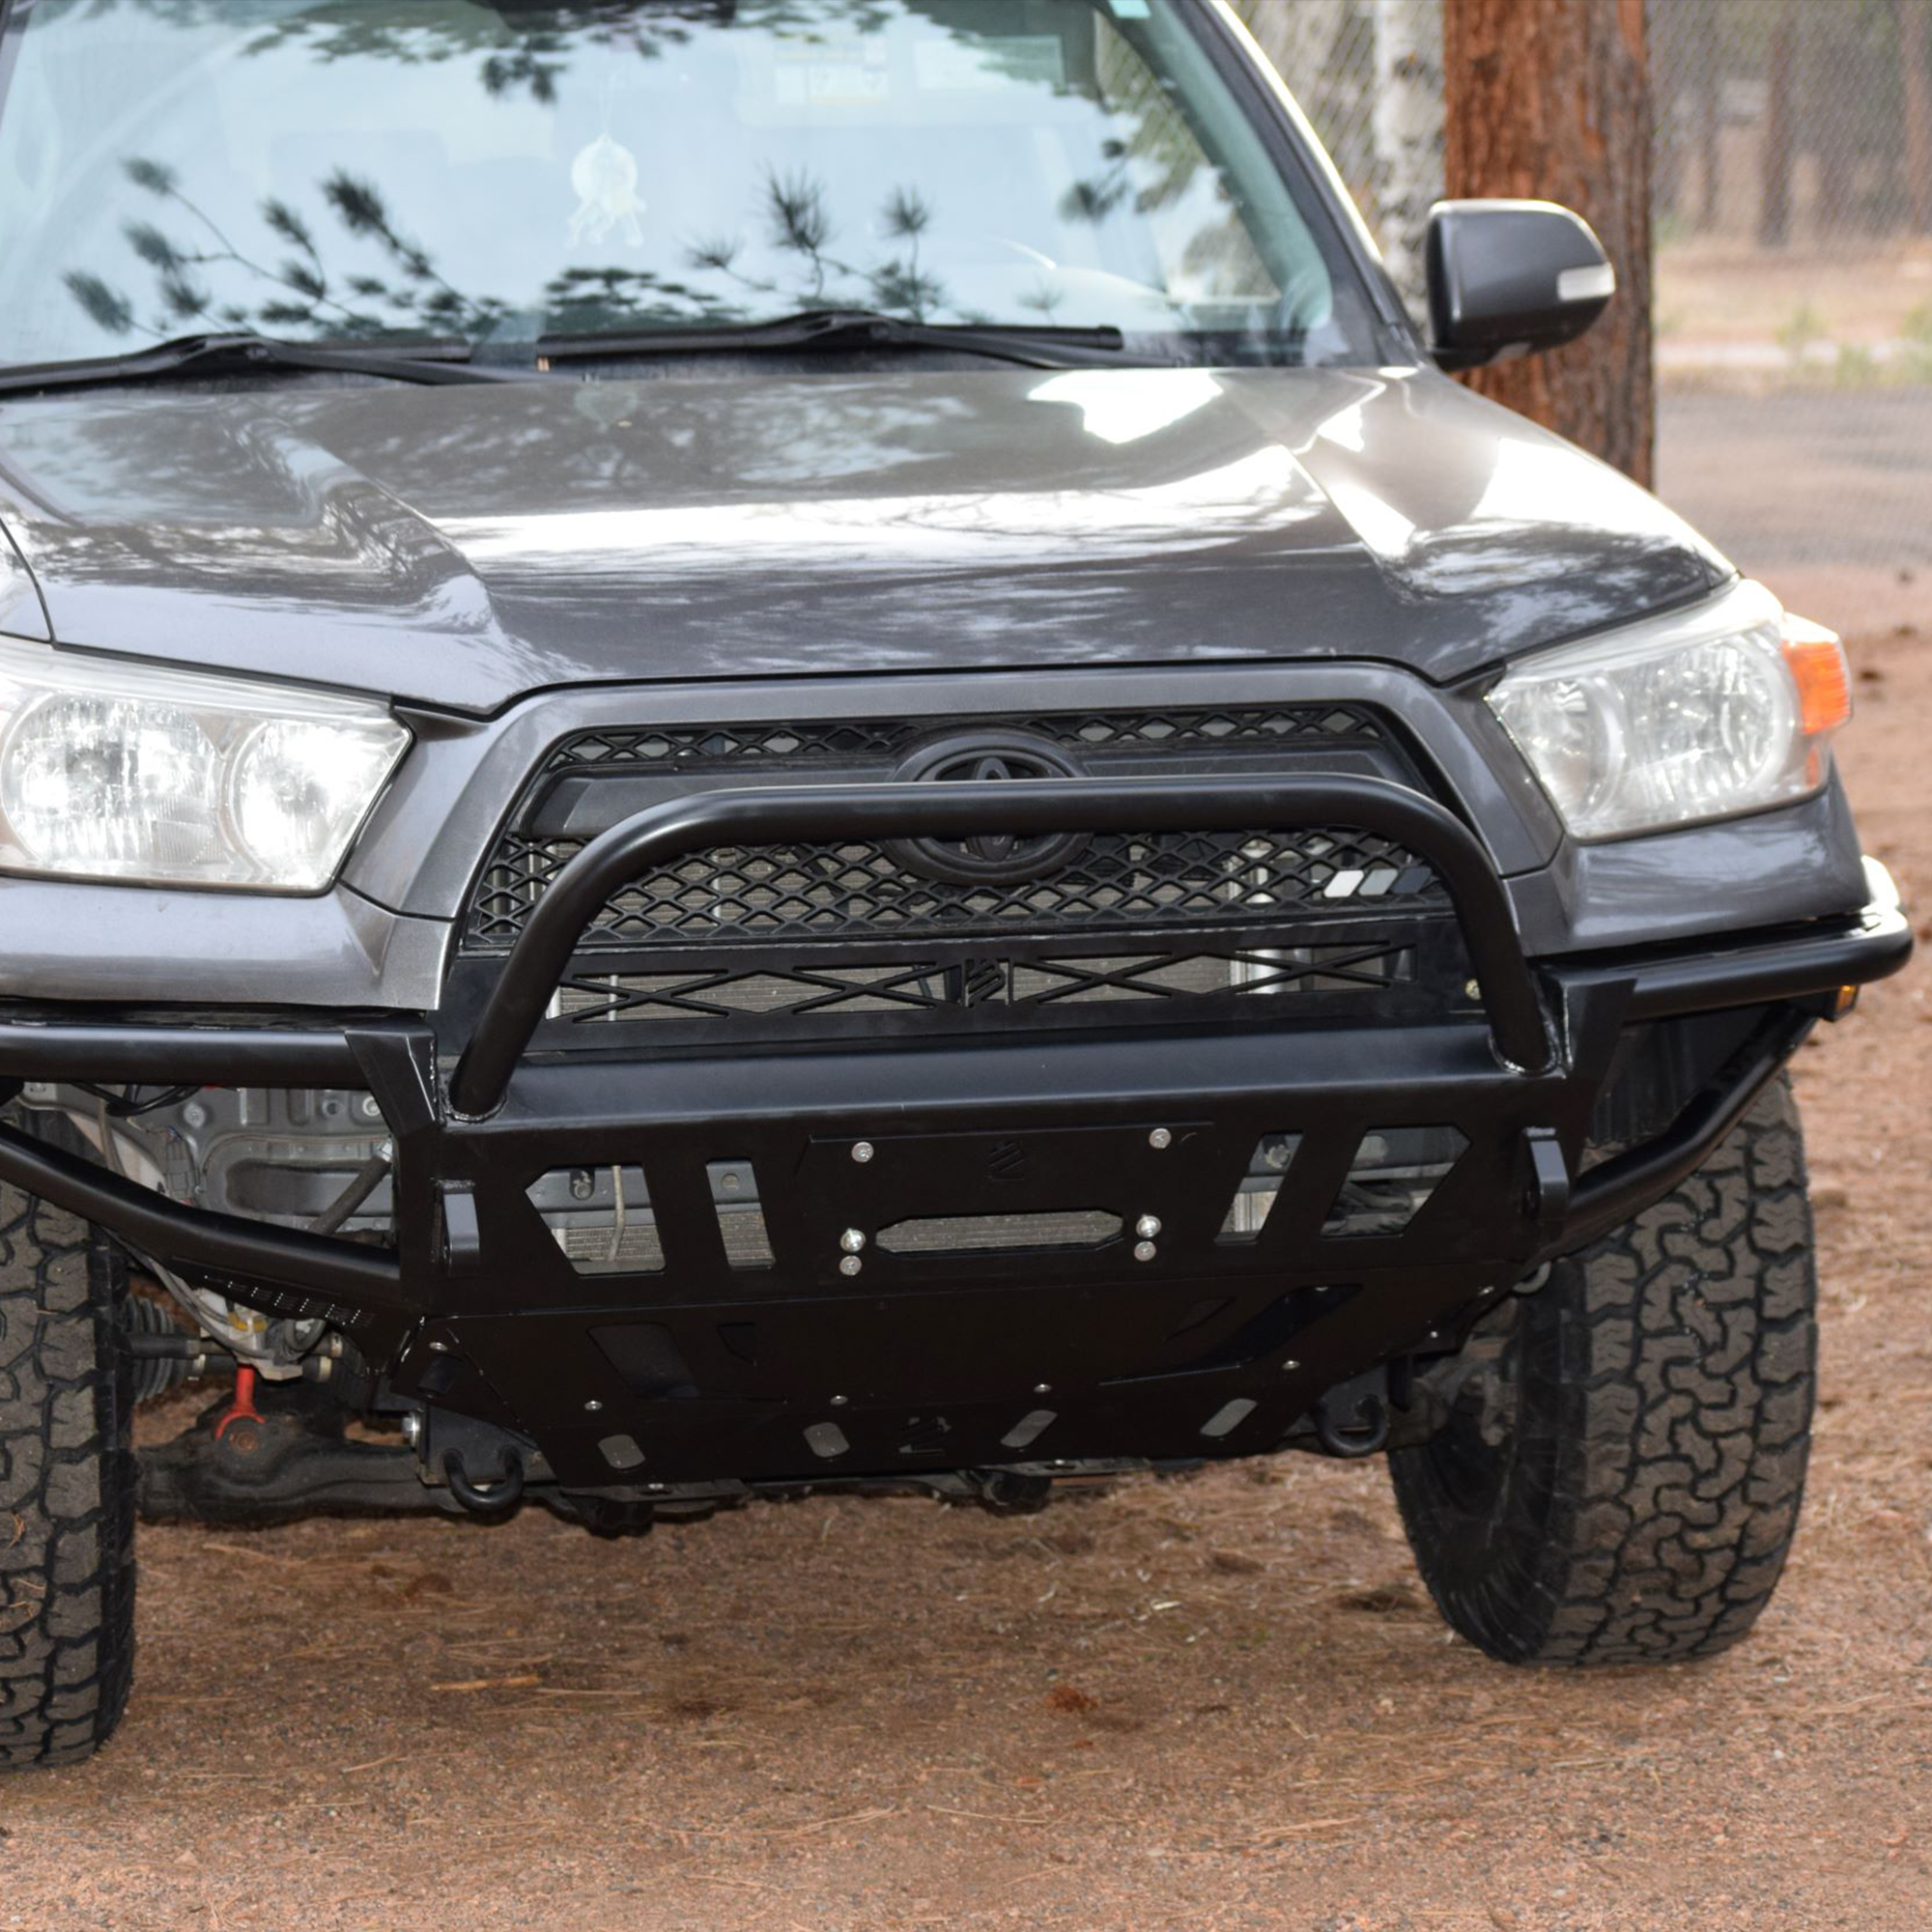
Bumper: Common choice with balanced performance and protection
-
A-pillar or ditch lights: Fill in gaps on the sides
Some states restrict light bar usage on highways or require covers when not in use. Check local laws before installing. Better to do it right the first time than risk a citation.
7. Plan for Expandability
If you plan to add more lights later such as rock lights, pods, or rear chasers, don’t box yourself in with a single circuit harness. Choose a harness with expansion in mind or use a switch panel system with multiple outputs.
Also consider the use of a fuse block or distribution panel. These allow clean, safe power distribution without tapping into your truck’s factory wiring. That keeps your warranty intact and your dash free of hacked switches.
8. Don’t Skip Weatherproofing
Light bars and wiring live in the worst conditions: rain, mud, heat, snow. So don’t cheap out on protection.
Look for:
-
IP67 or IP68 ratings on lights and harnesses
-
Heat shrink tubing or dielectric grease on connections
-
UV-resistant sheathing on exposed wiring
Take the time to route wires cleanly and away from hot engine components or sharp edges. A few extra minutes of prep can save hours of troubleshooting later.

Final Tip: Buy from a Trusted Source
It’s tempting to grab the cheapest thing online, but quality matters here. Inferior wiring can fry your system. Low-end light bars often fail within a few months or give you uneven light output.
If you want gear that works and lasts, check out Lil B’s Fabrication. Their light bars and wiring harnesses are built to perform. No gimmicks. Just clean installs and reliable hardware.
Shop now at Lil B’s Fabrication to get lighting gear you can actually trust.
Share:
Why Custom Truck Bumpers Are Worth the Upgrade
How to Prep Your Toyota for Its First Off-Roading Trip