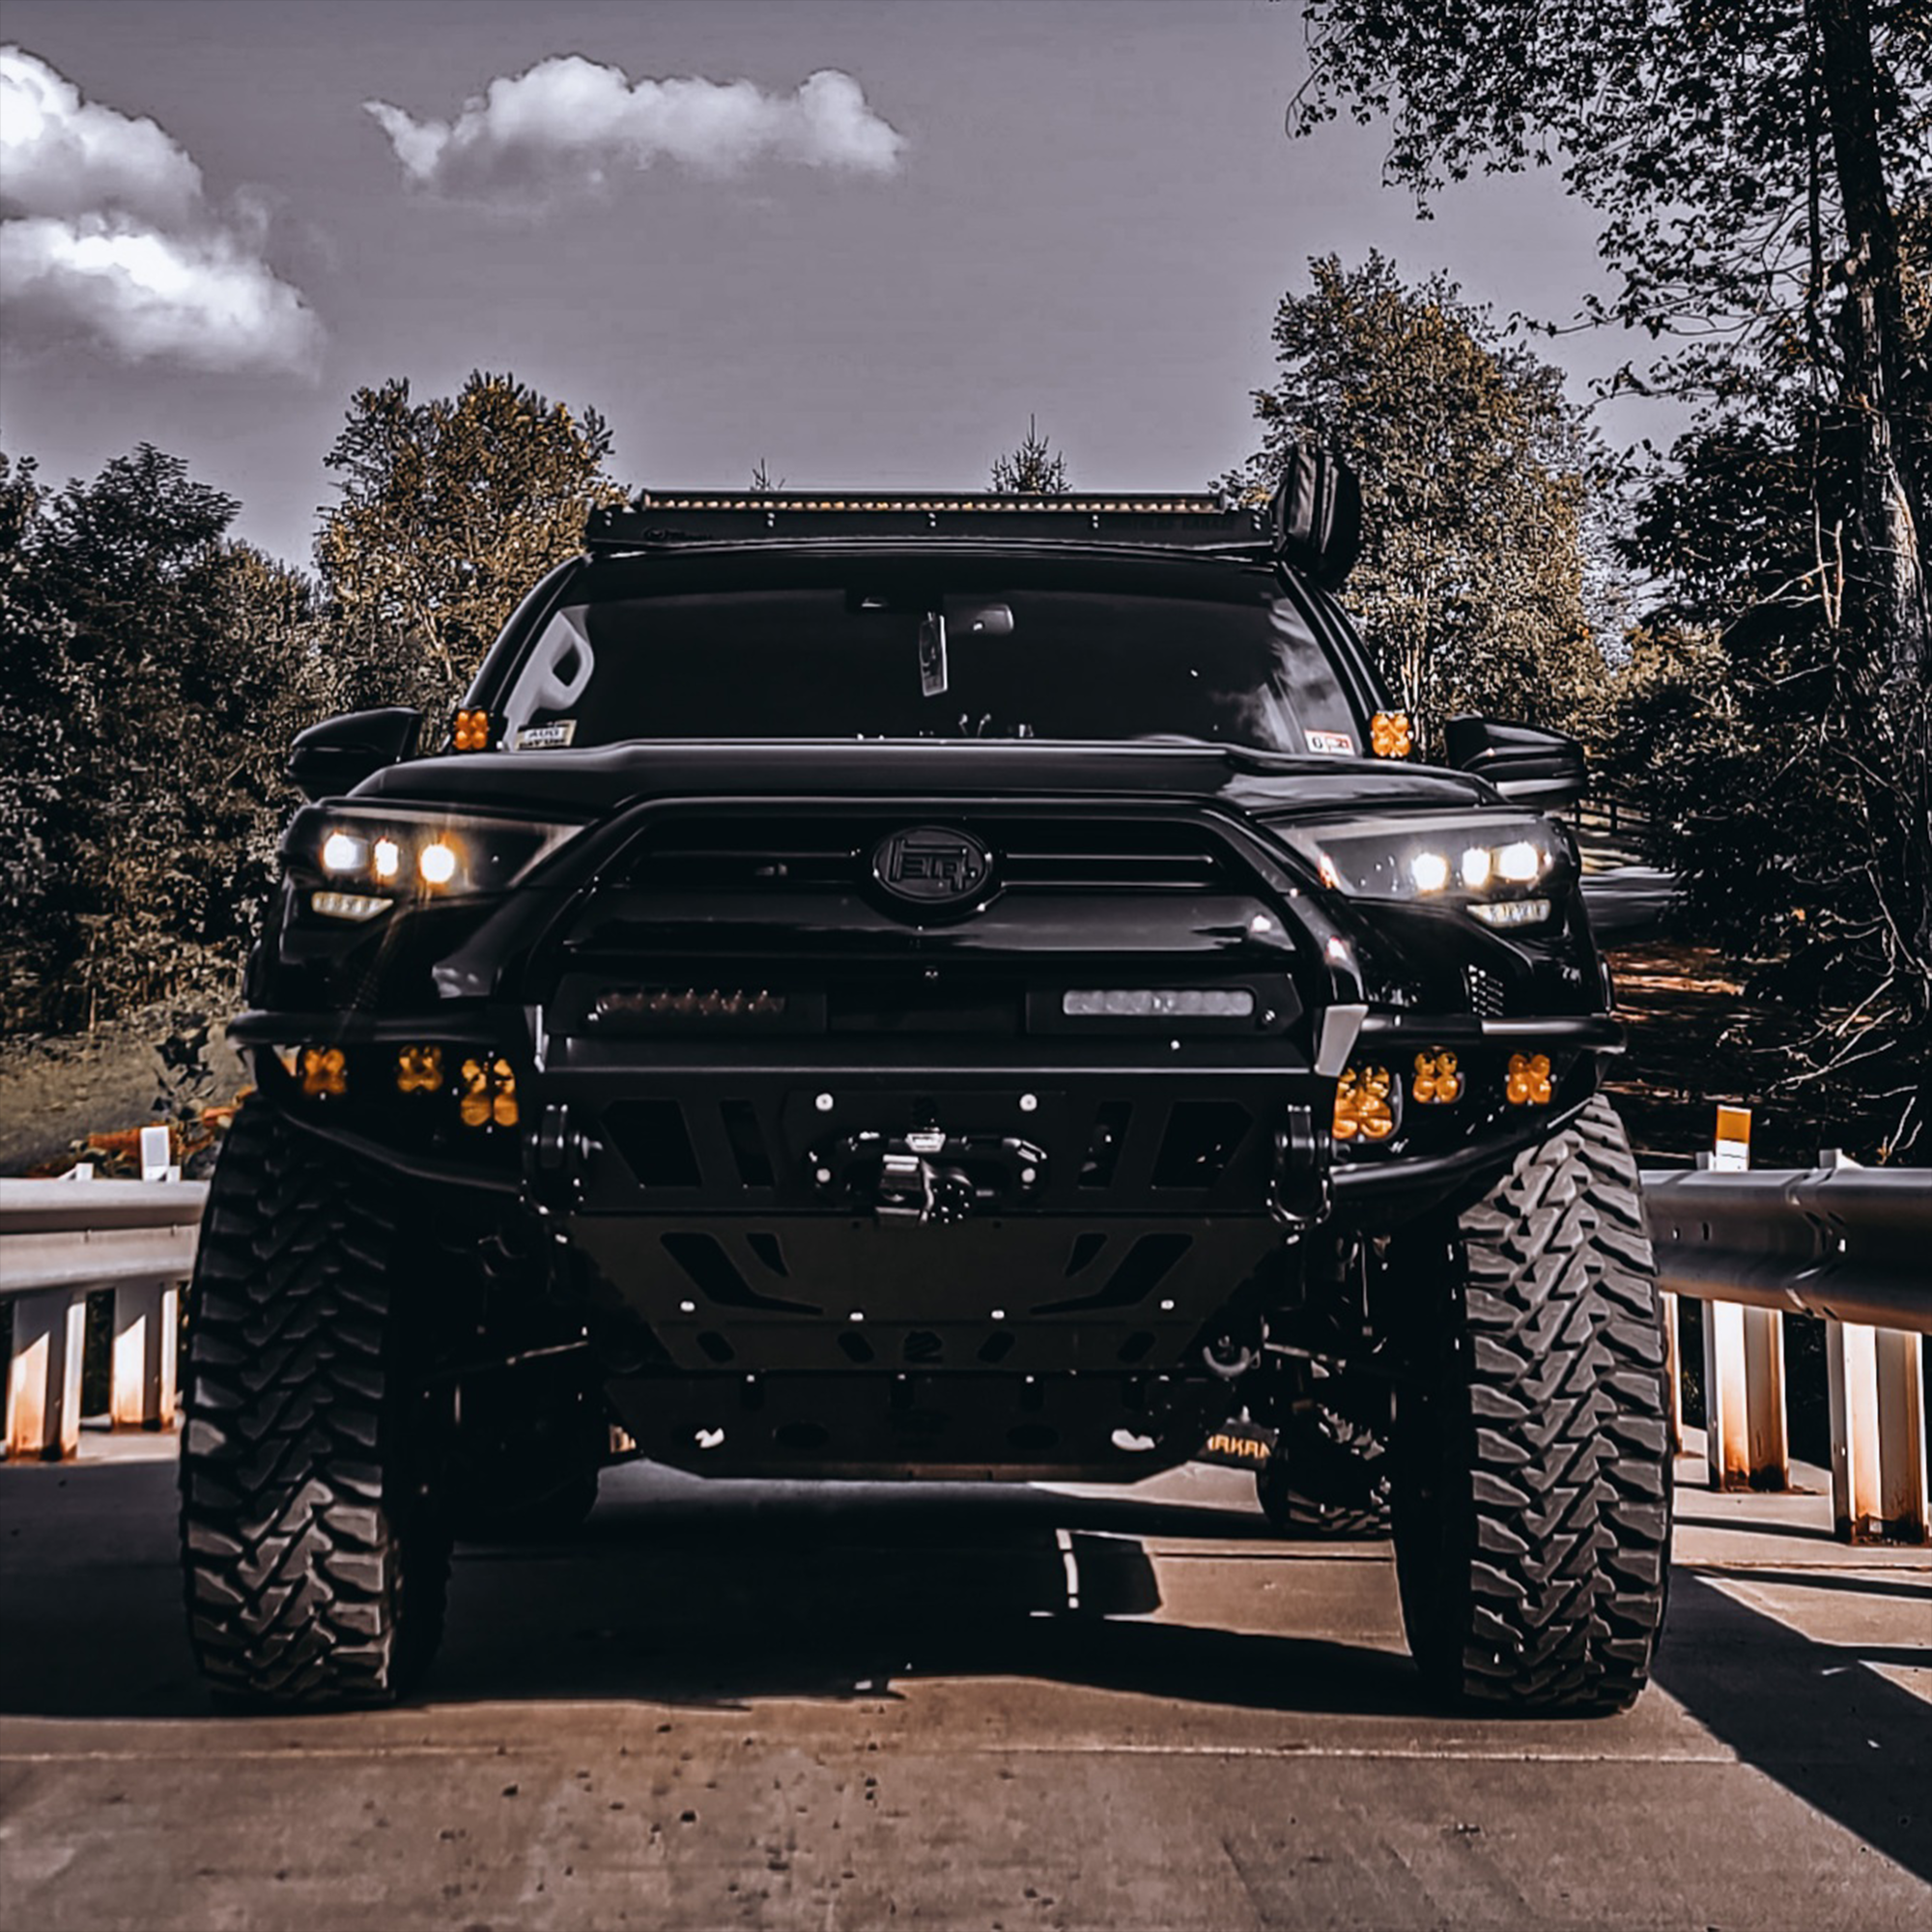
Good off-road lighting is about visibility, not turning your rig into a rolling spotlight. When the sun drops and the trail keeps going, the right lighting setup helps you read terrain, spot obstacles early, and drive with confidence. The wrong setup can create glare, blind your spotter, or drain your electrical system without adding real value.
A balanced lighting setup focuses on function first and adds capability where it actually matters.

Why Factory Lighting Falls Short Off-Road
Toyota headlights are designed for pavement and predictable conditions. On the trail, they struggle with depth perception, shadows, and uneven ground.
Common limitations include:
-
Narrow beam patterns that miss trail edges
-
Limited distance visibility on open terrain
-
Poor illumination when crawling at low speeds
-
Shadows created by bumper and hood angles
This is why supplemental lighting becomes essential once you leave maintained roads.
Choosing the Right Type of Off-Road Lights
Not all lights serve the same purpose. Mixing the right types gives you coverage without redundancy.
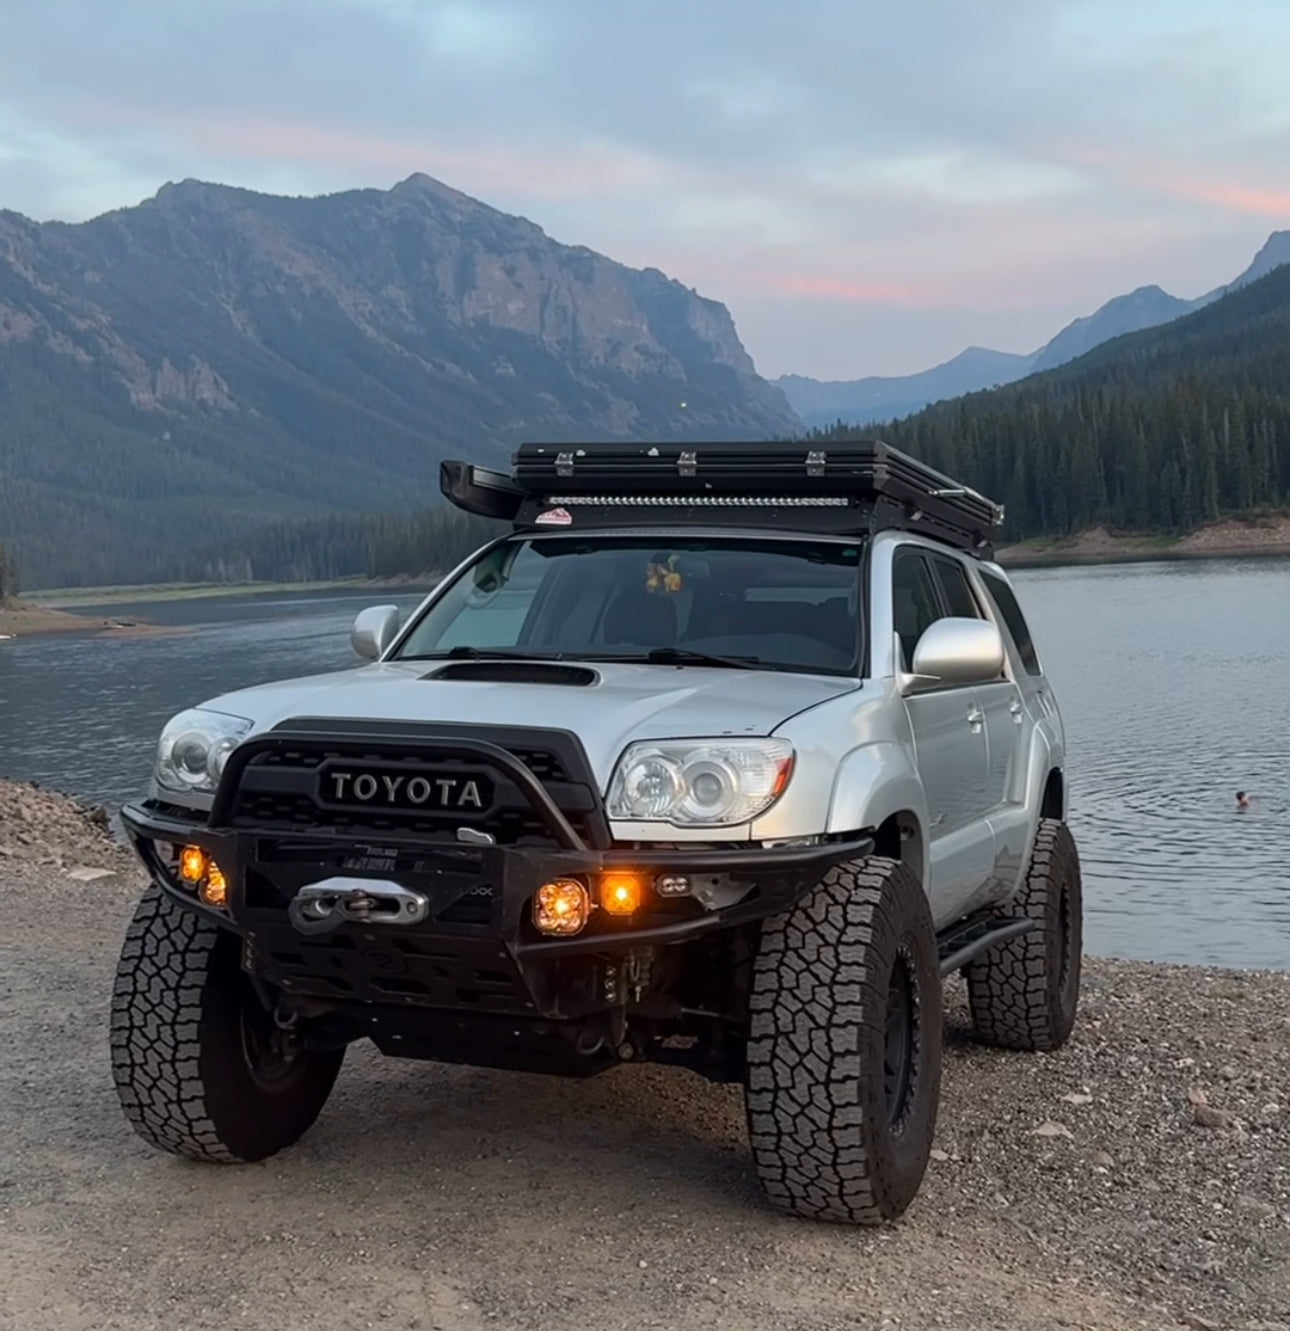
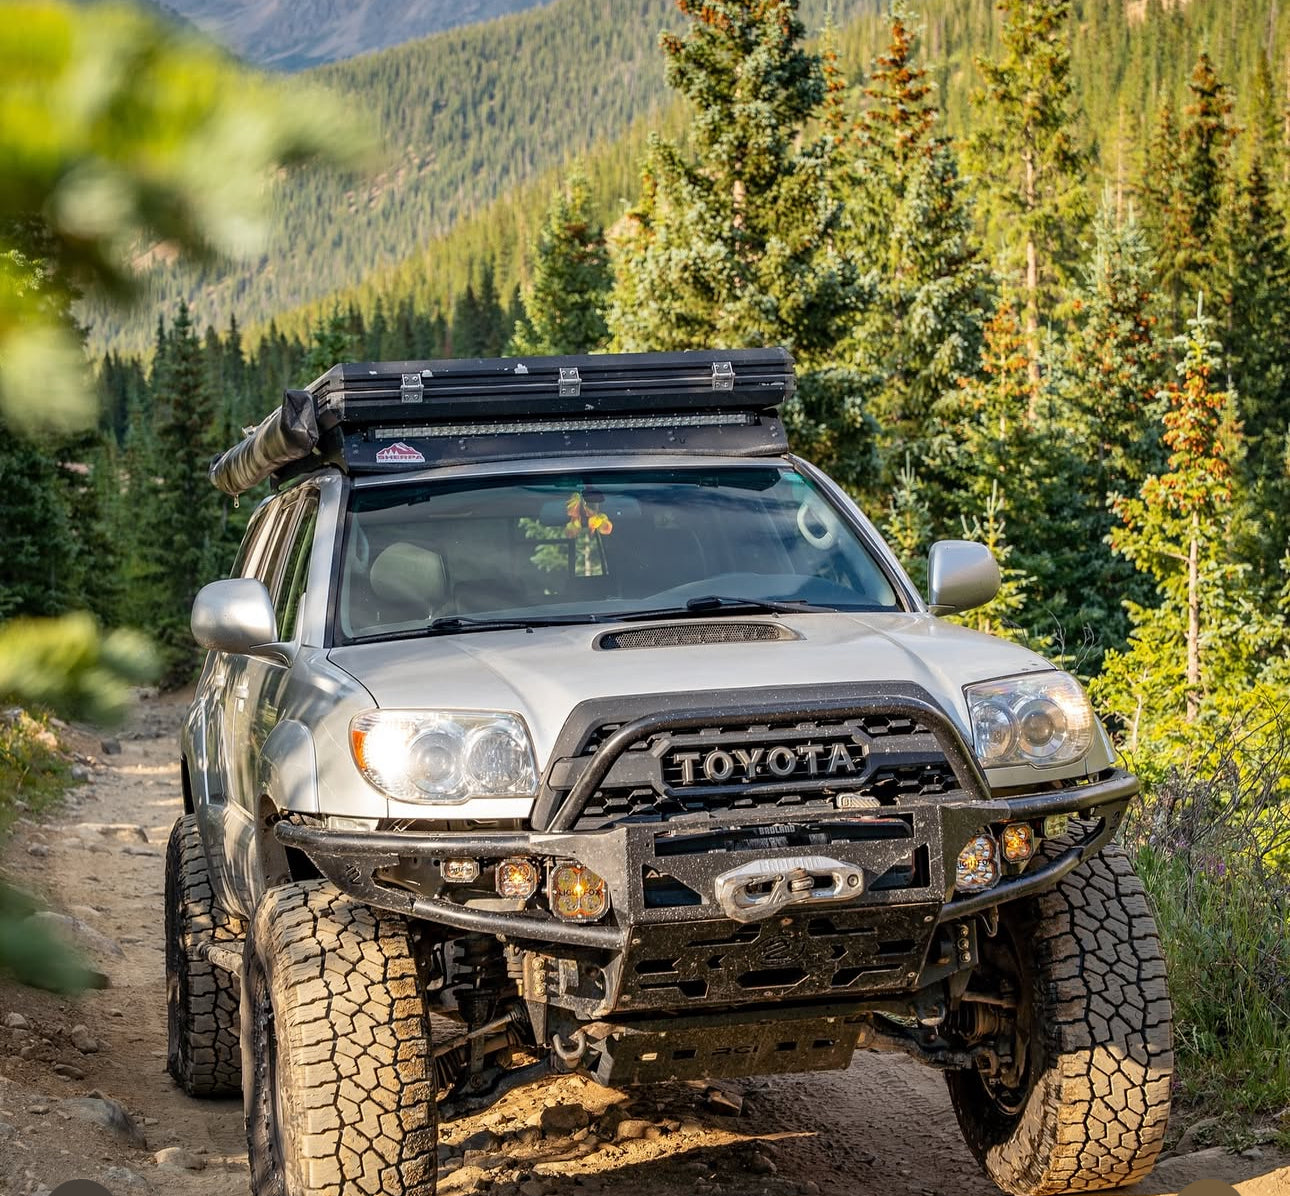
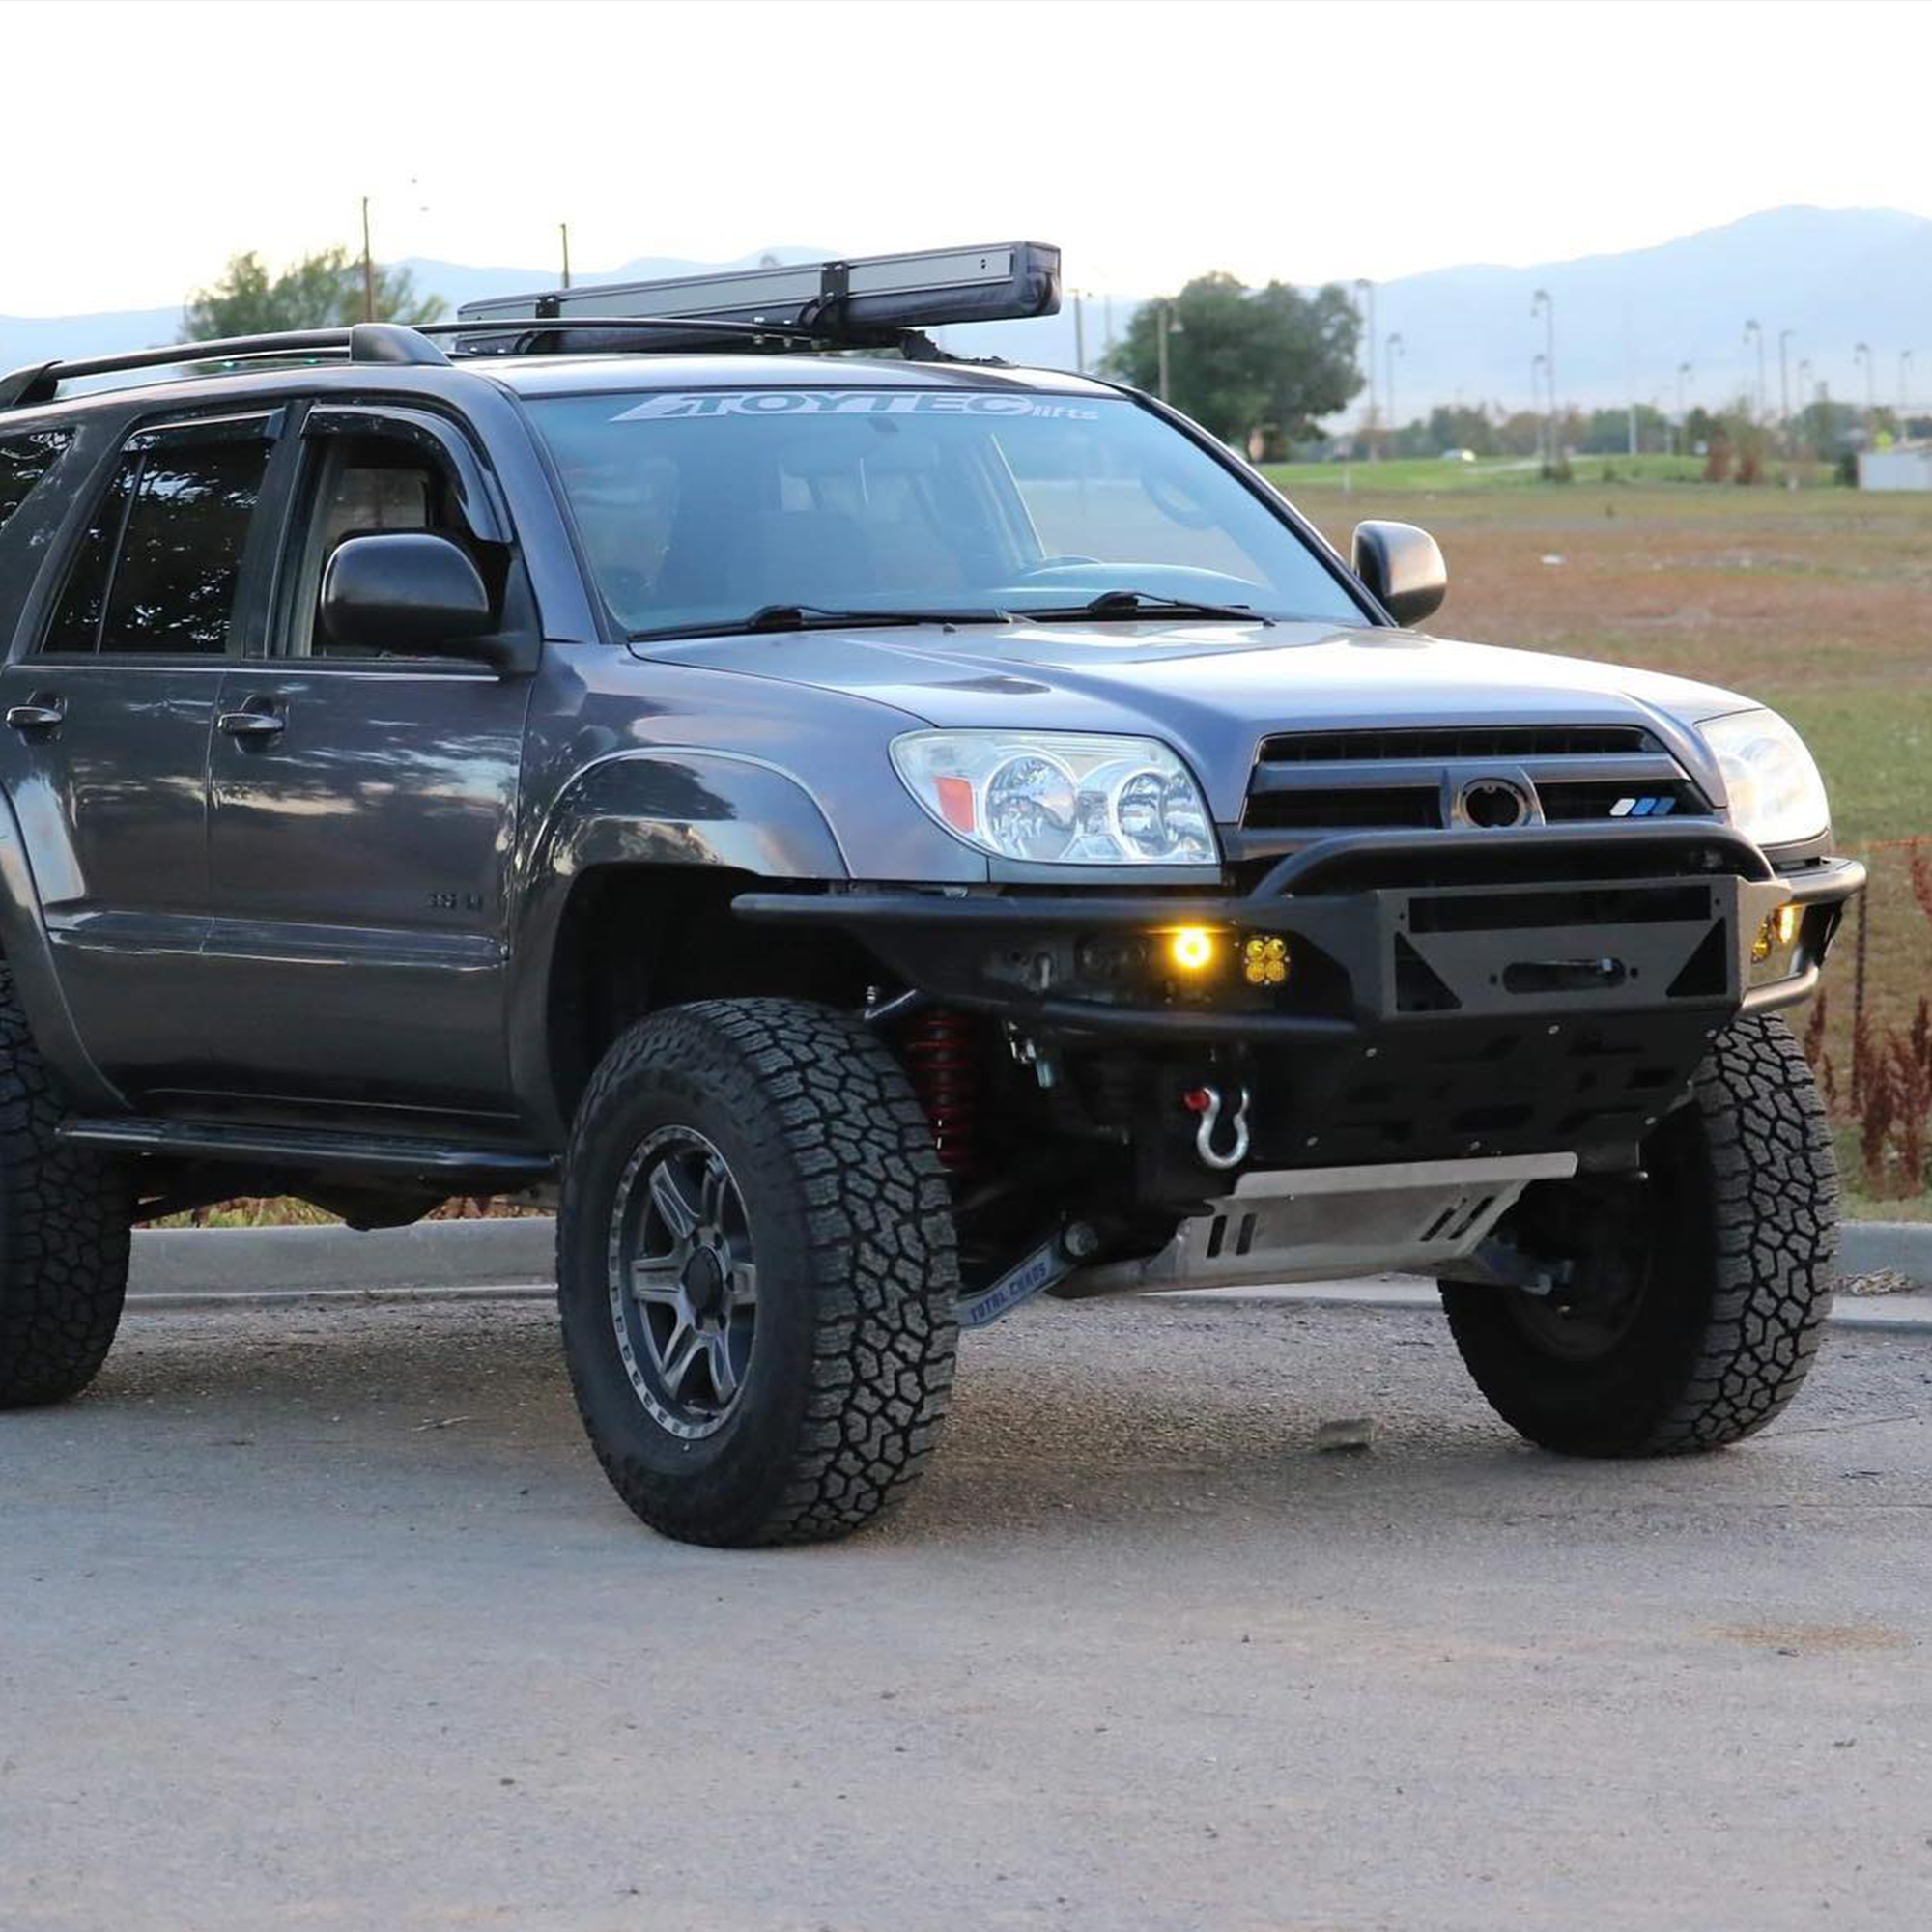
Most effective off-road setups include:
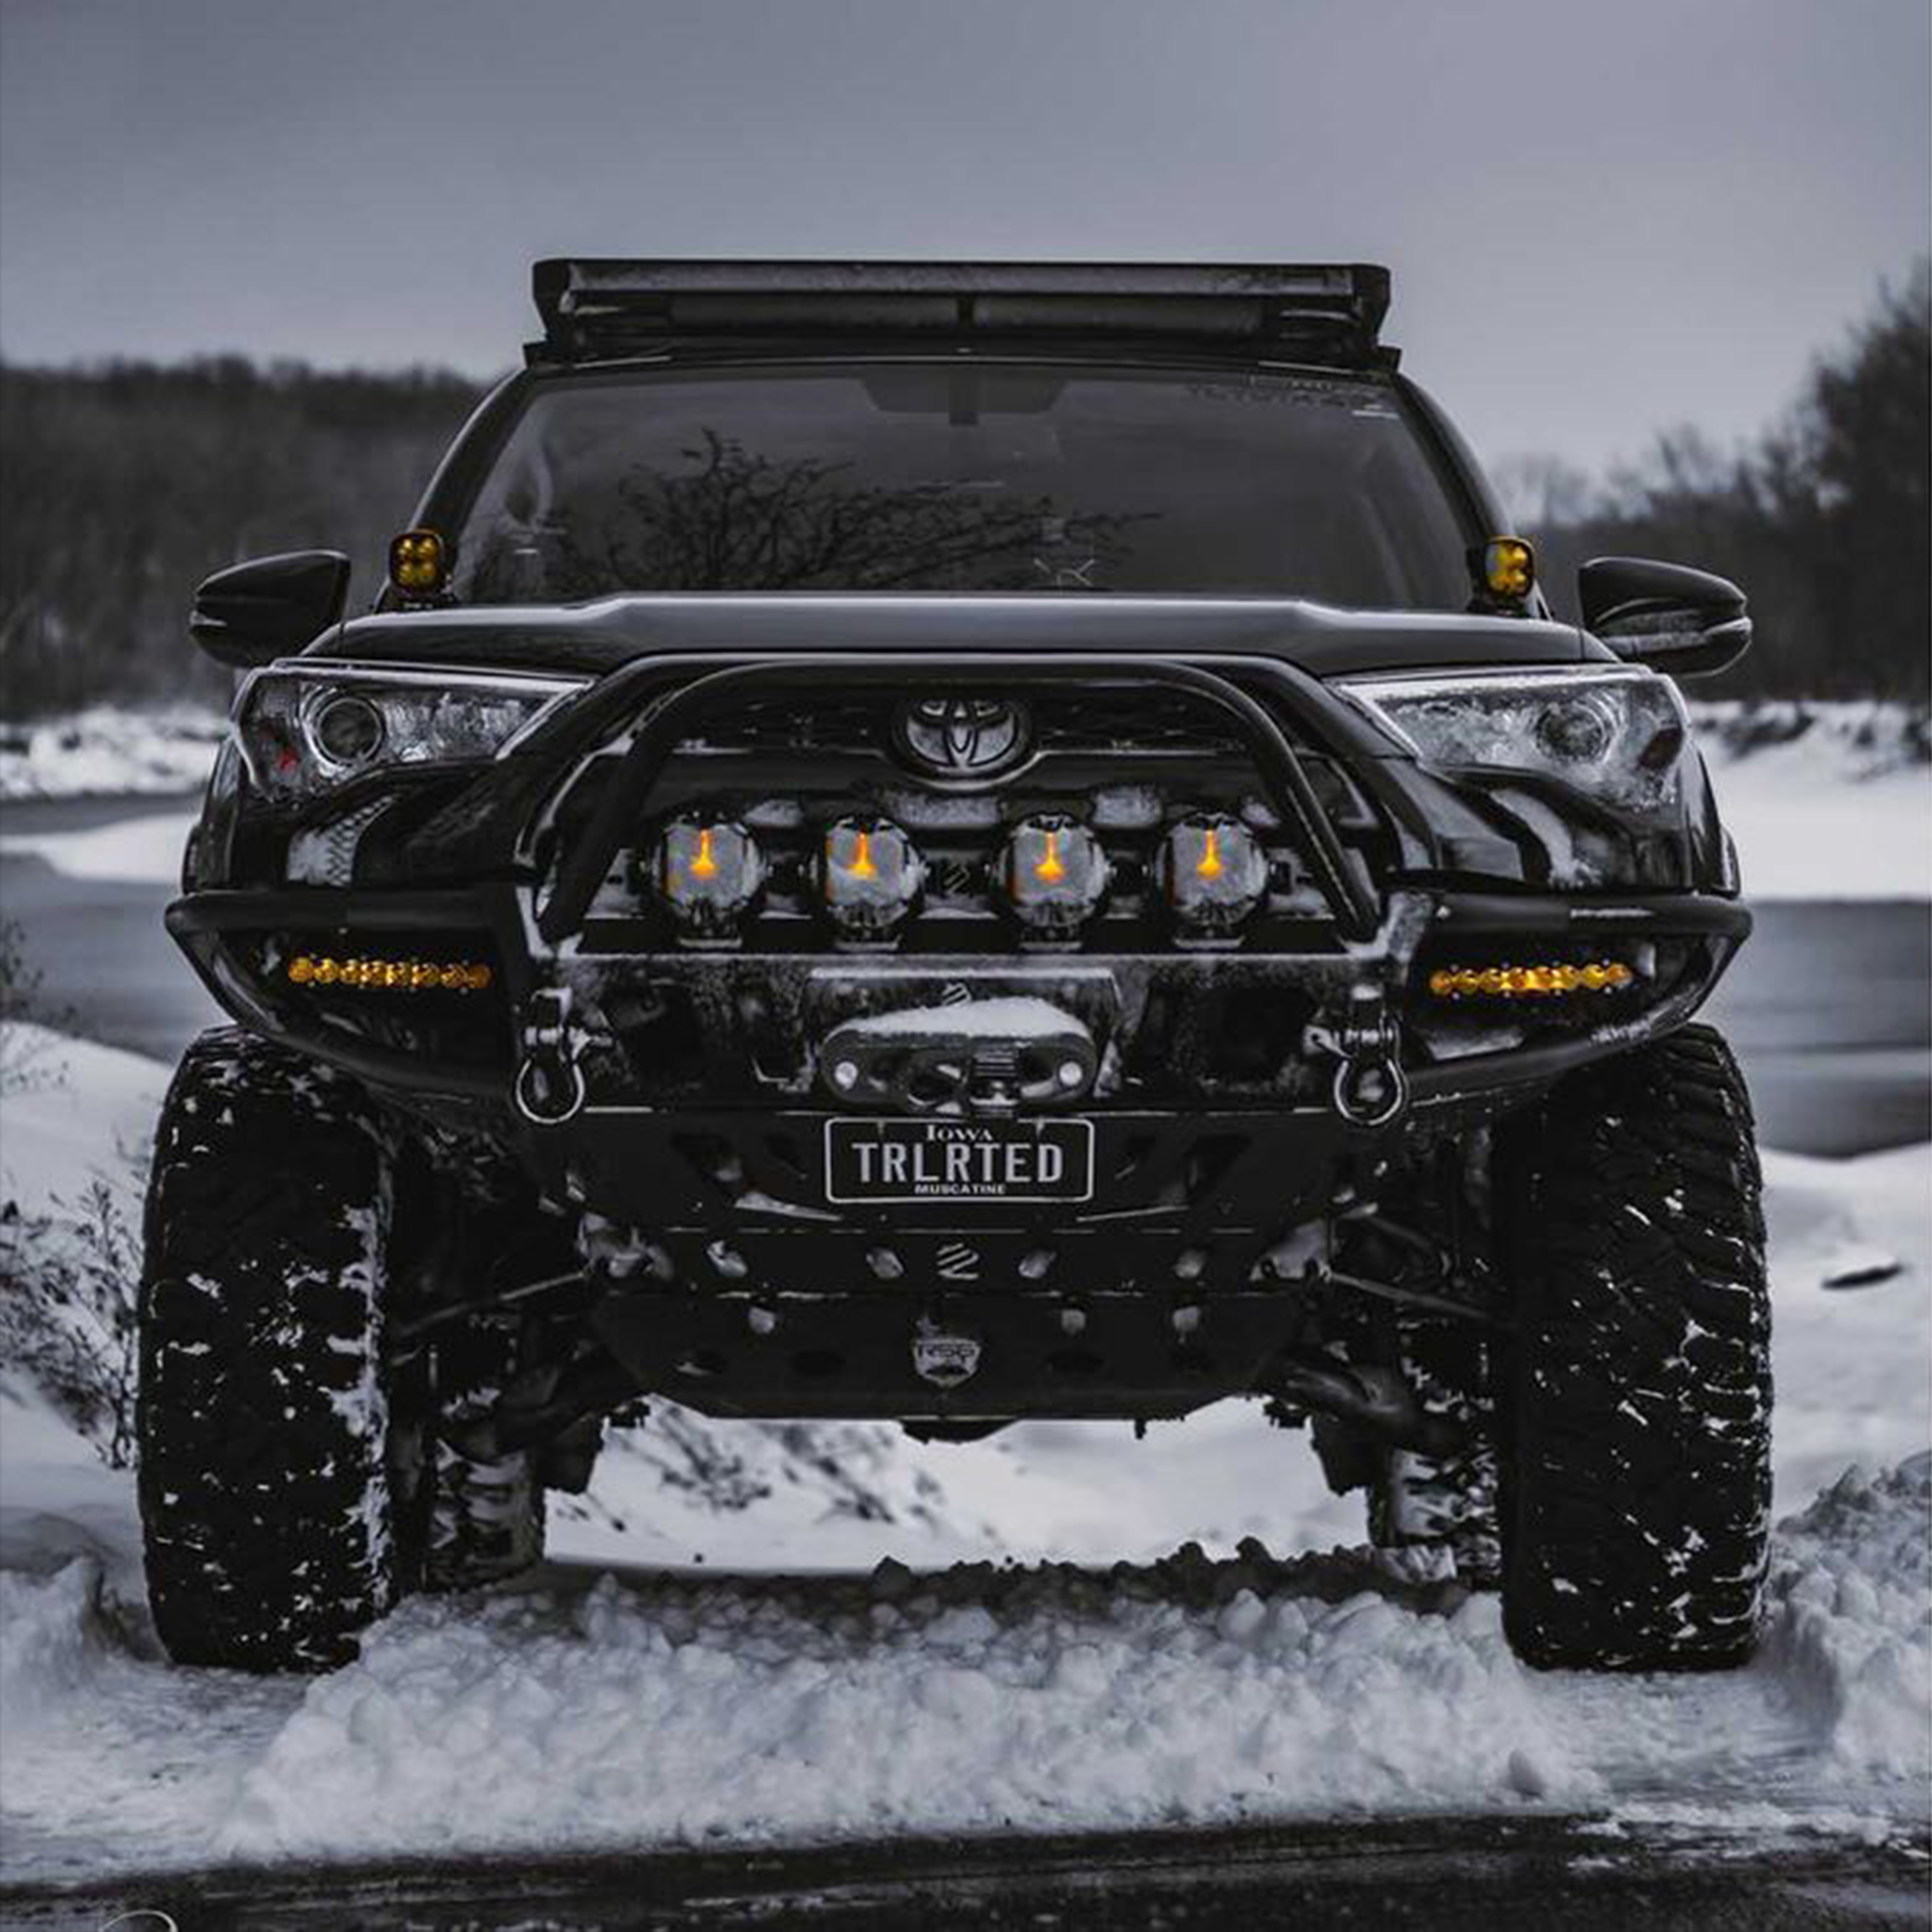
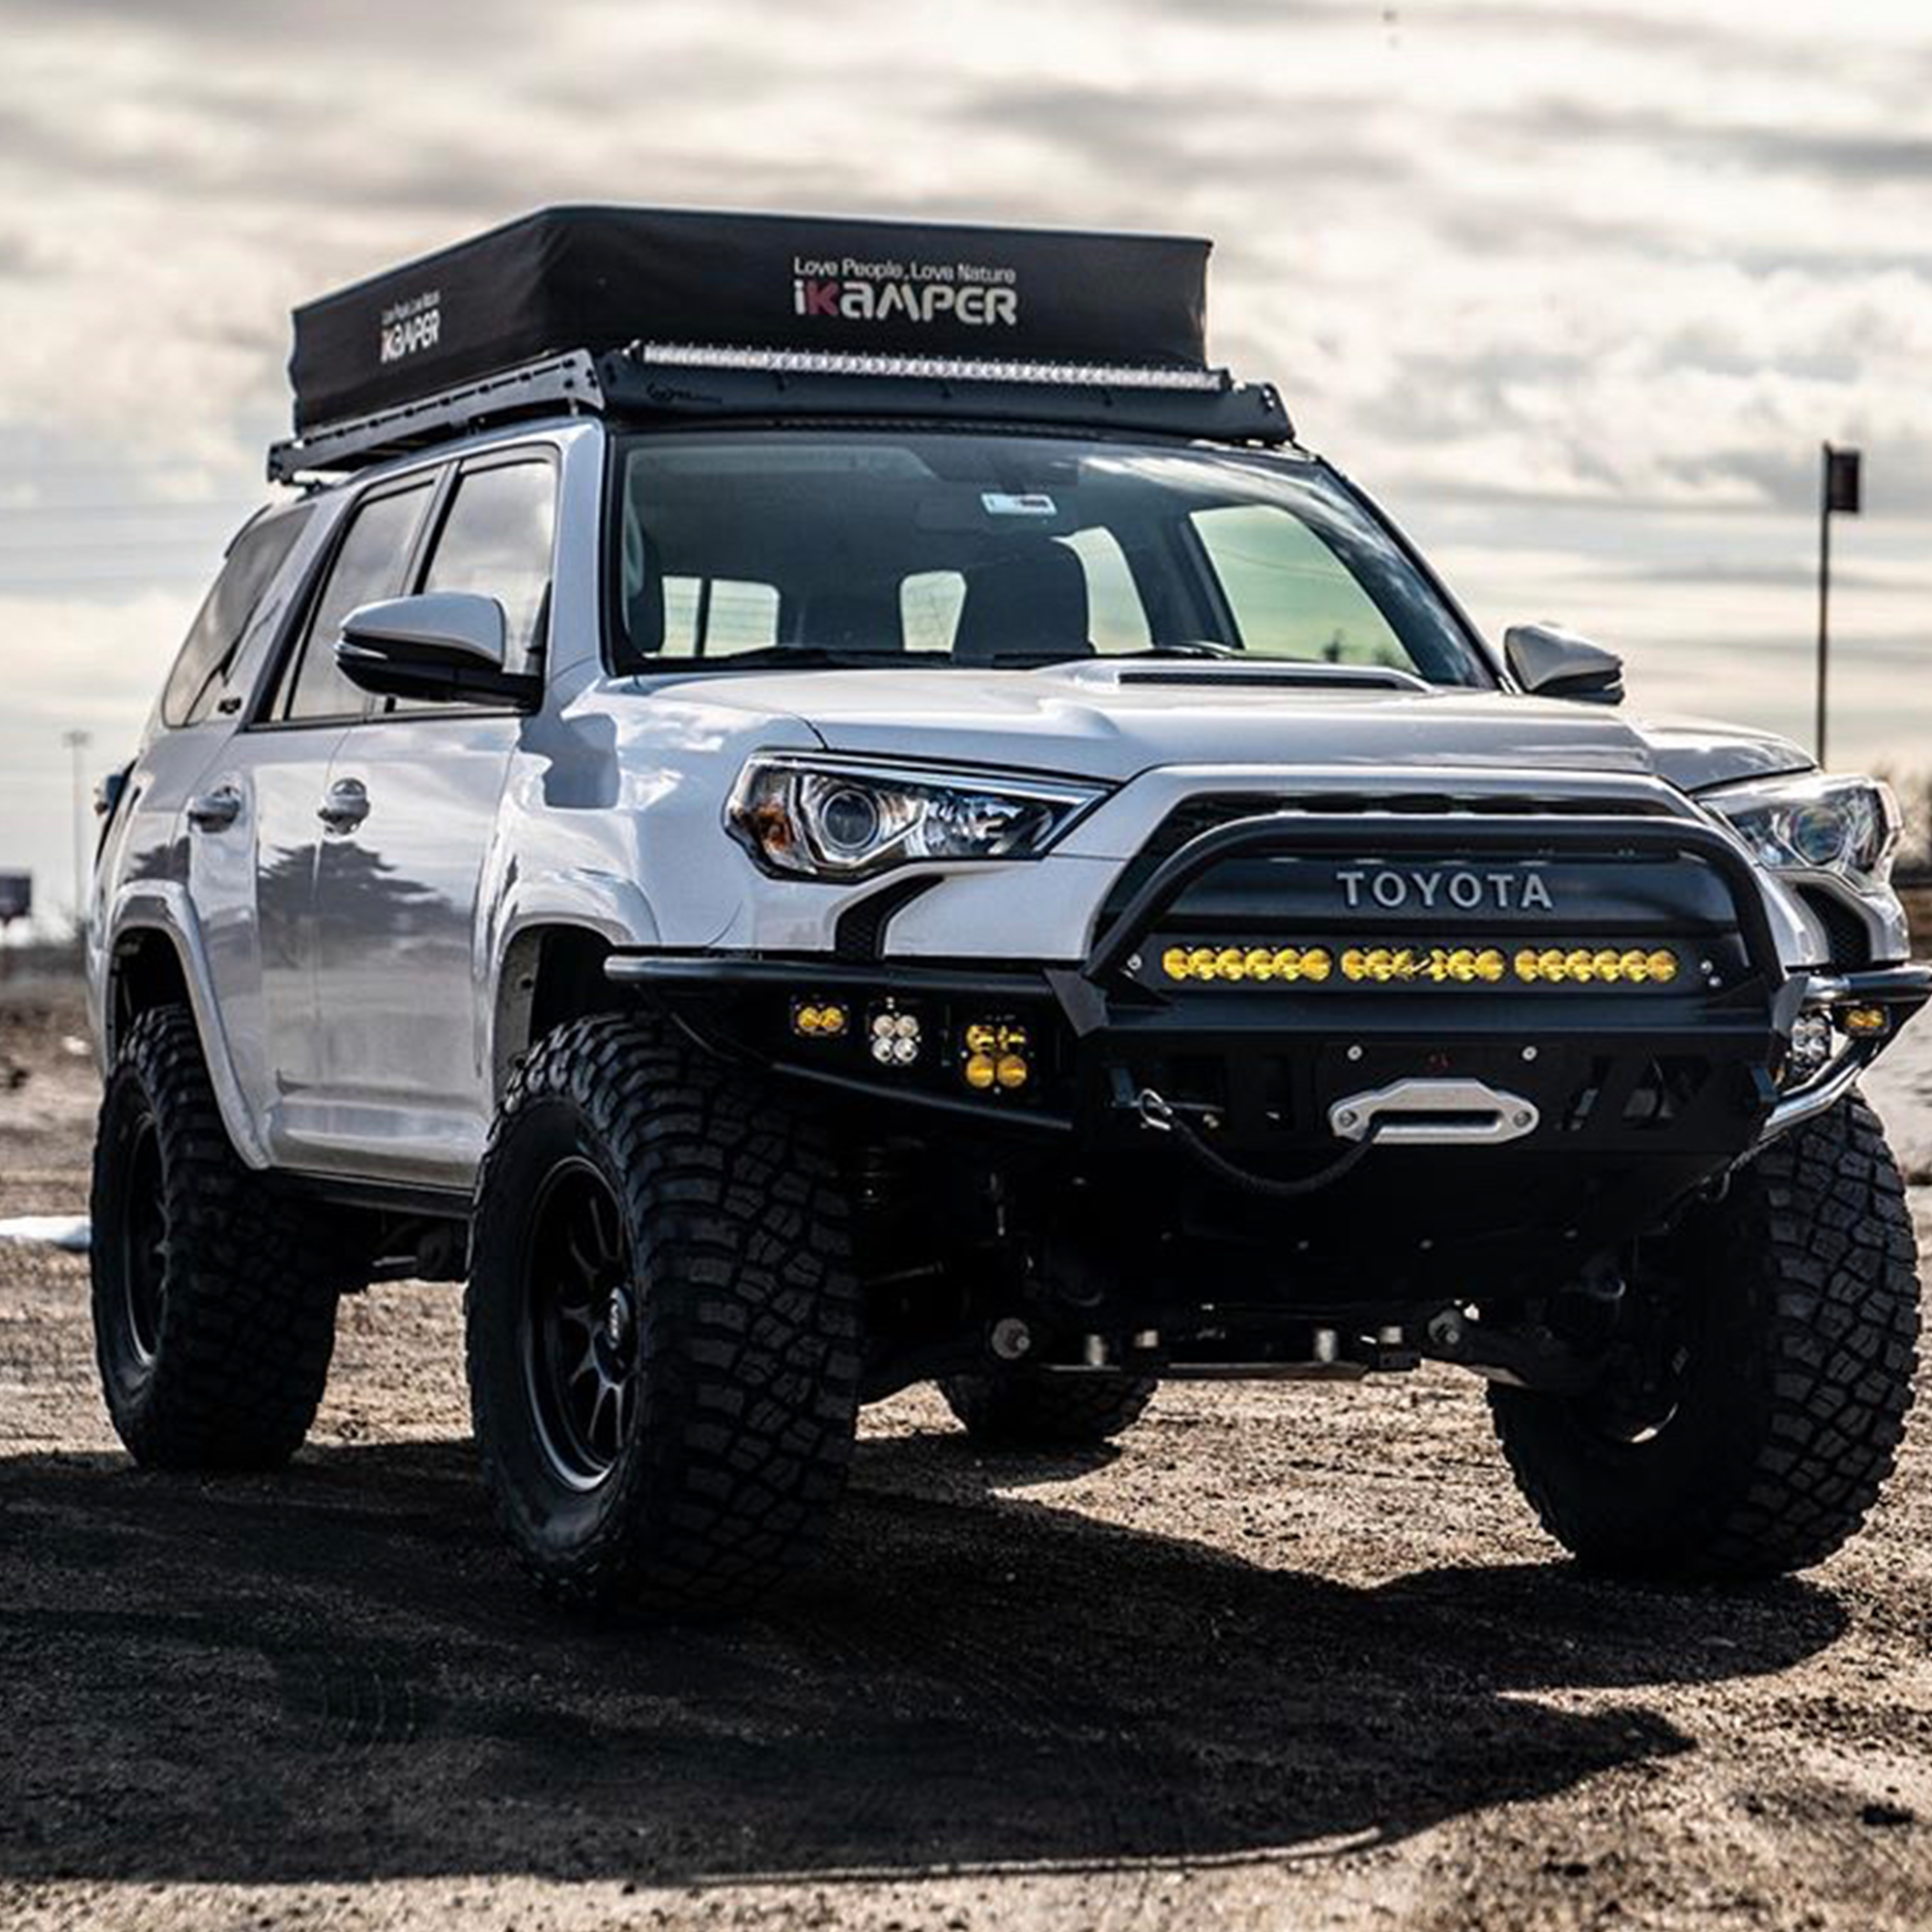
-
Flood lights for wide, close-range visibility during crawling
-
Spot or driving lights for distance on open trails or desert runs
-
Fog-style lights for dust, snow, and poor weather conditions
-
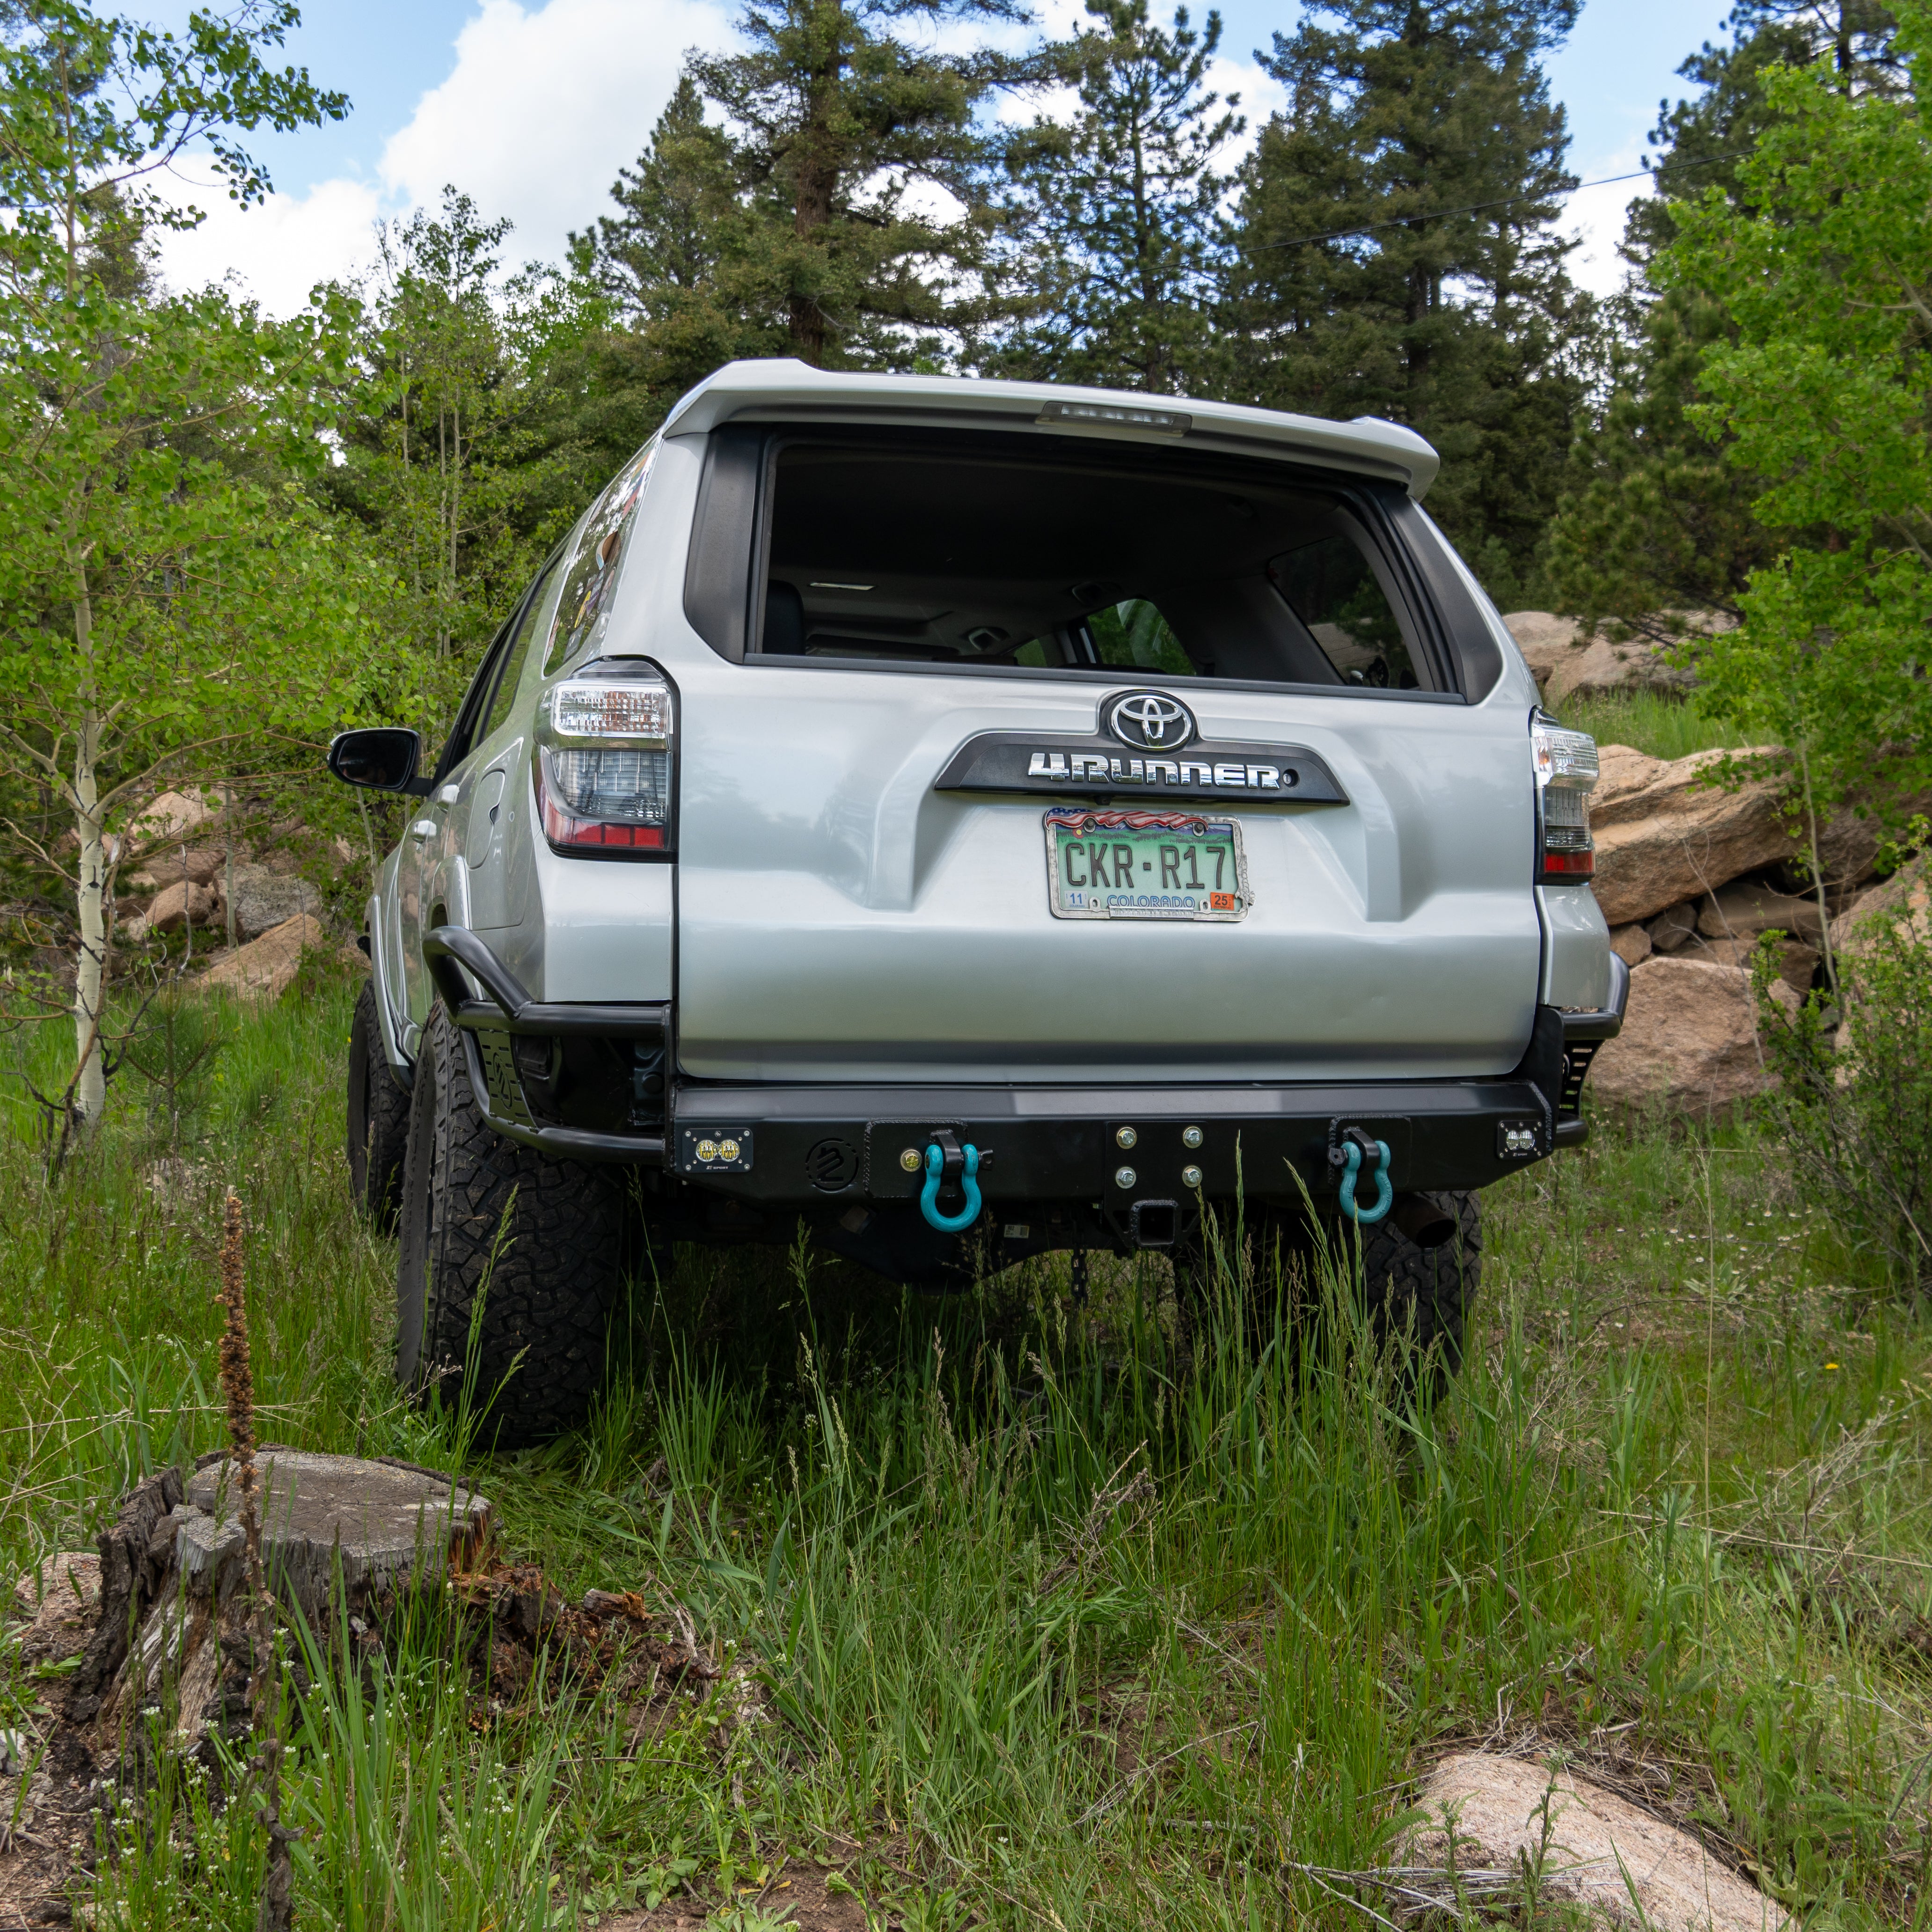
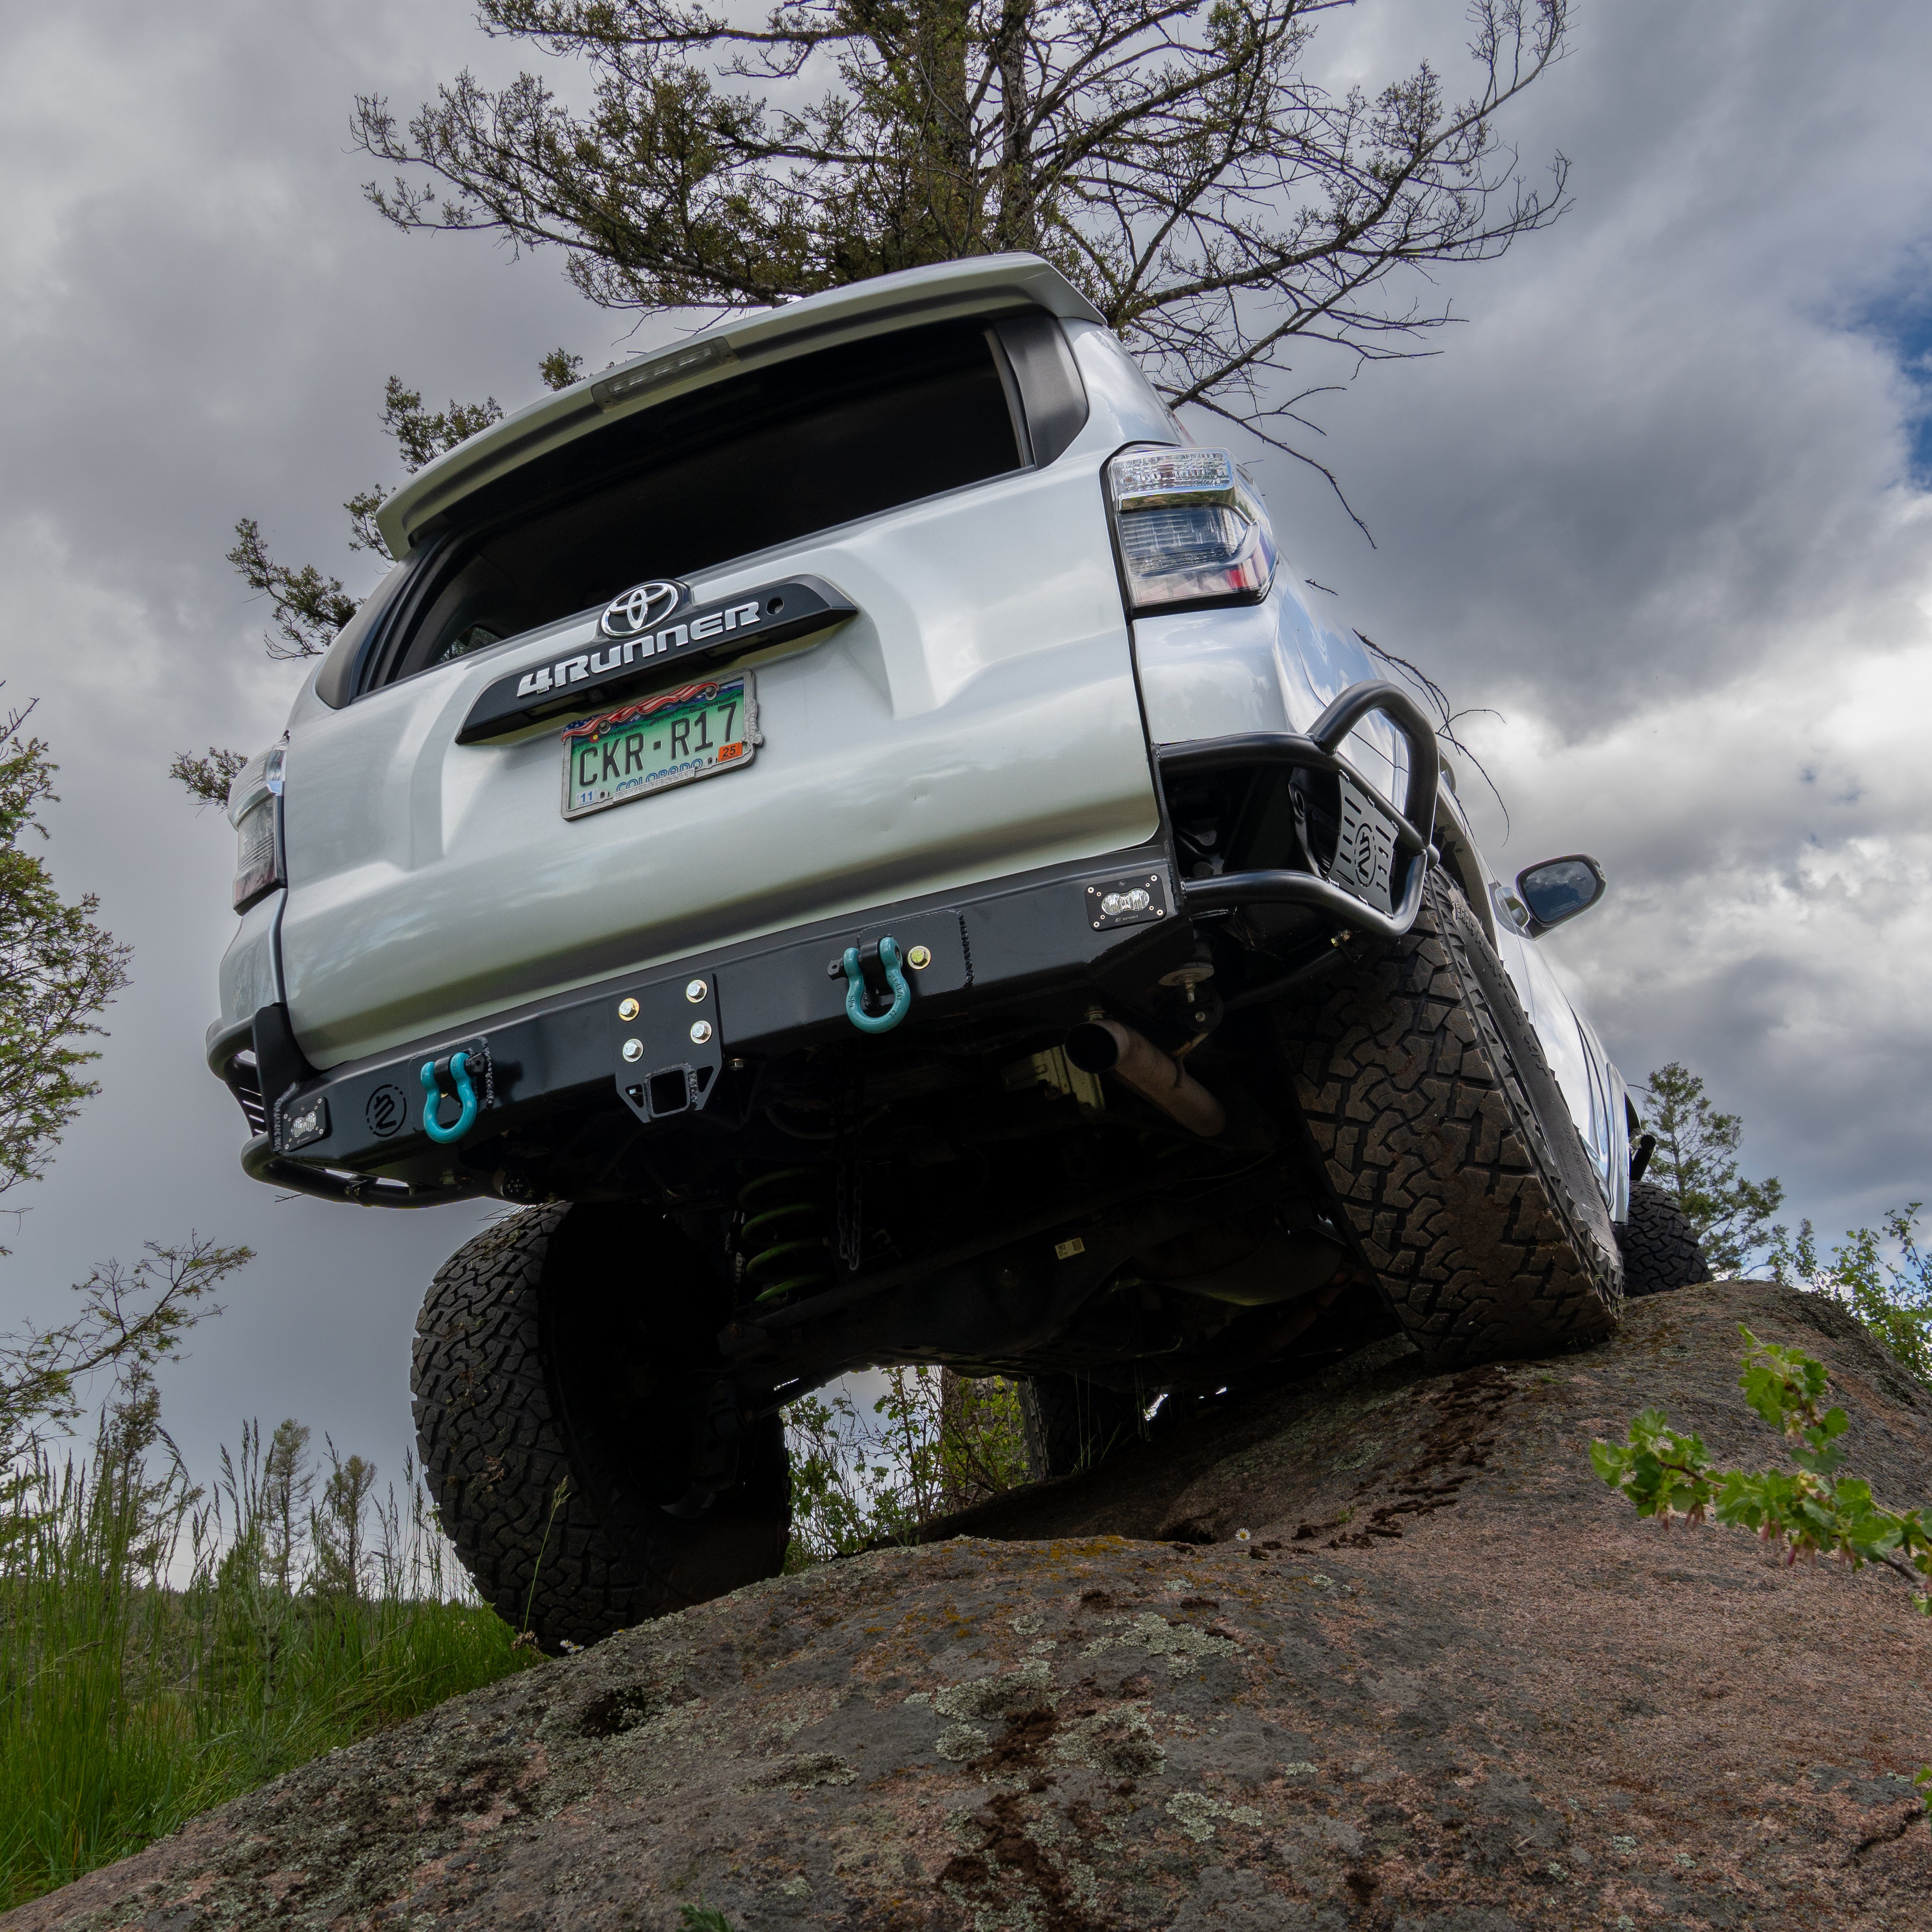
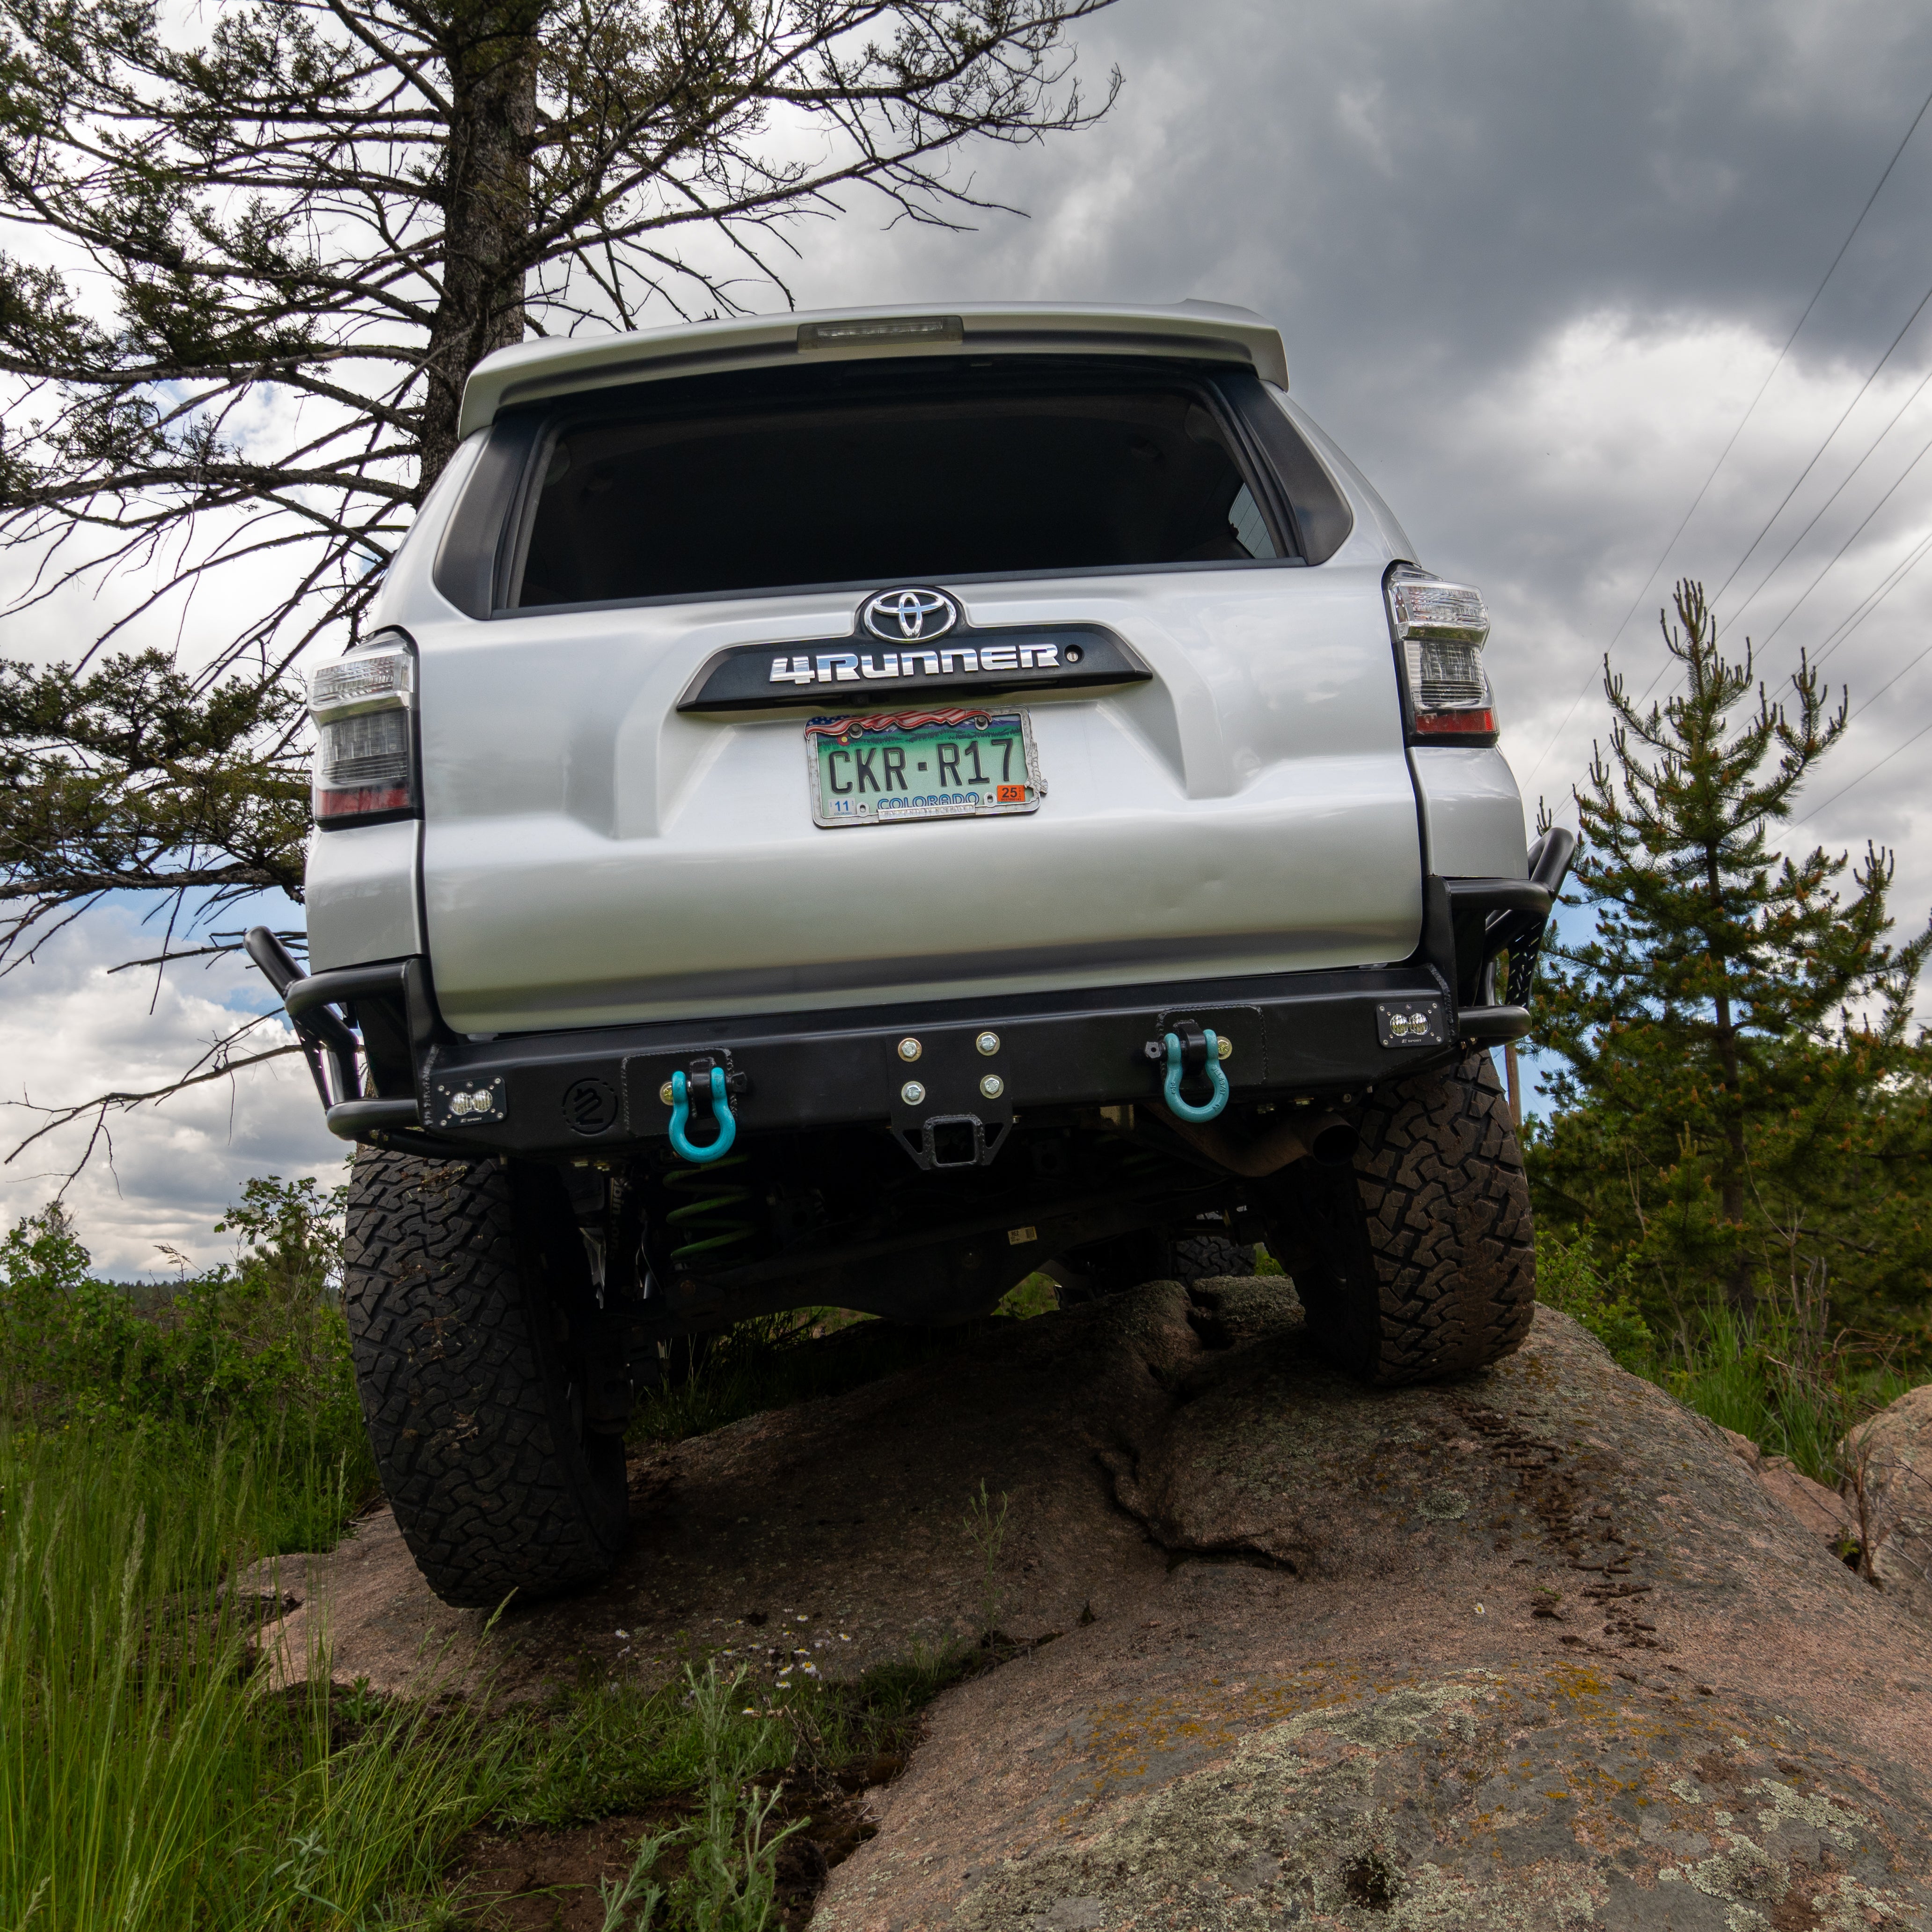
Rear or scene lights for camp setup and nighttime recovery
Each type solves a specific problem. Adding lights without a plan usually creates overlap instead of improvement.
Mounting Location Matters More Than Output
More lumens do not always equal better visibility. Where lights are mounted plays a huge role in how useful they are.
Well-placed lighting should:
-
Sit low enough to reduce glare off dust or snow
-
Align with bumper or armor cutouts for clean integration
-
Avoid blocking airflow or sensors
-
Stay protected from trail impacts
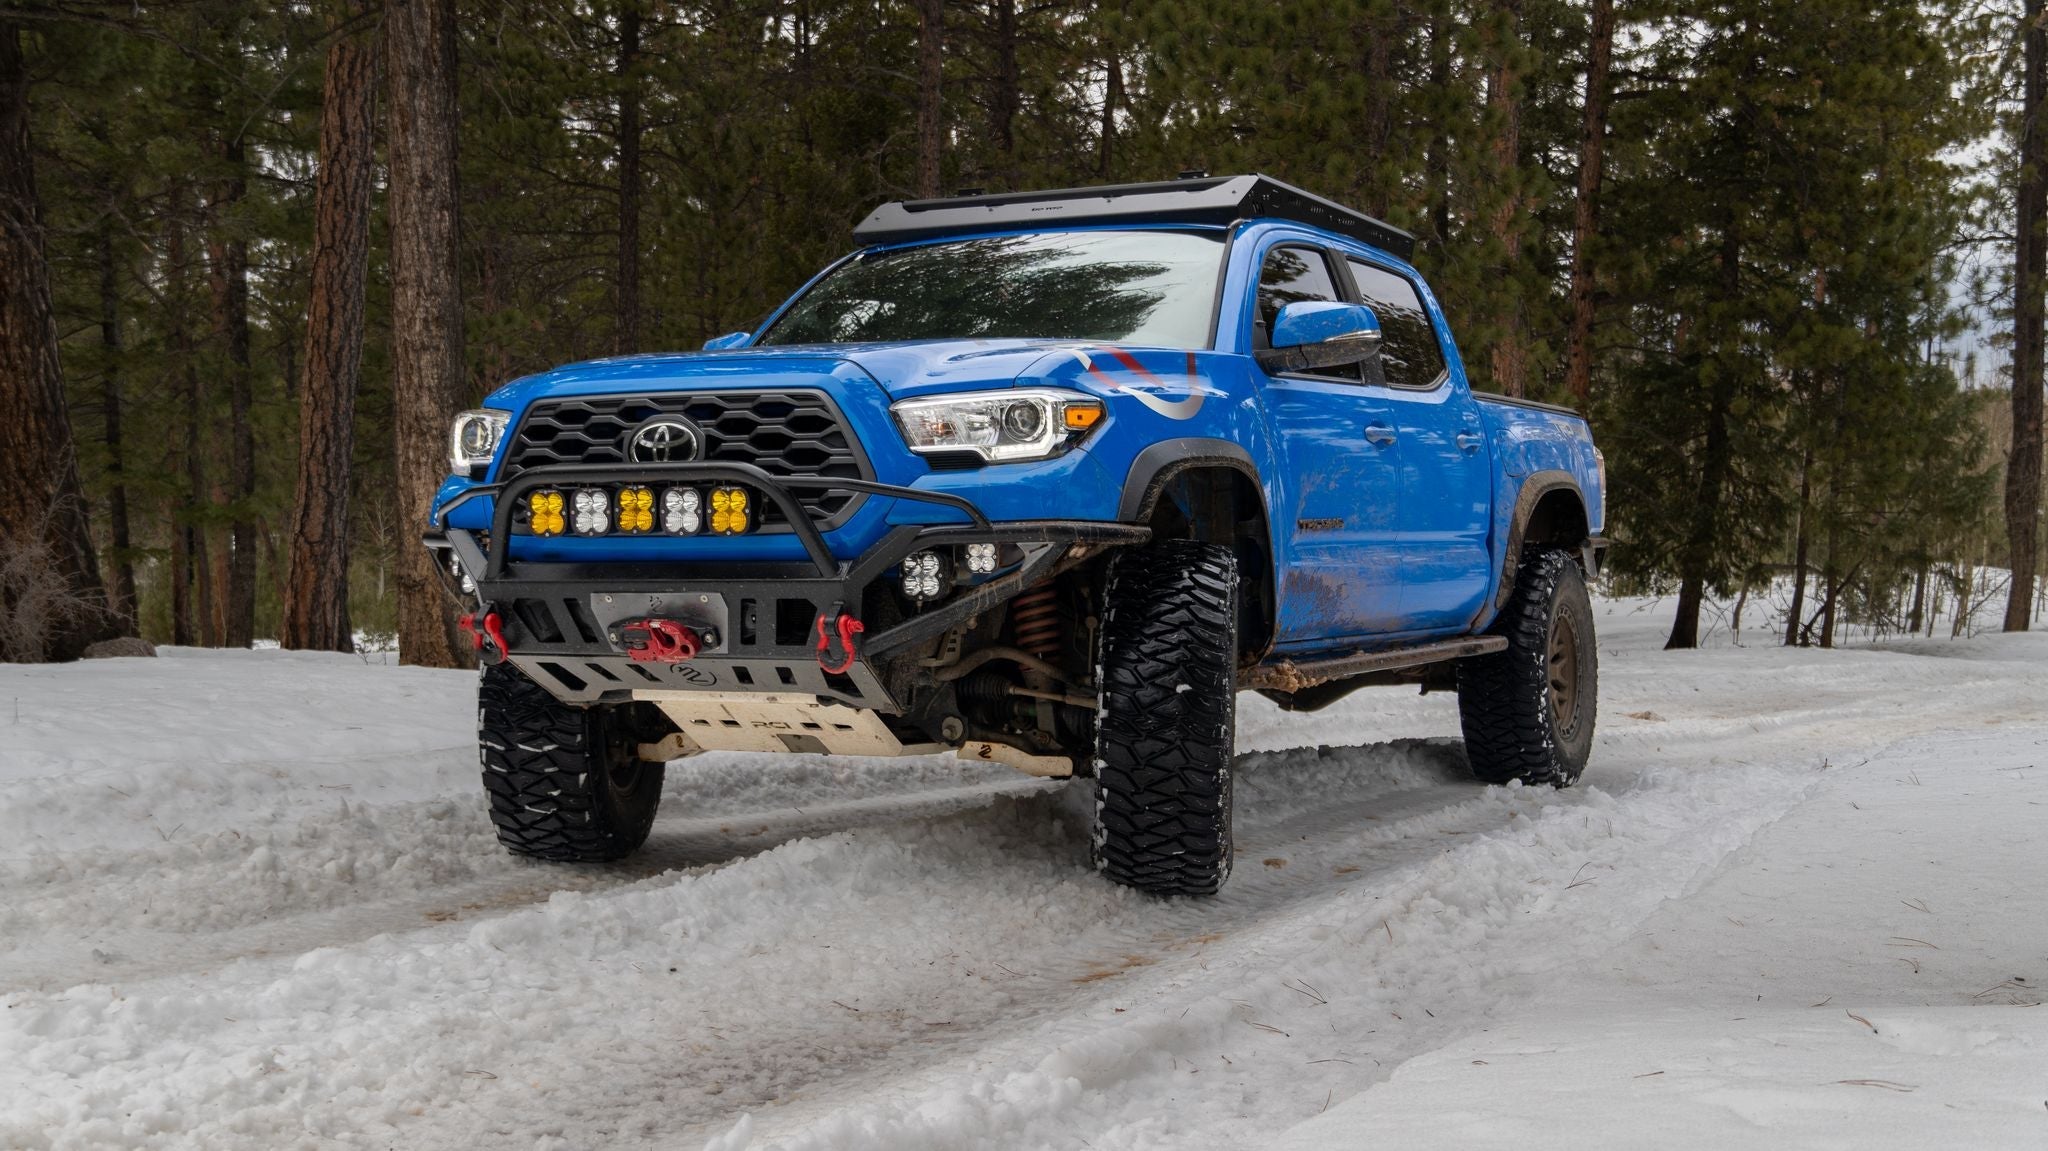
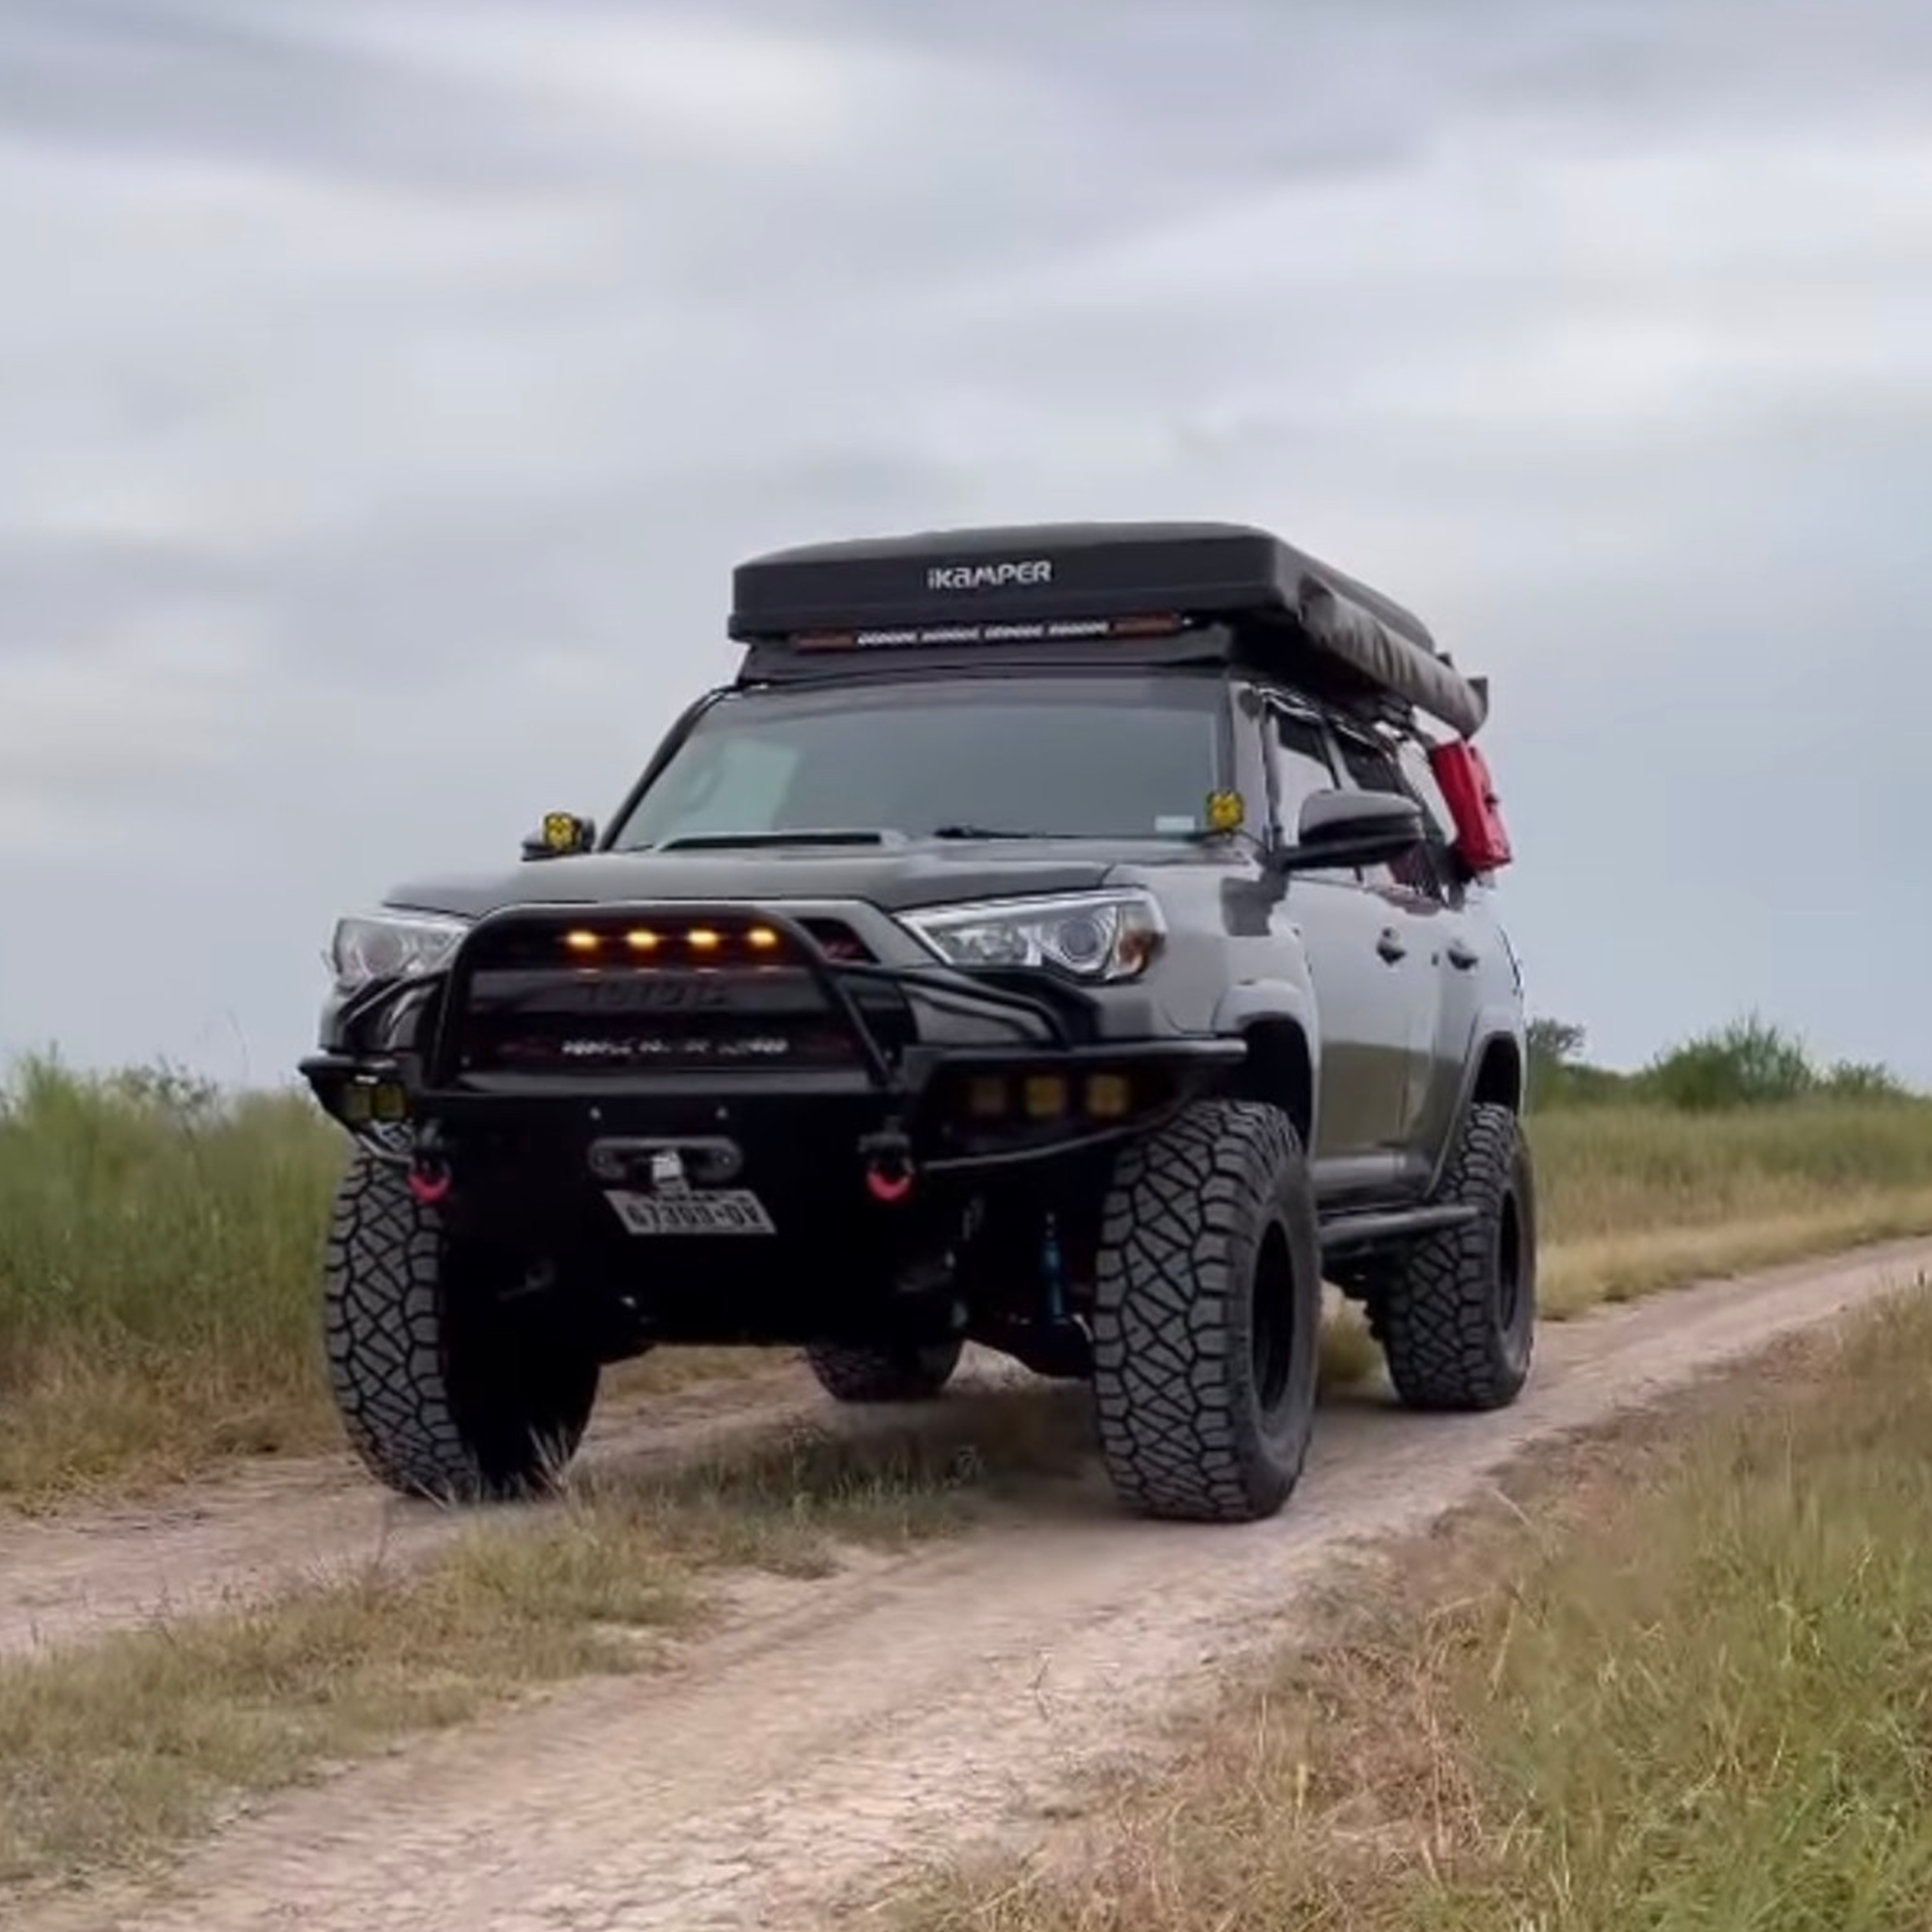
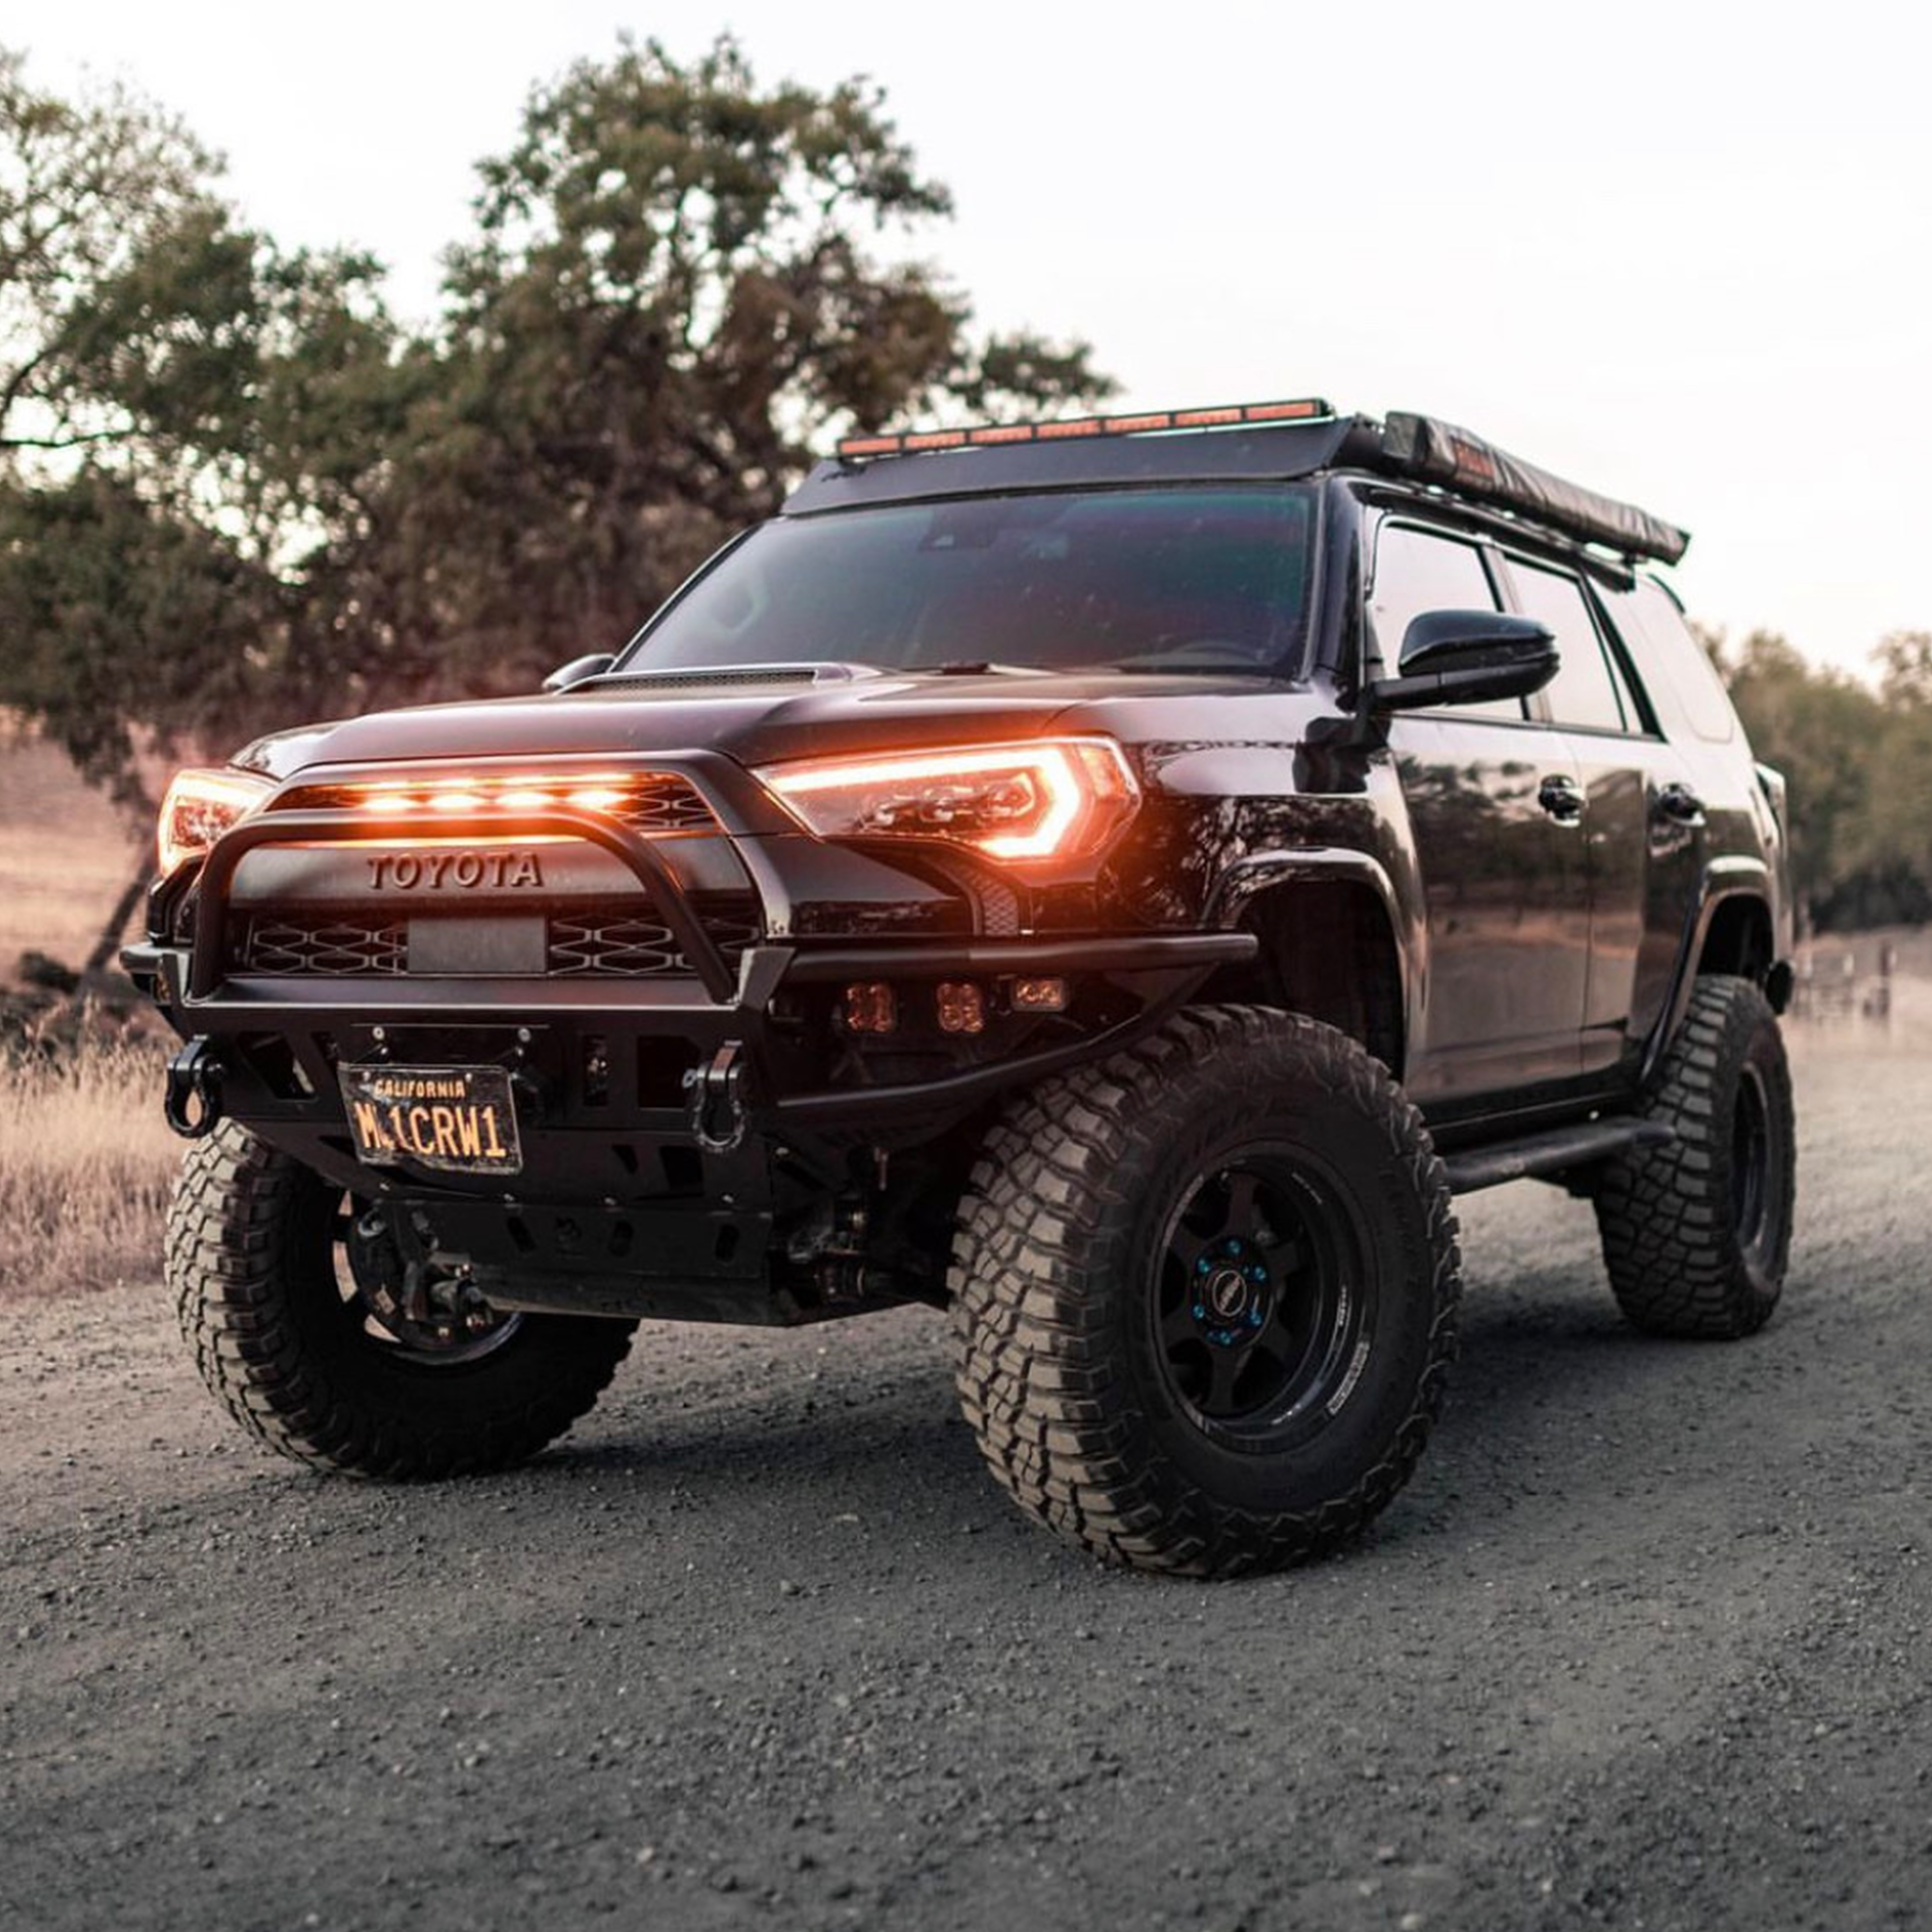
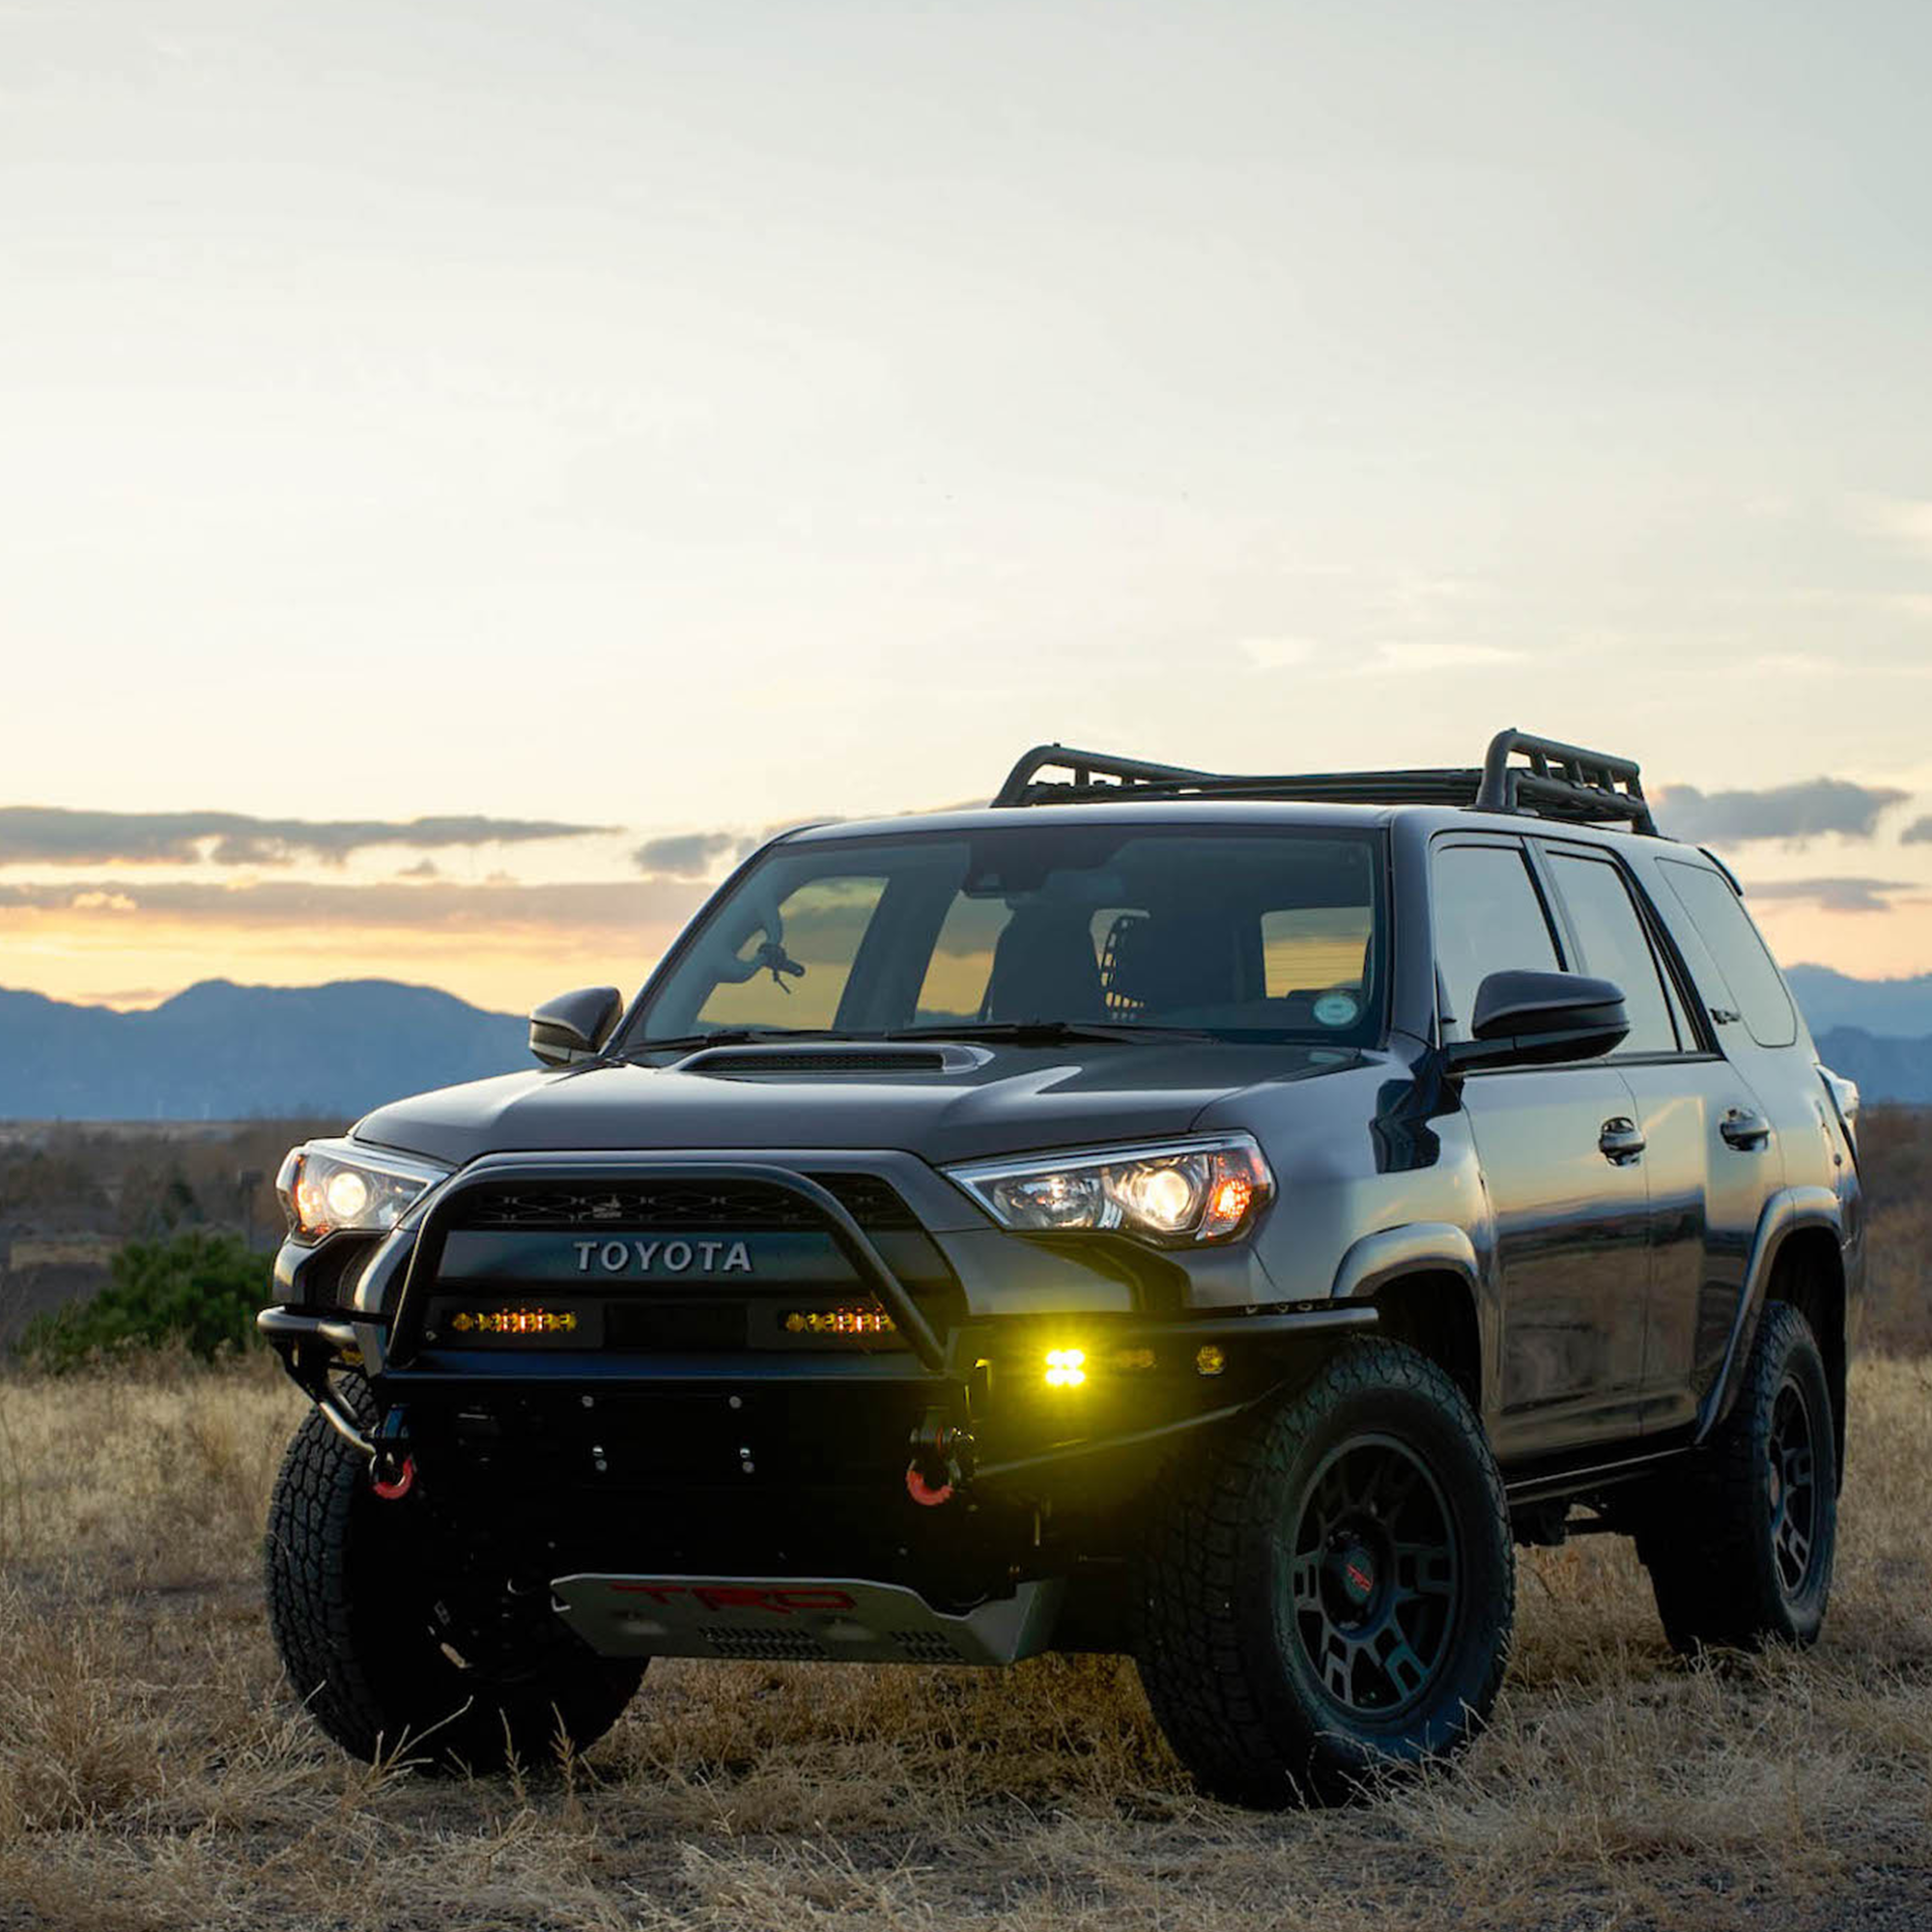
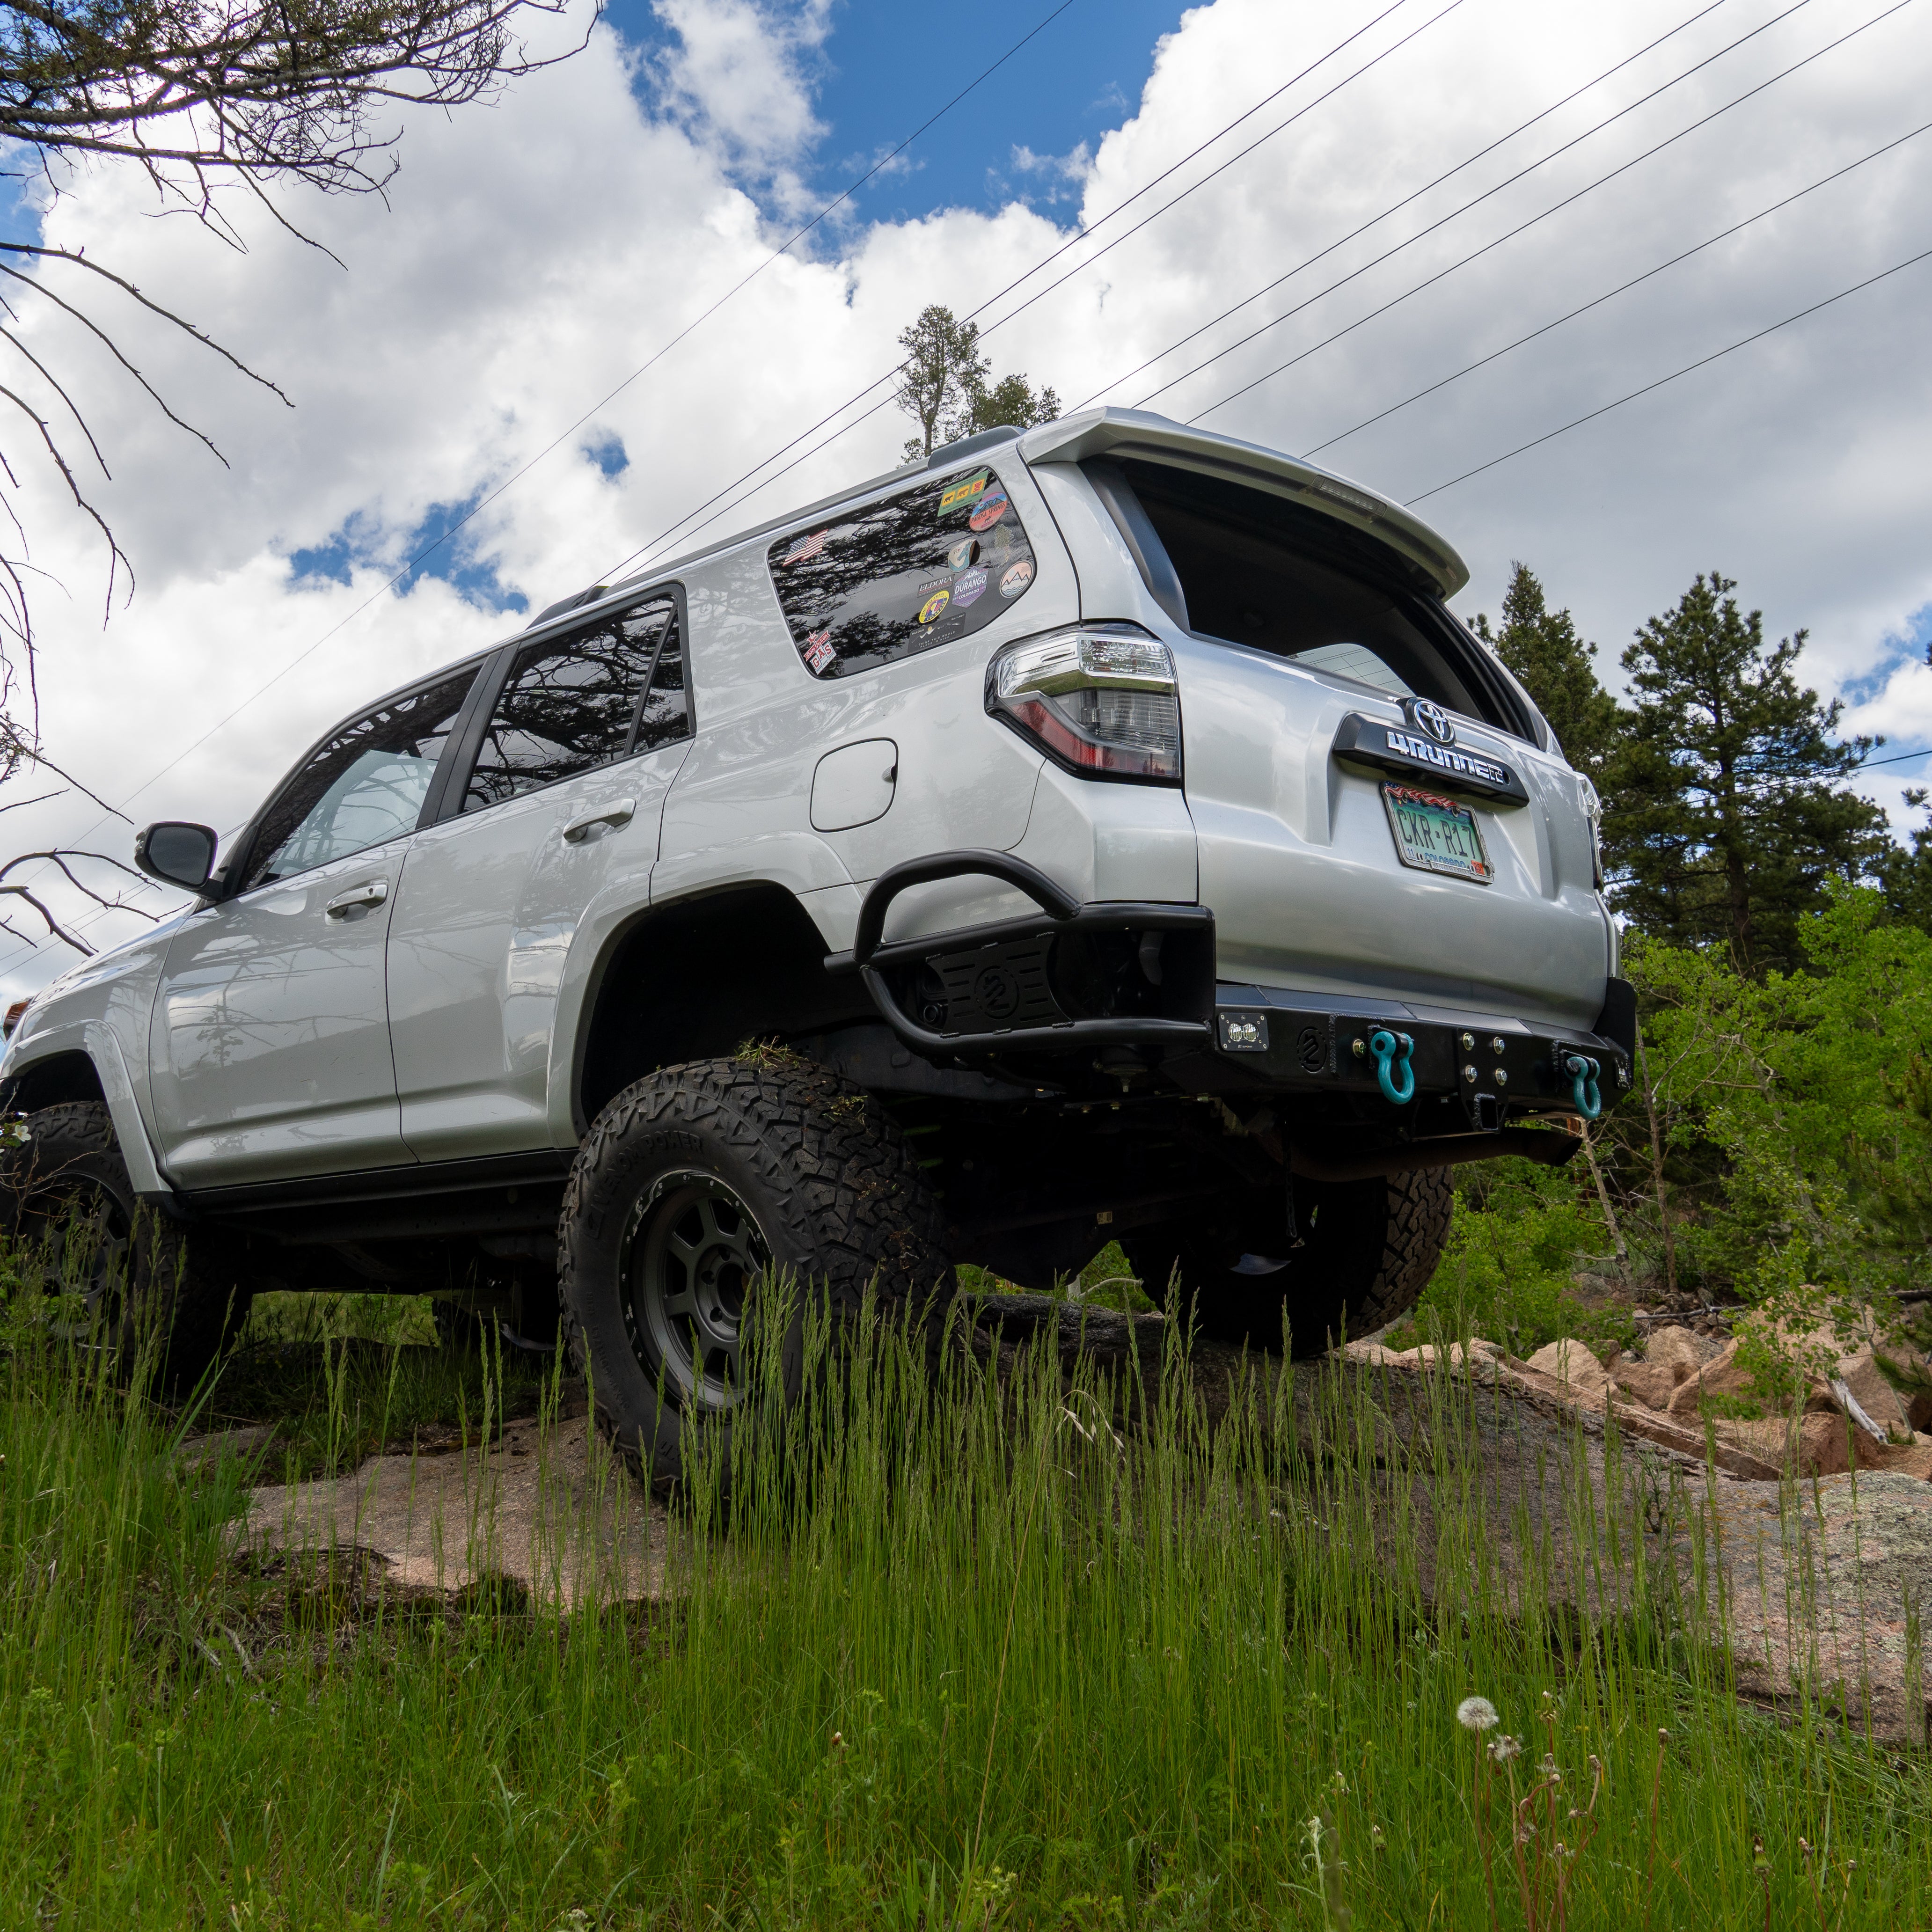
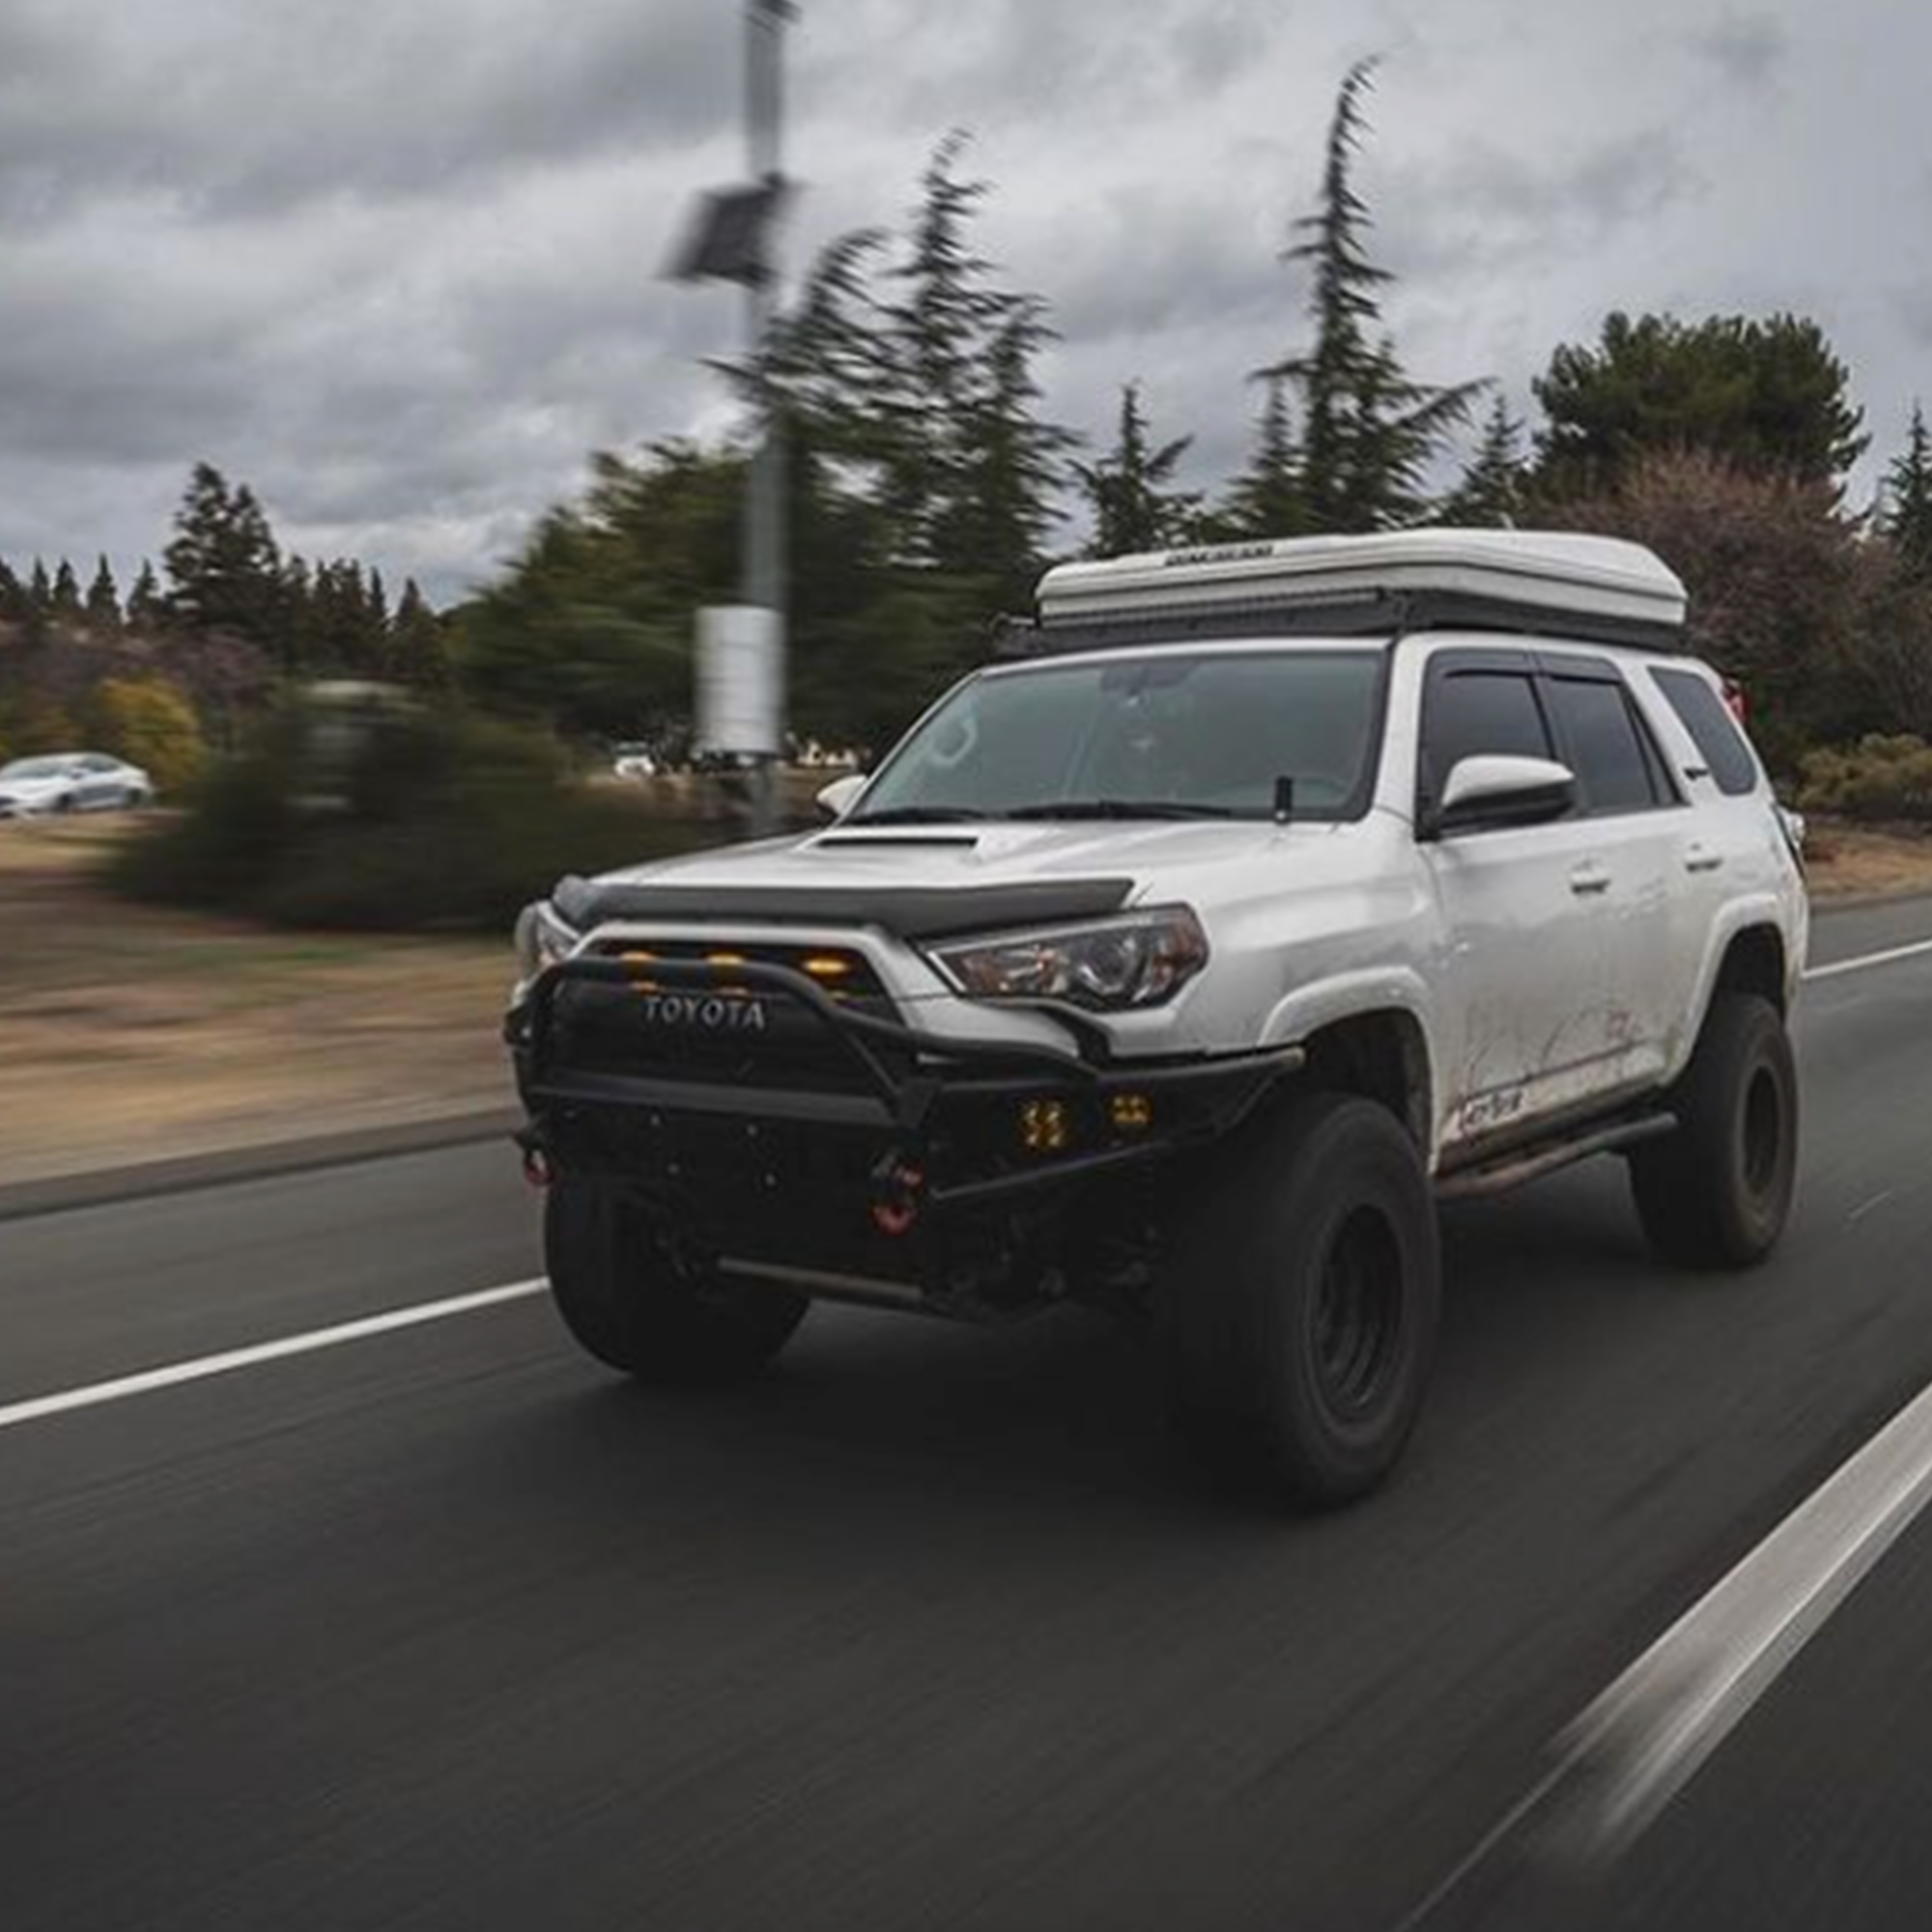
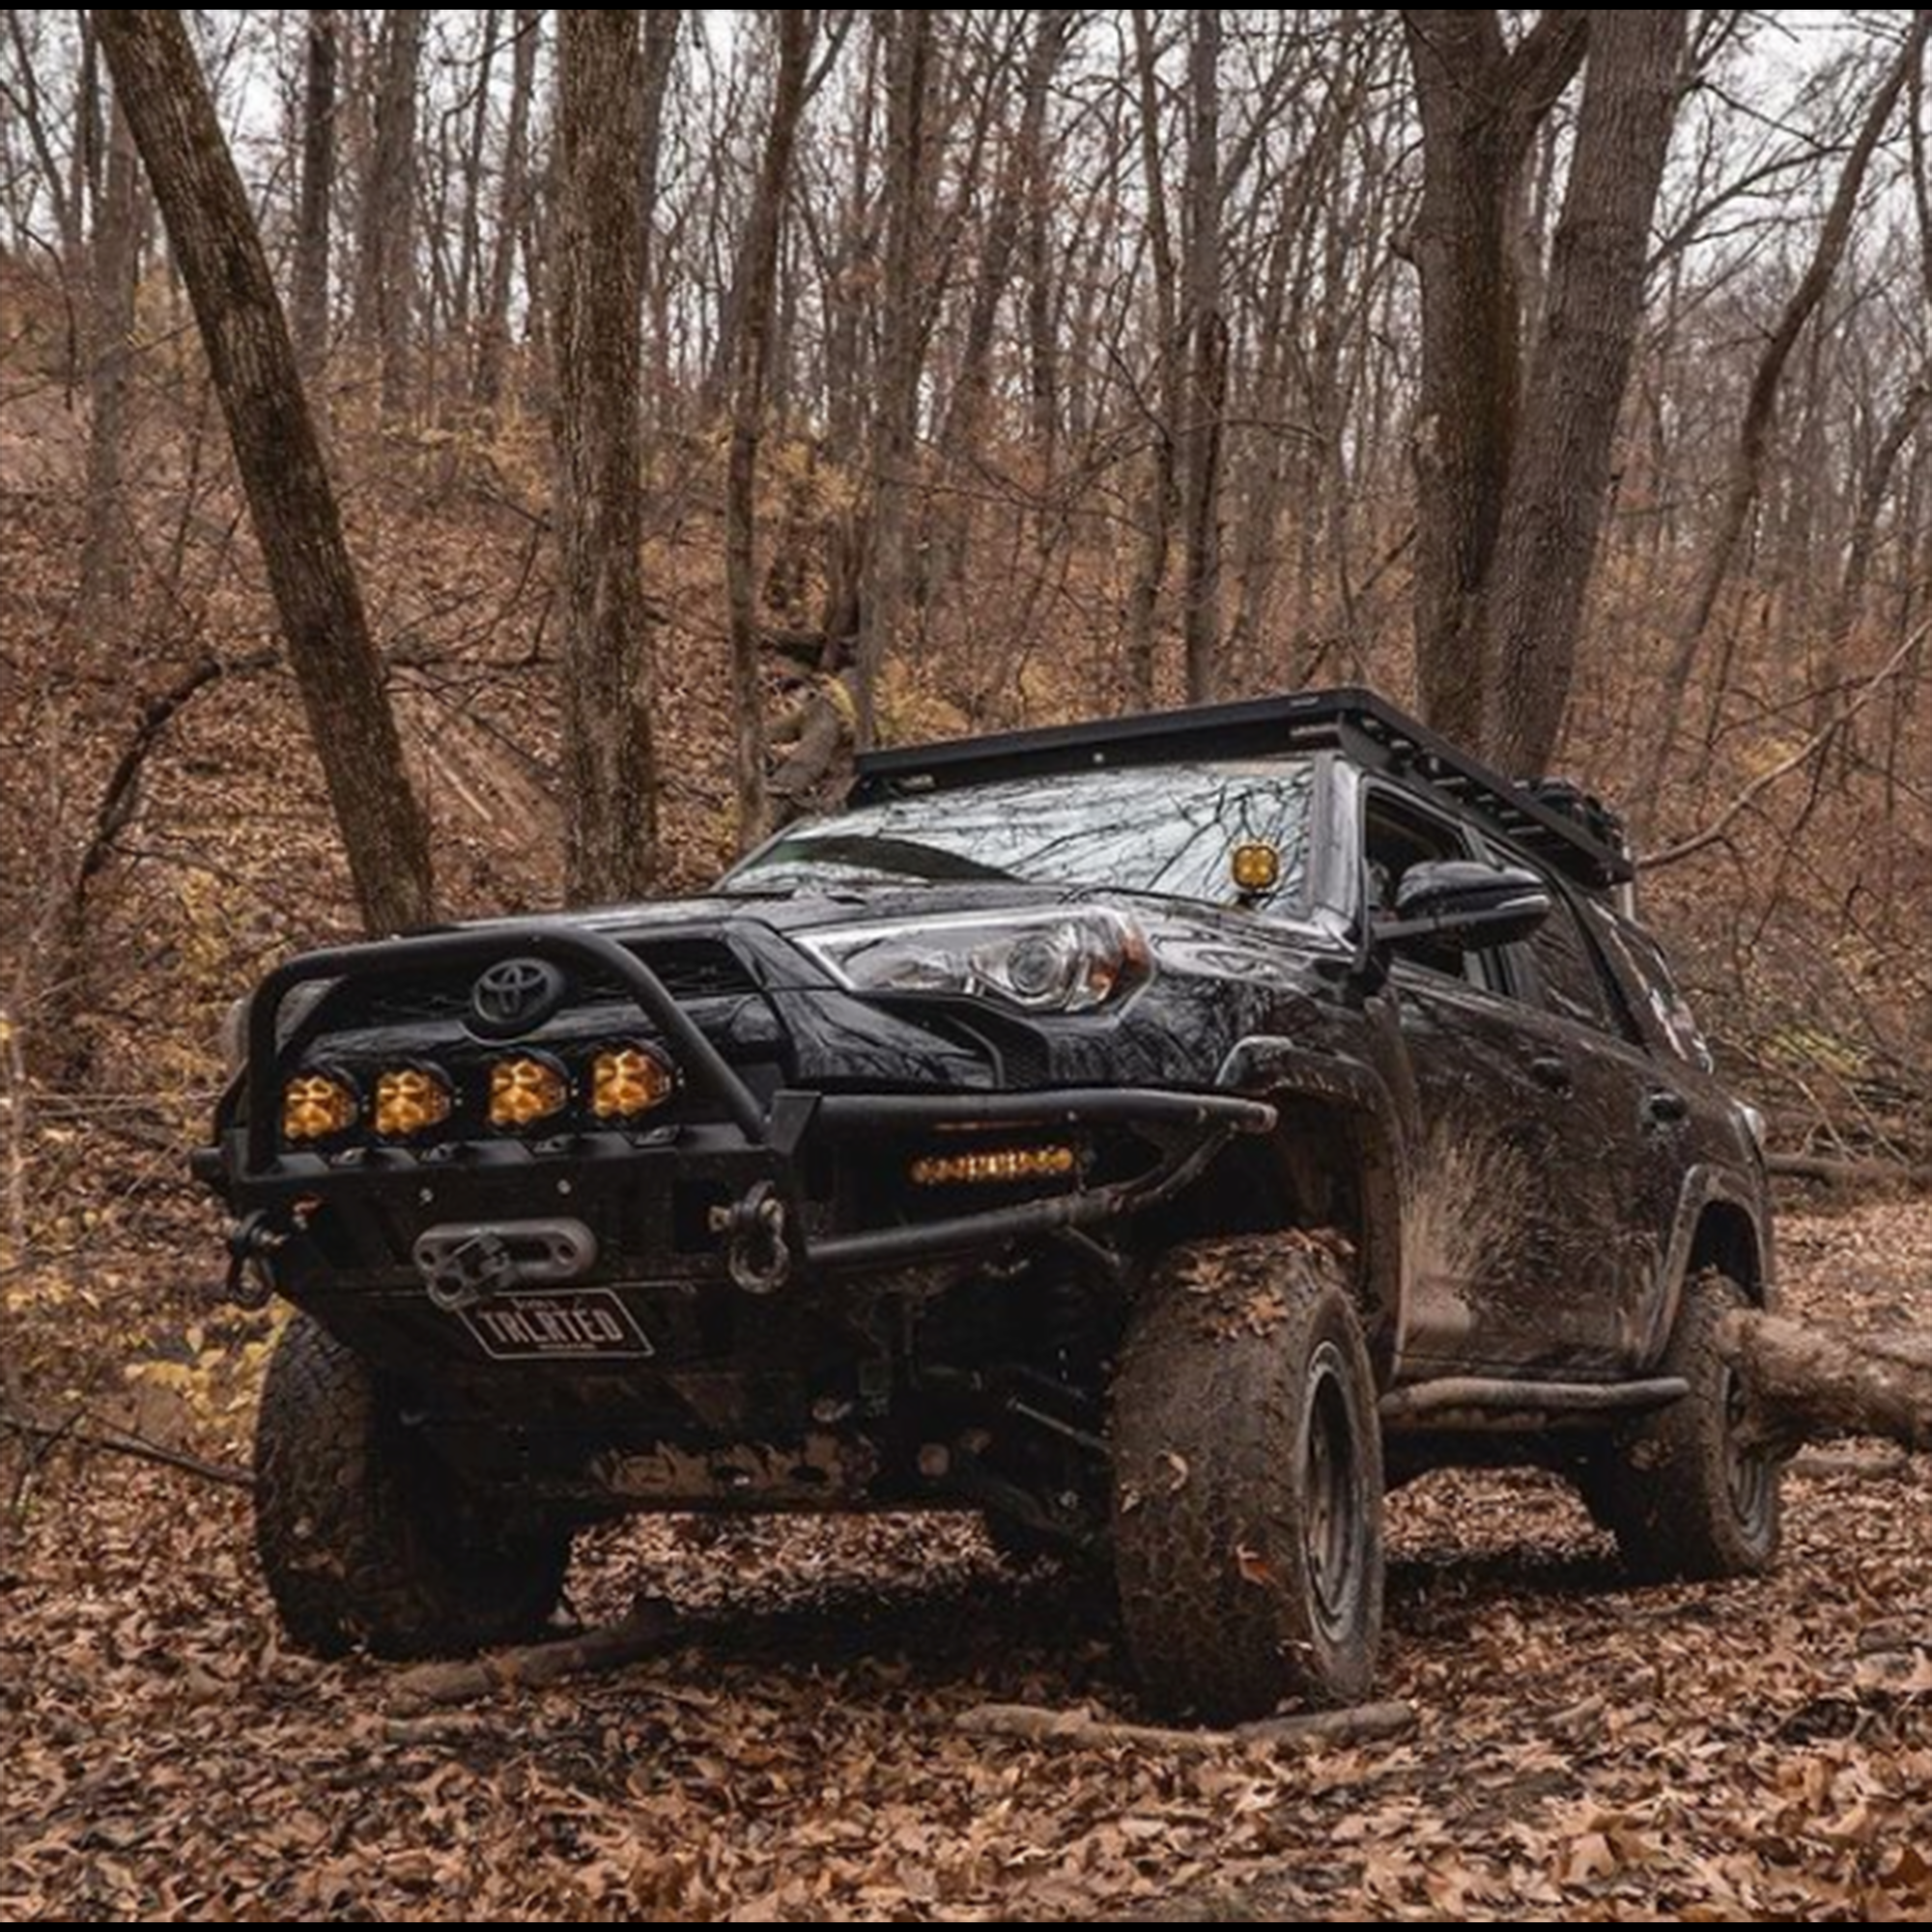
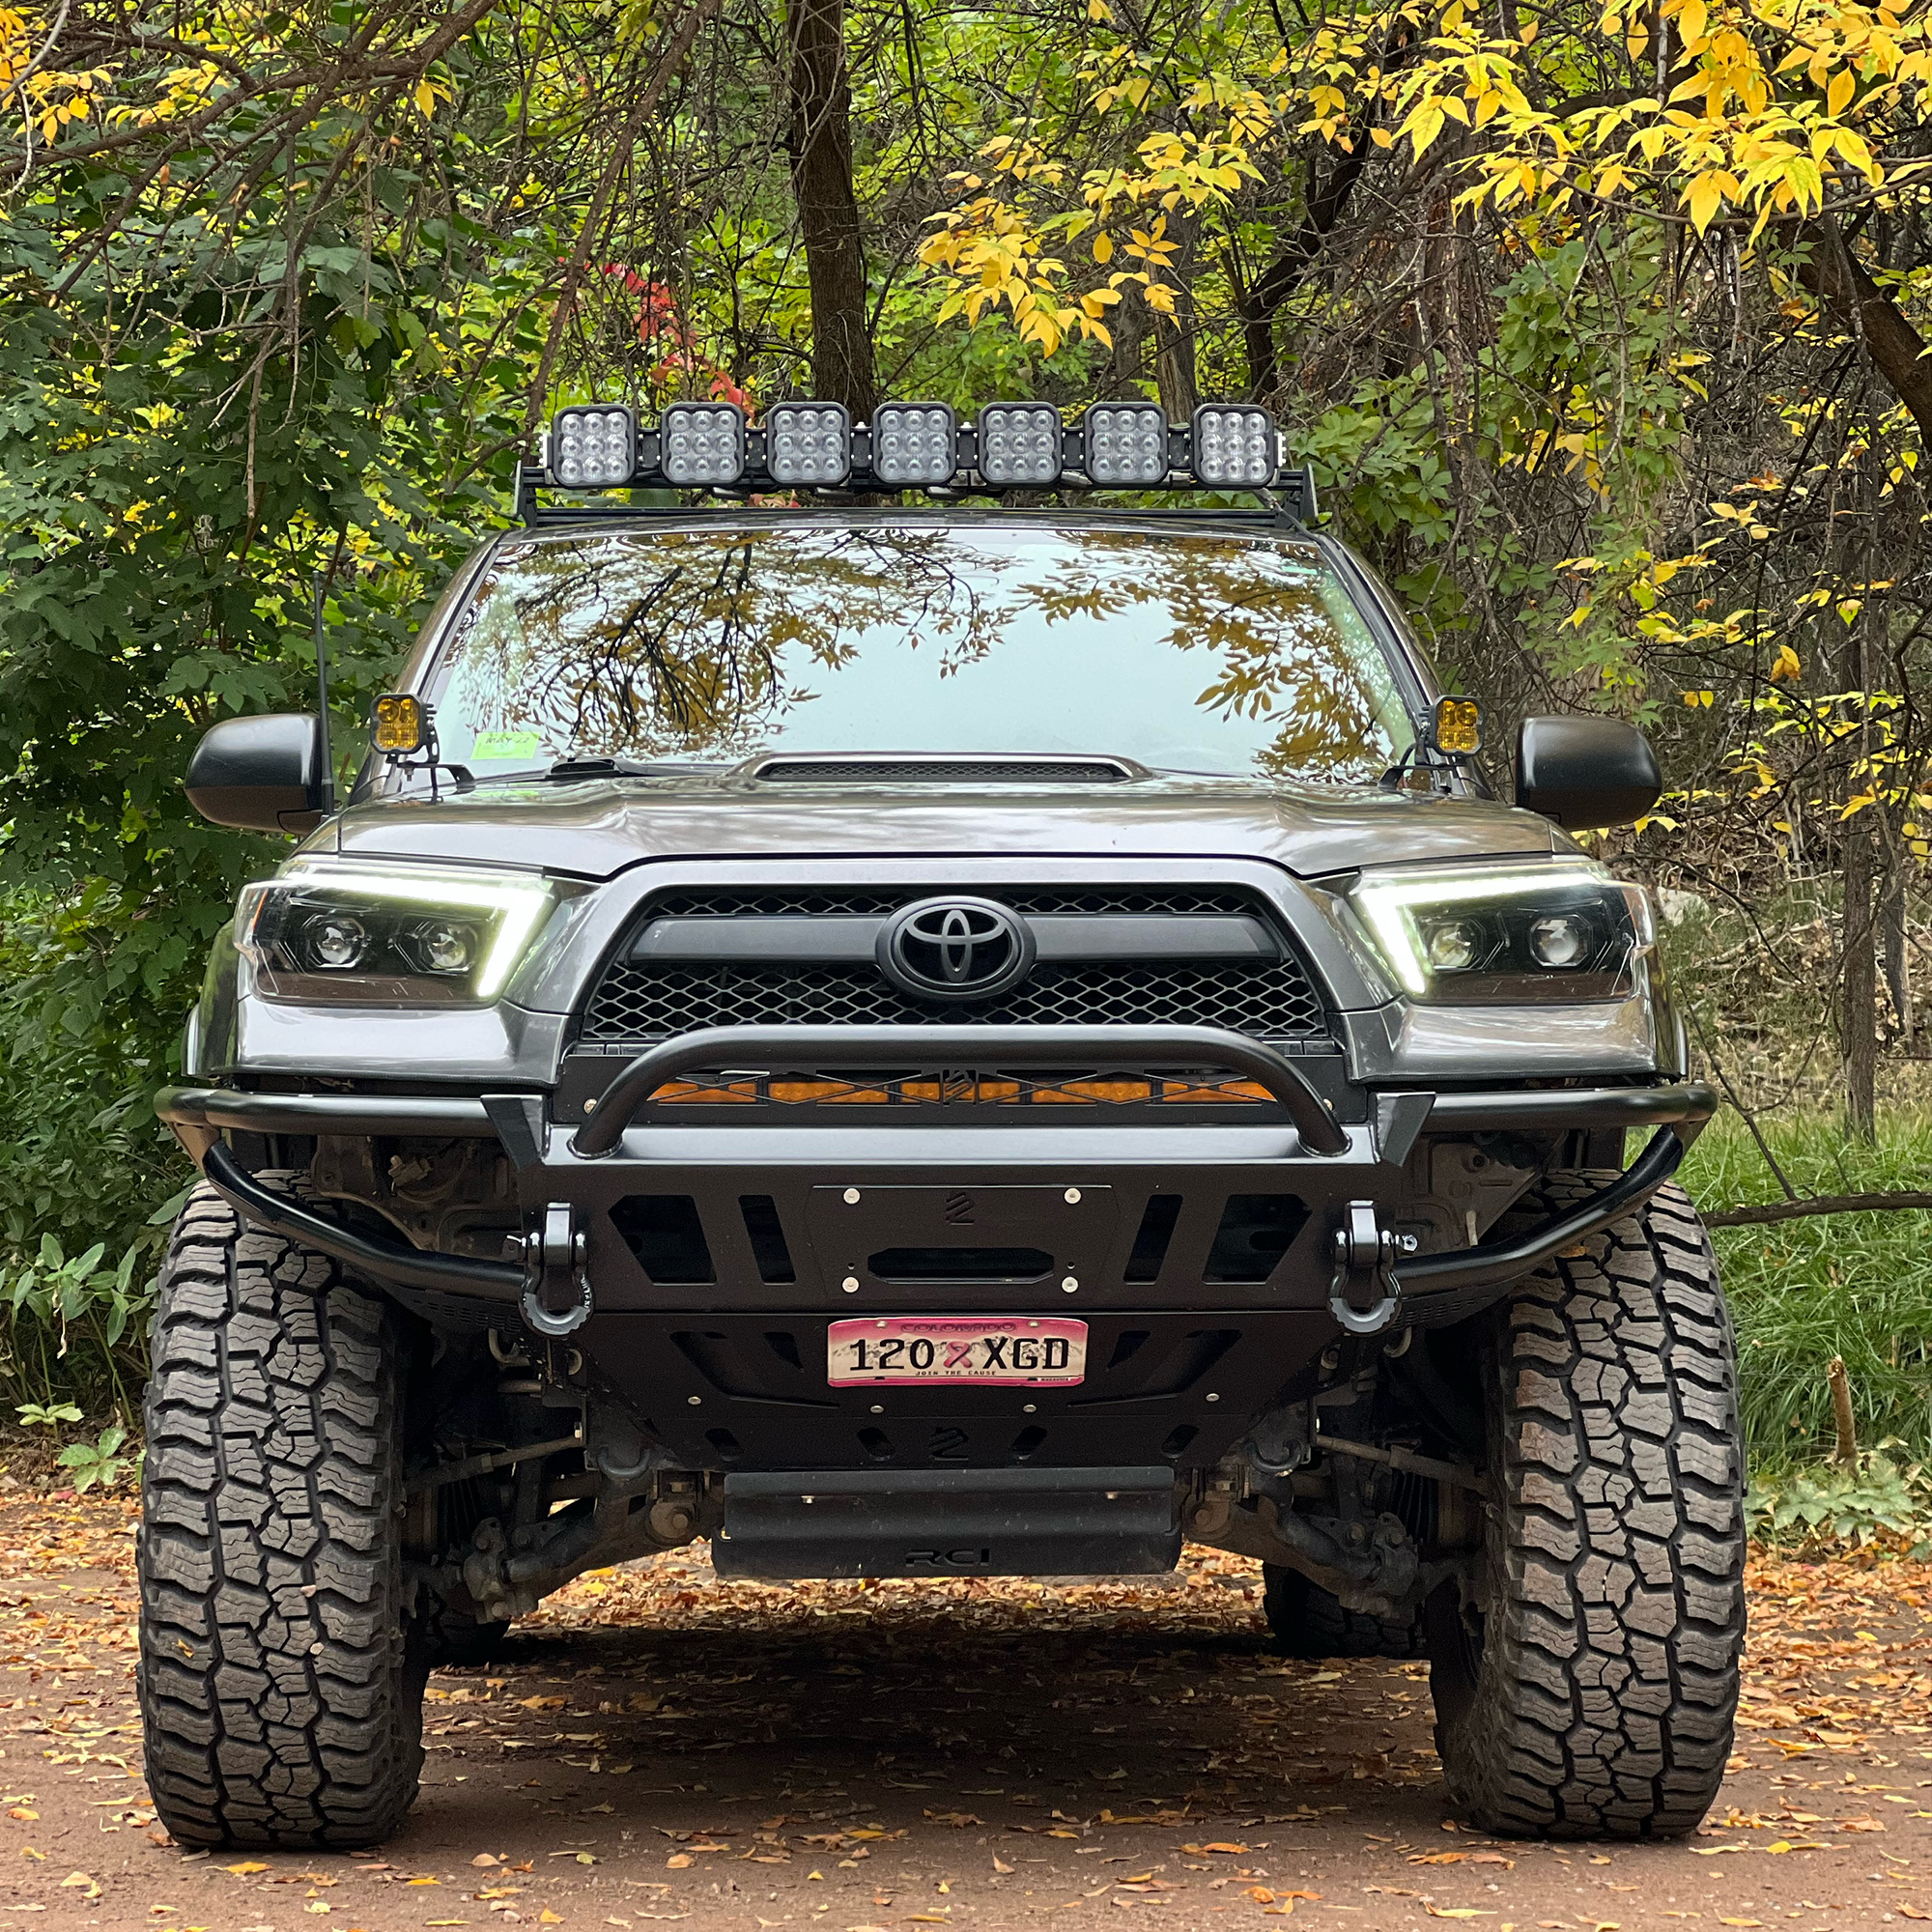
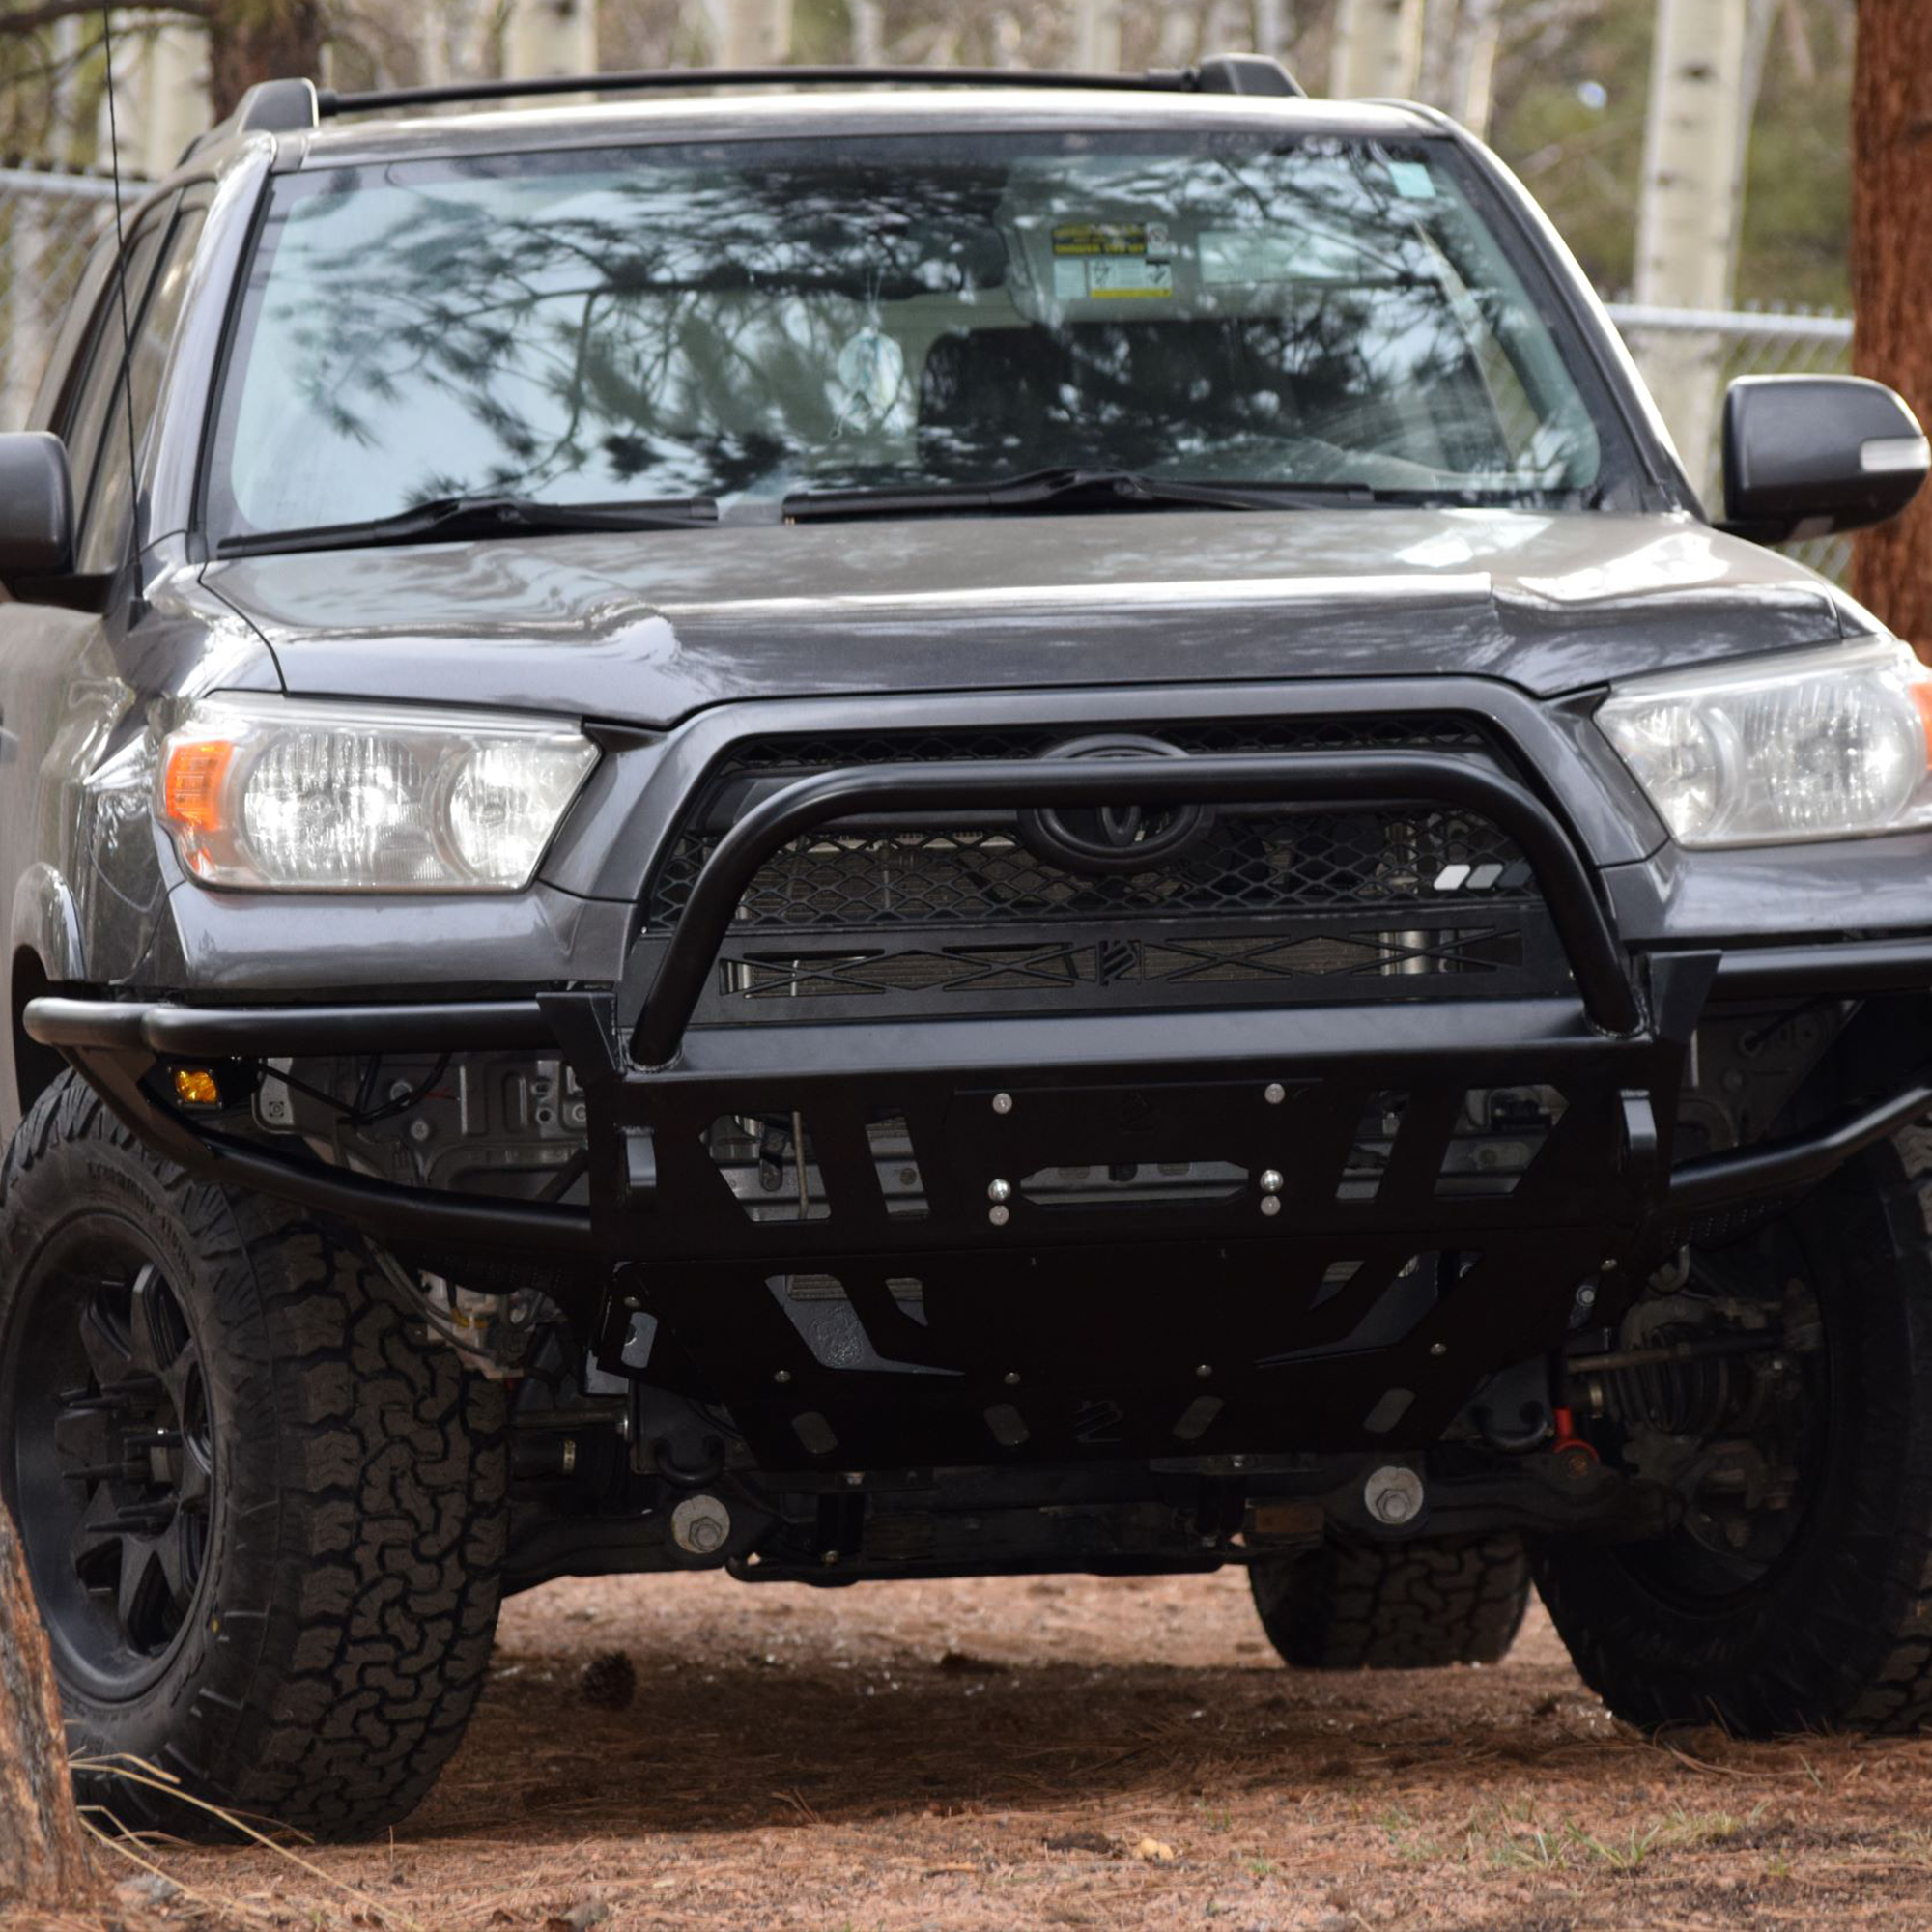
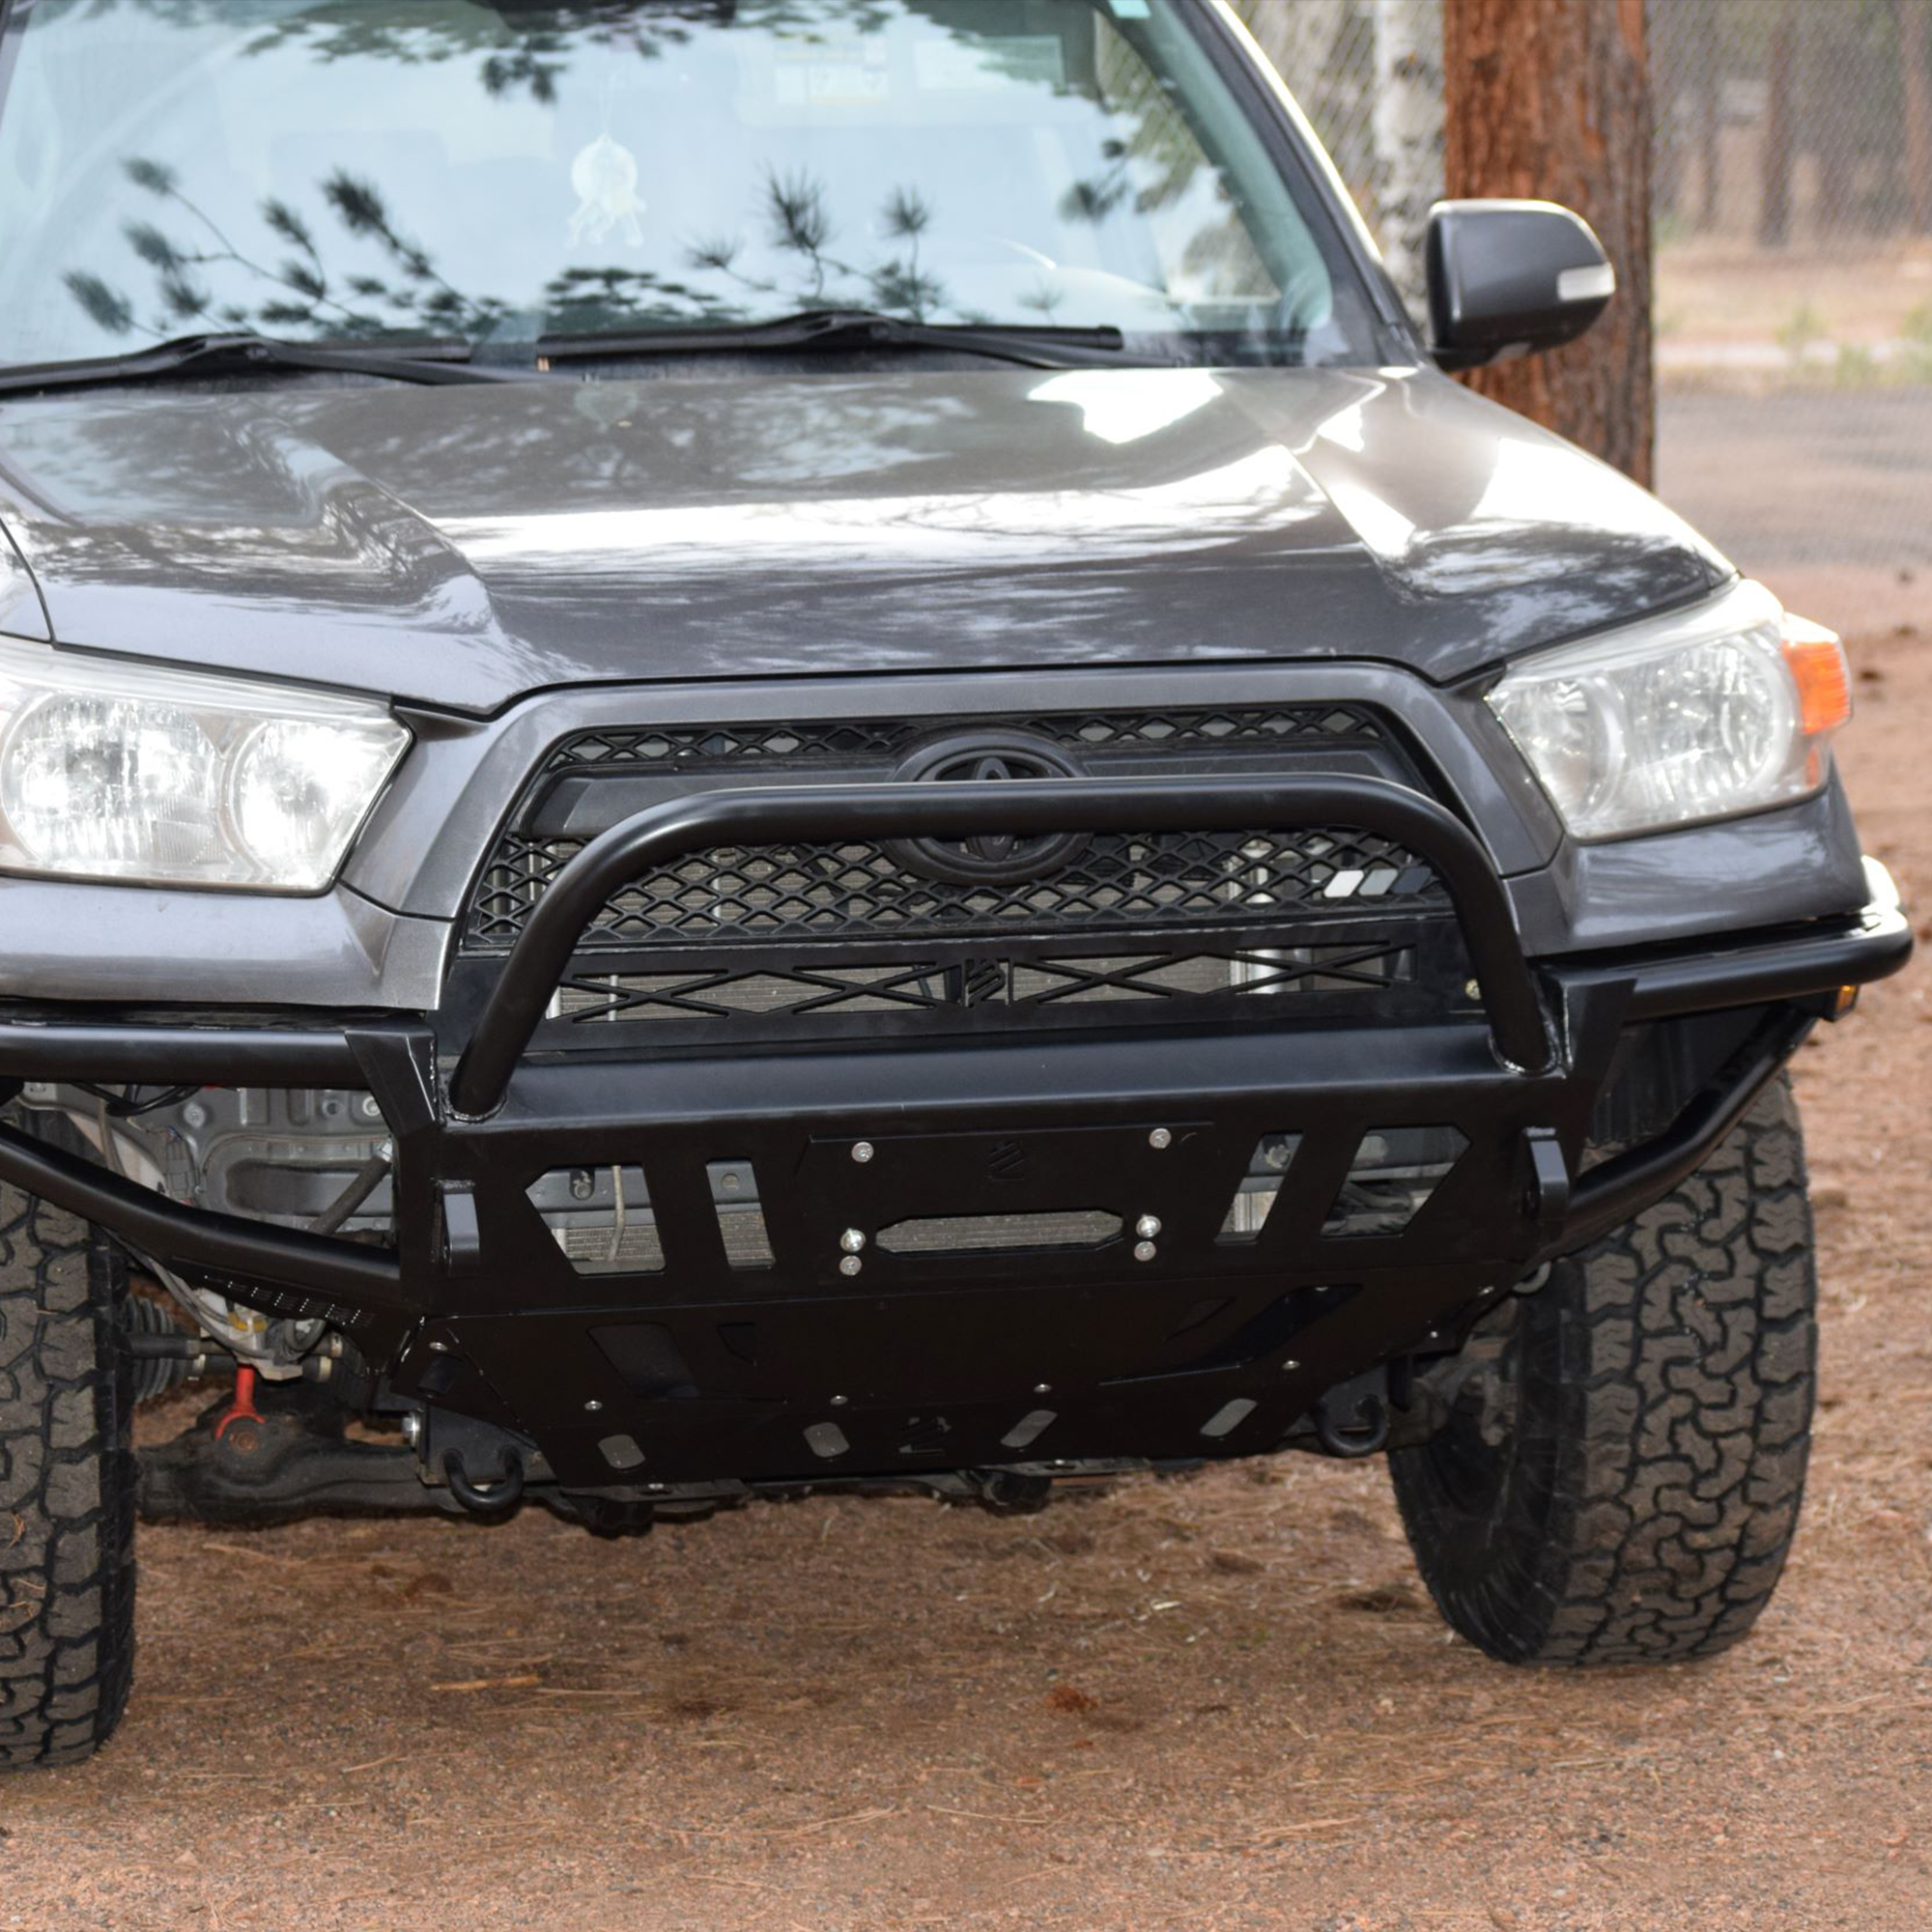
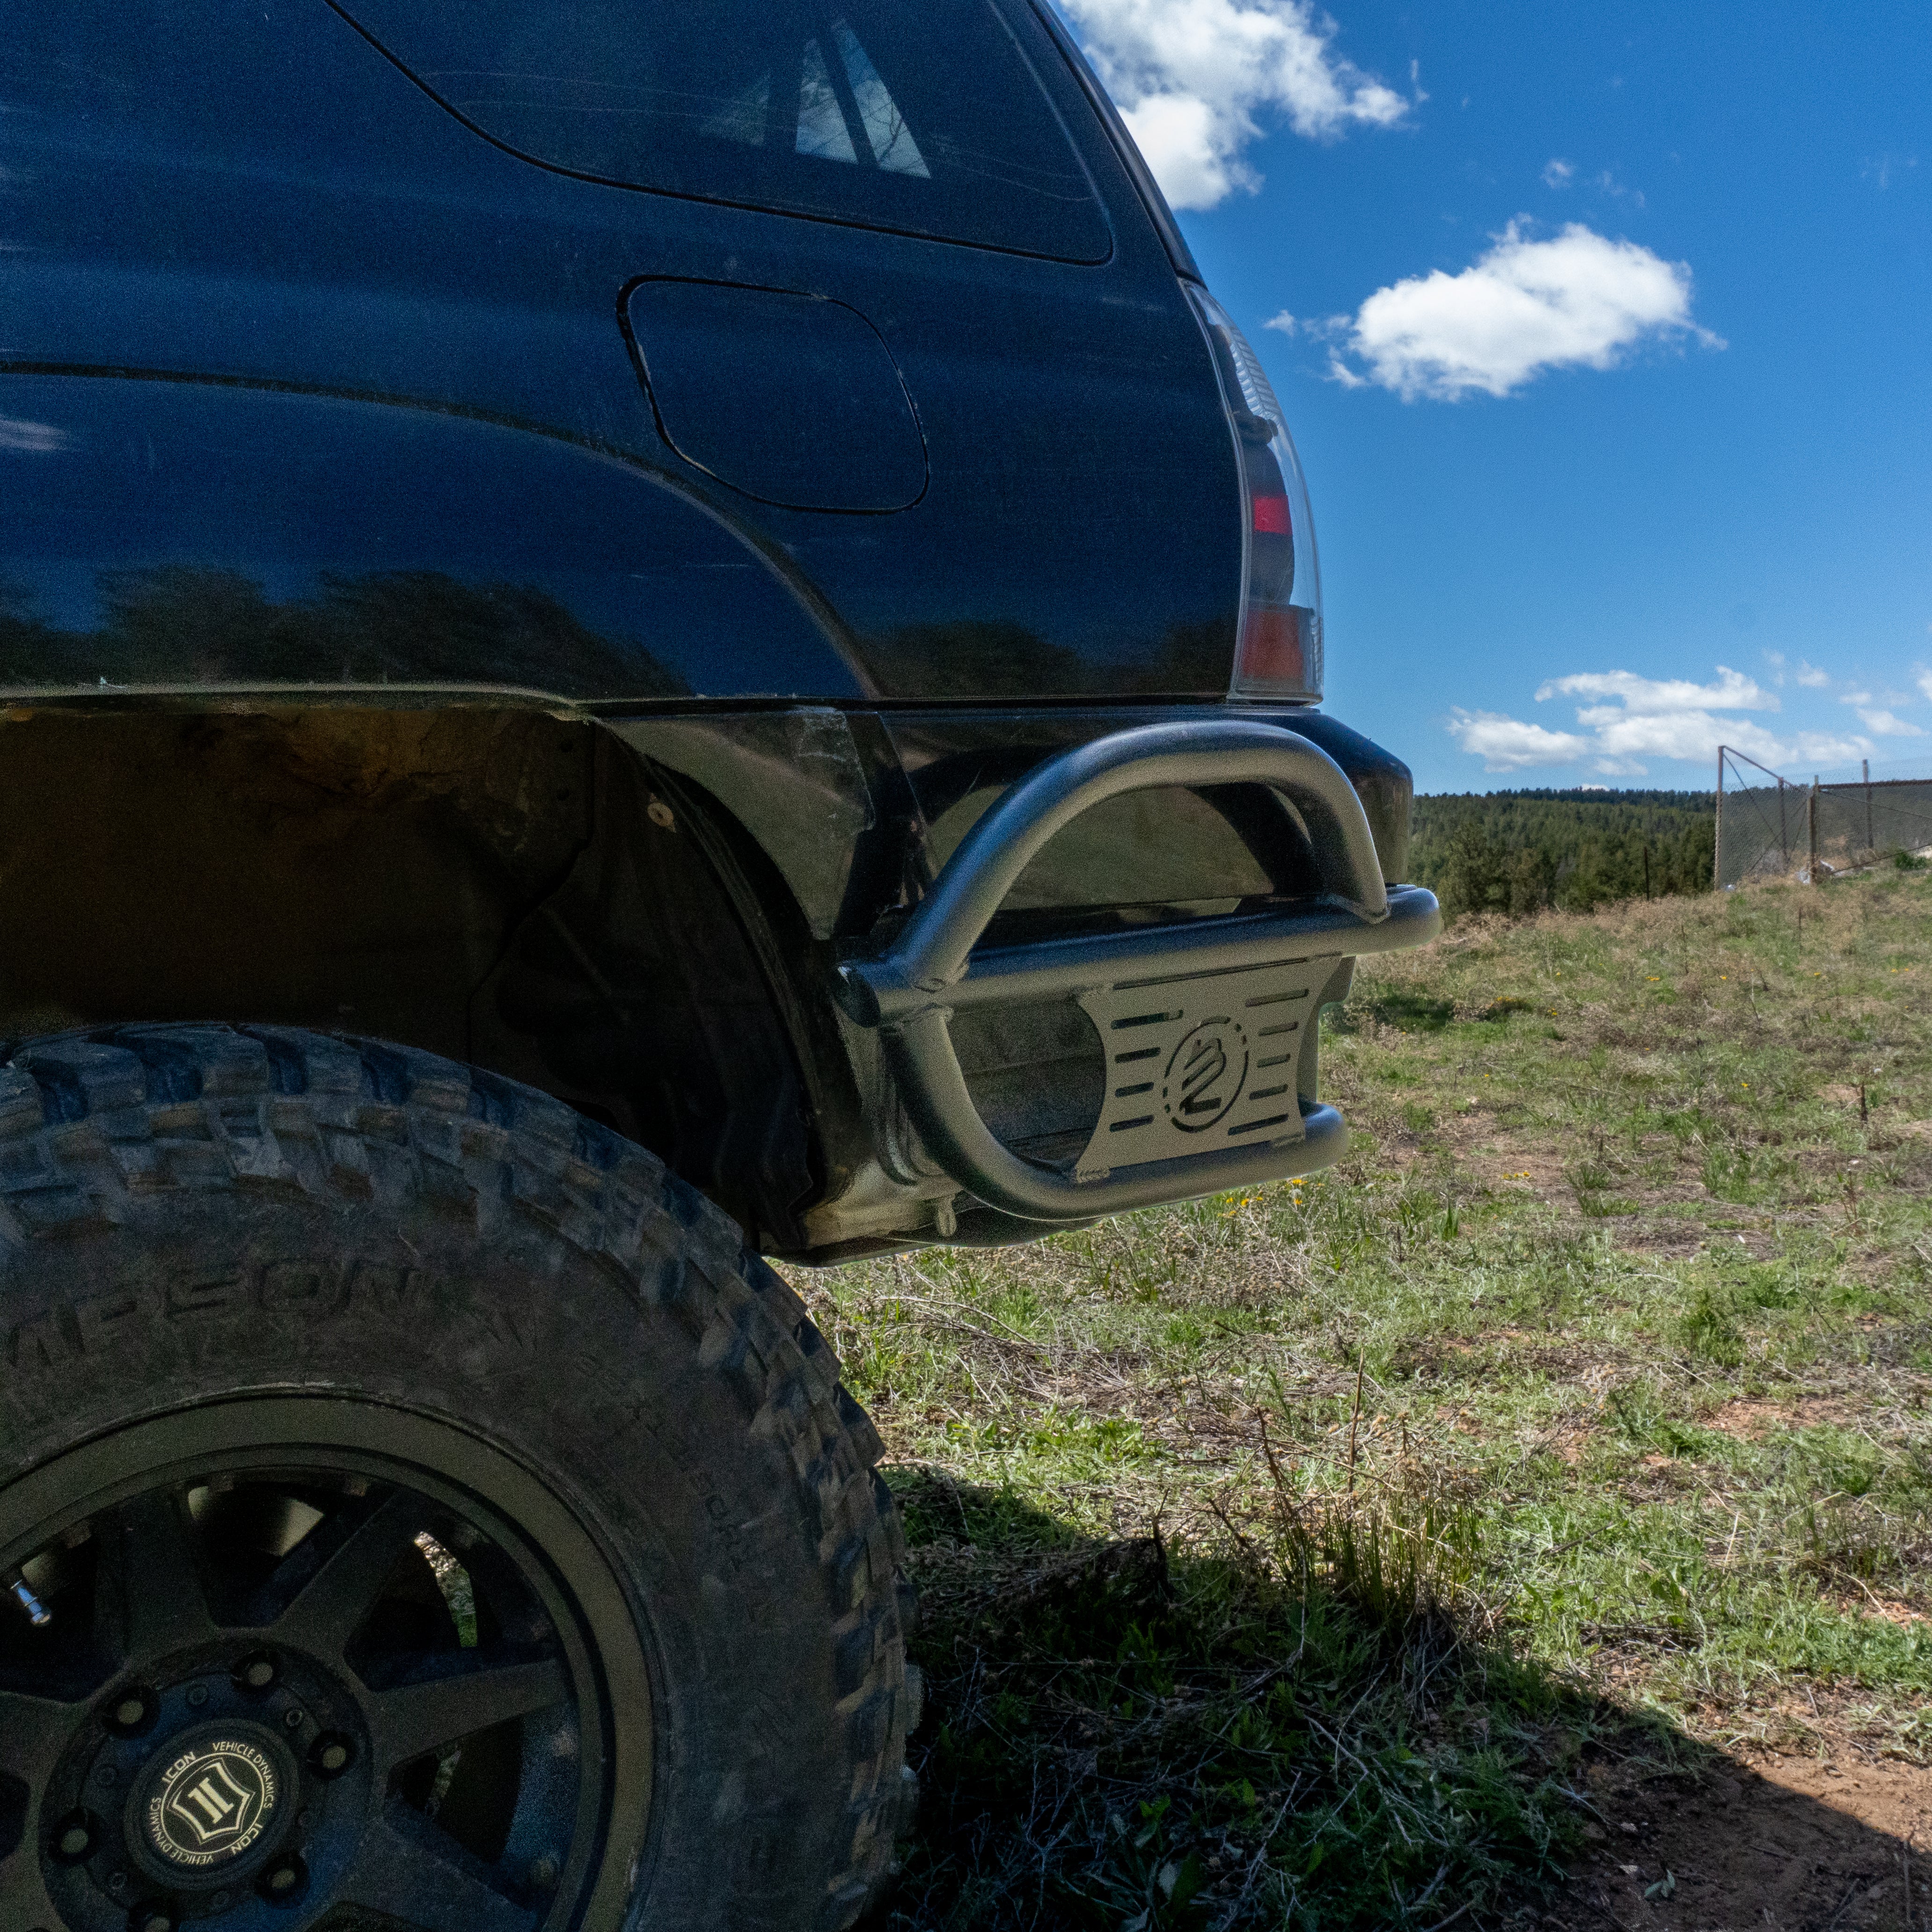
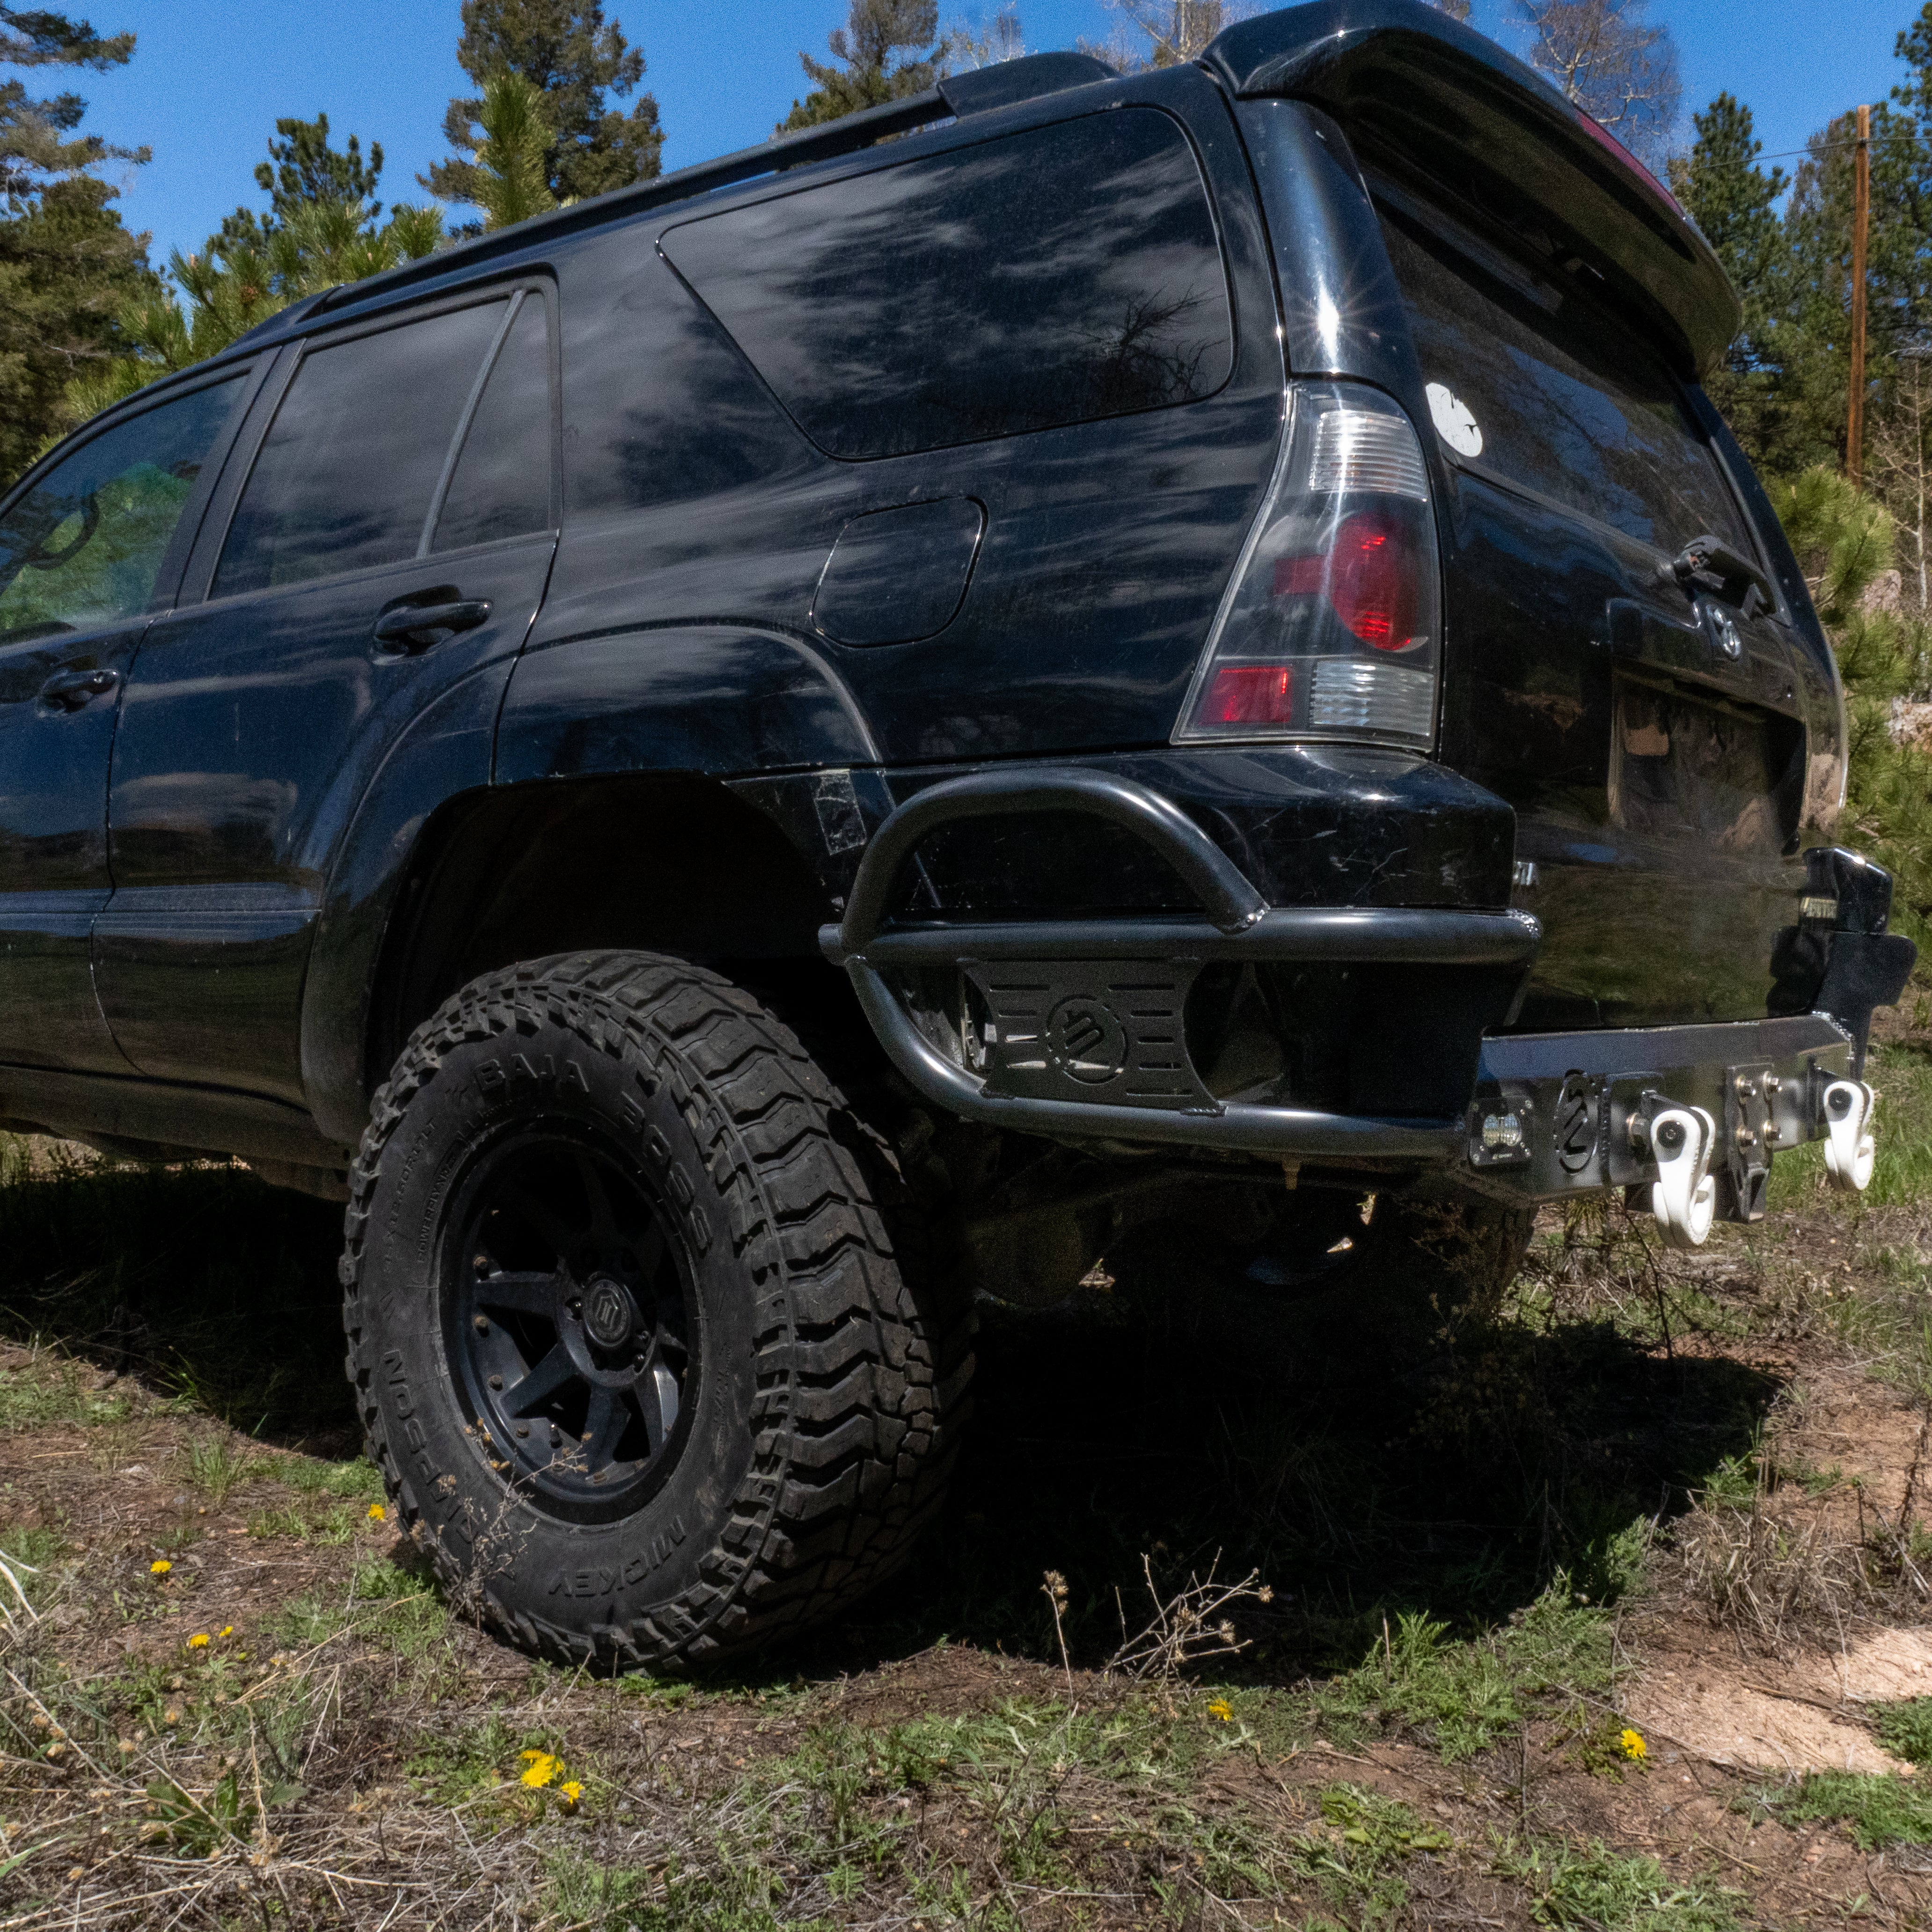
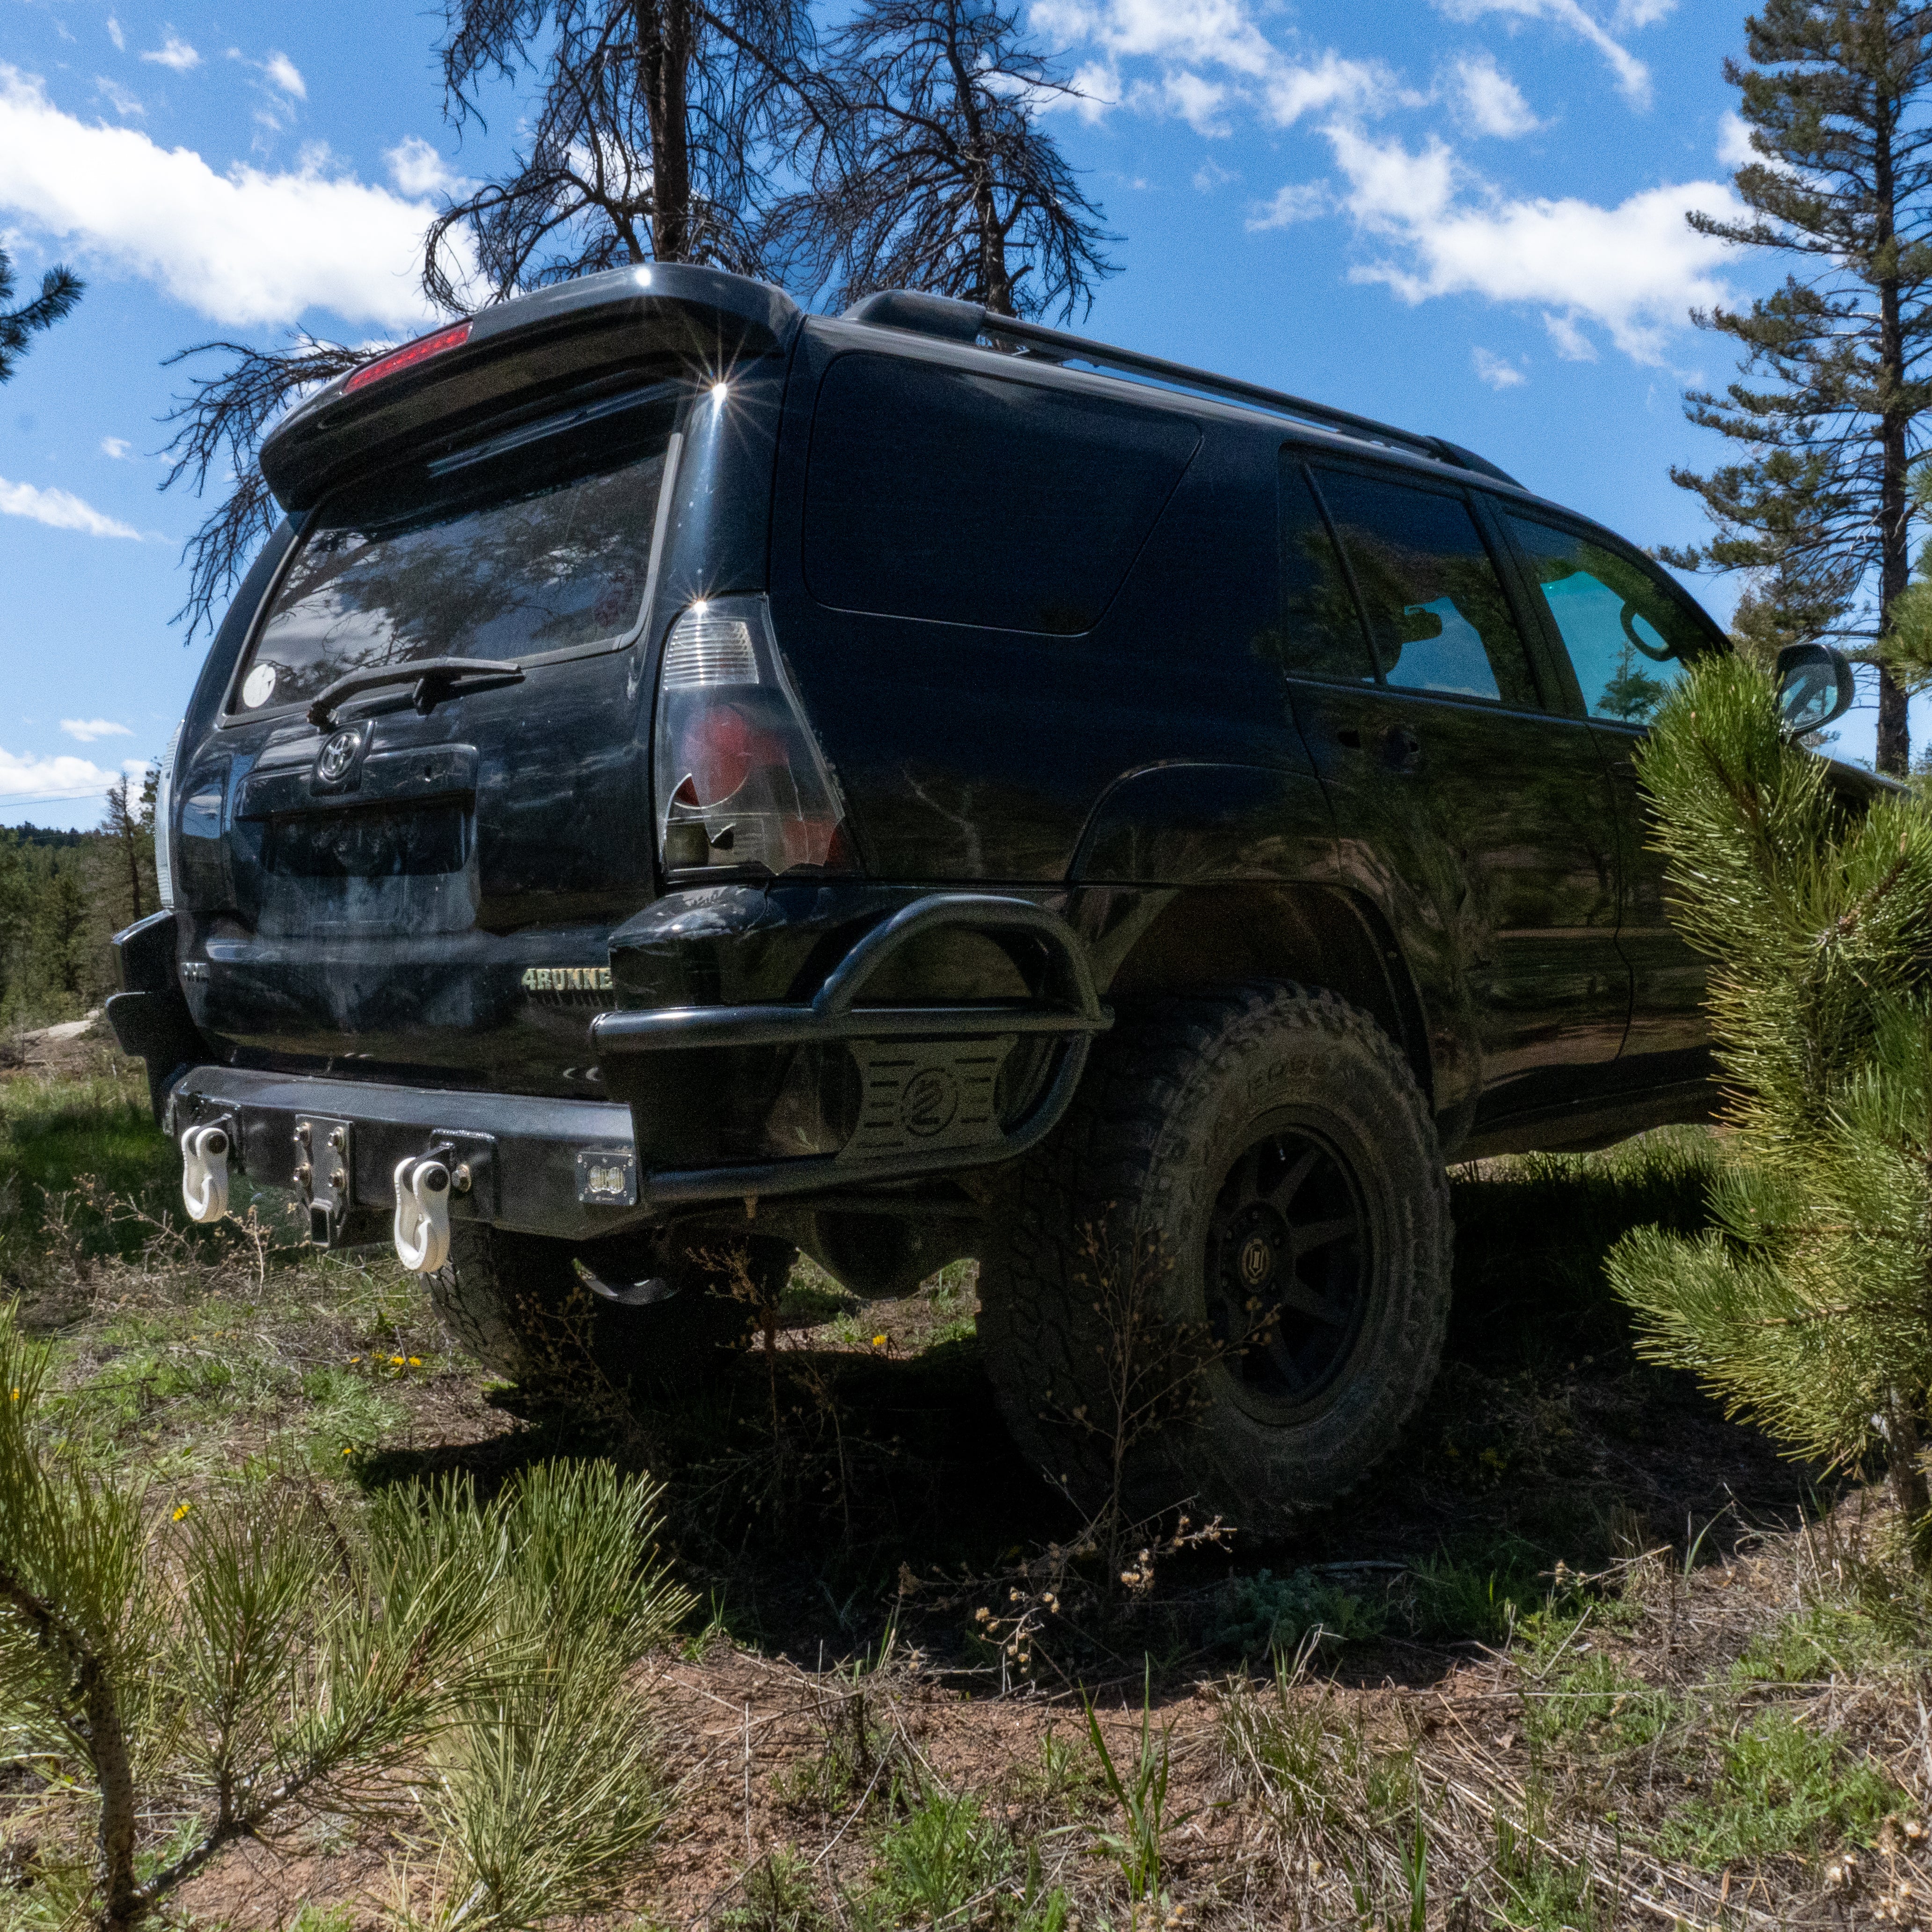
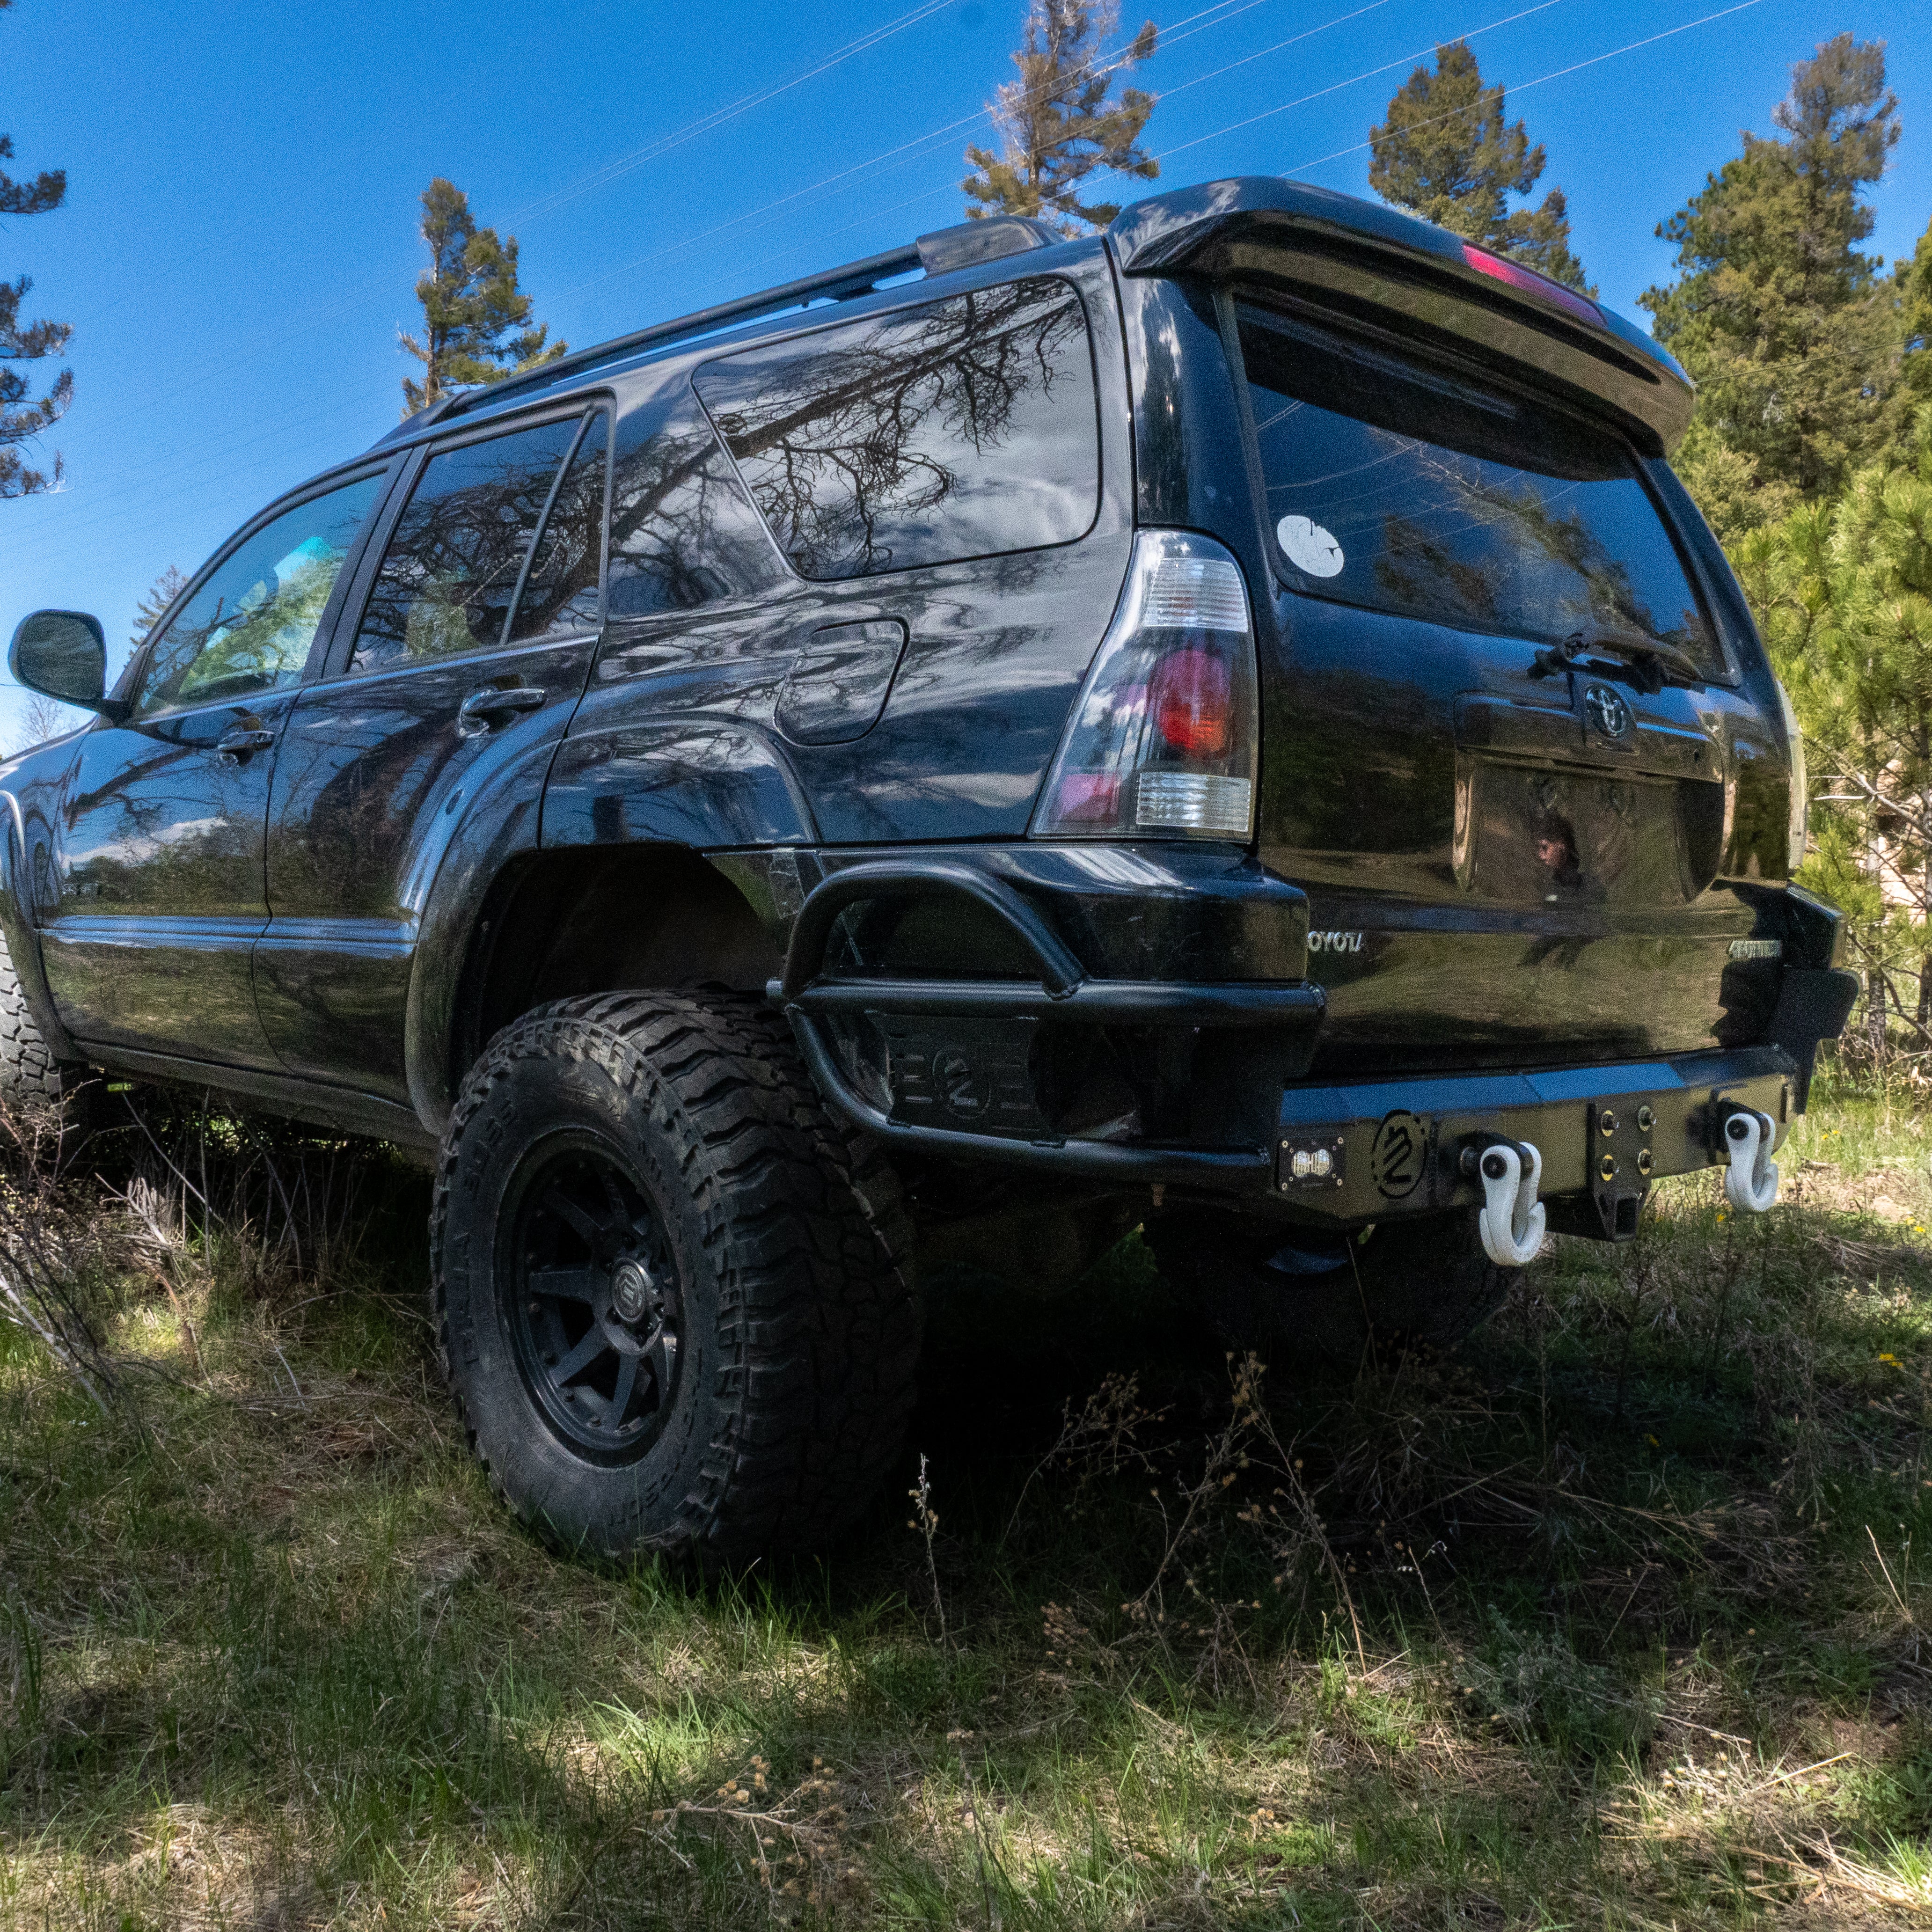
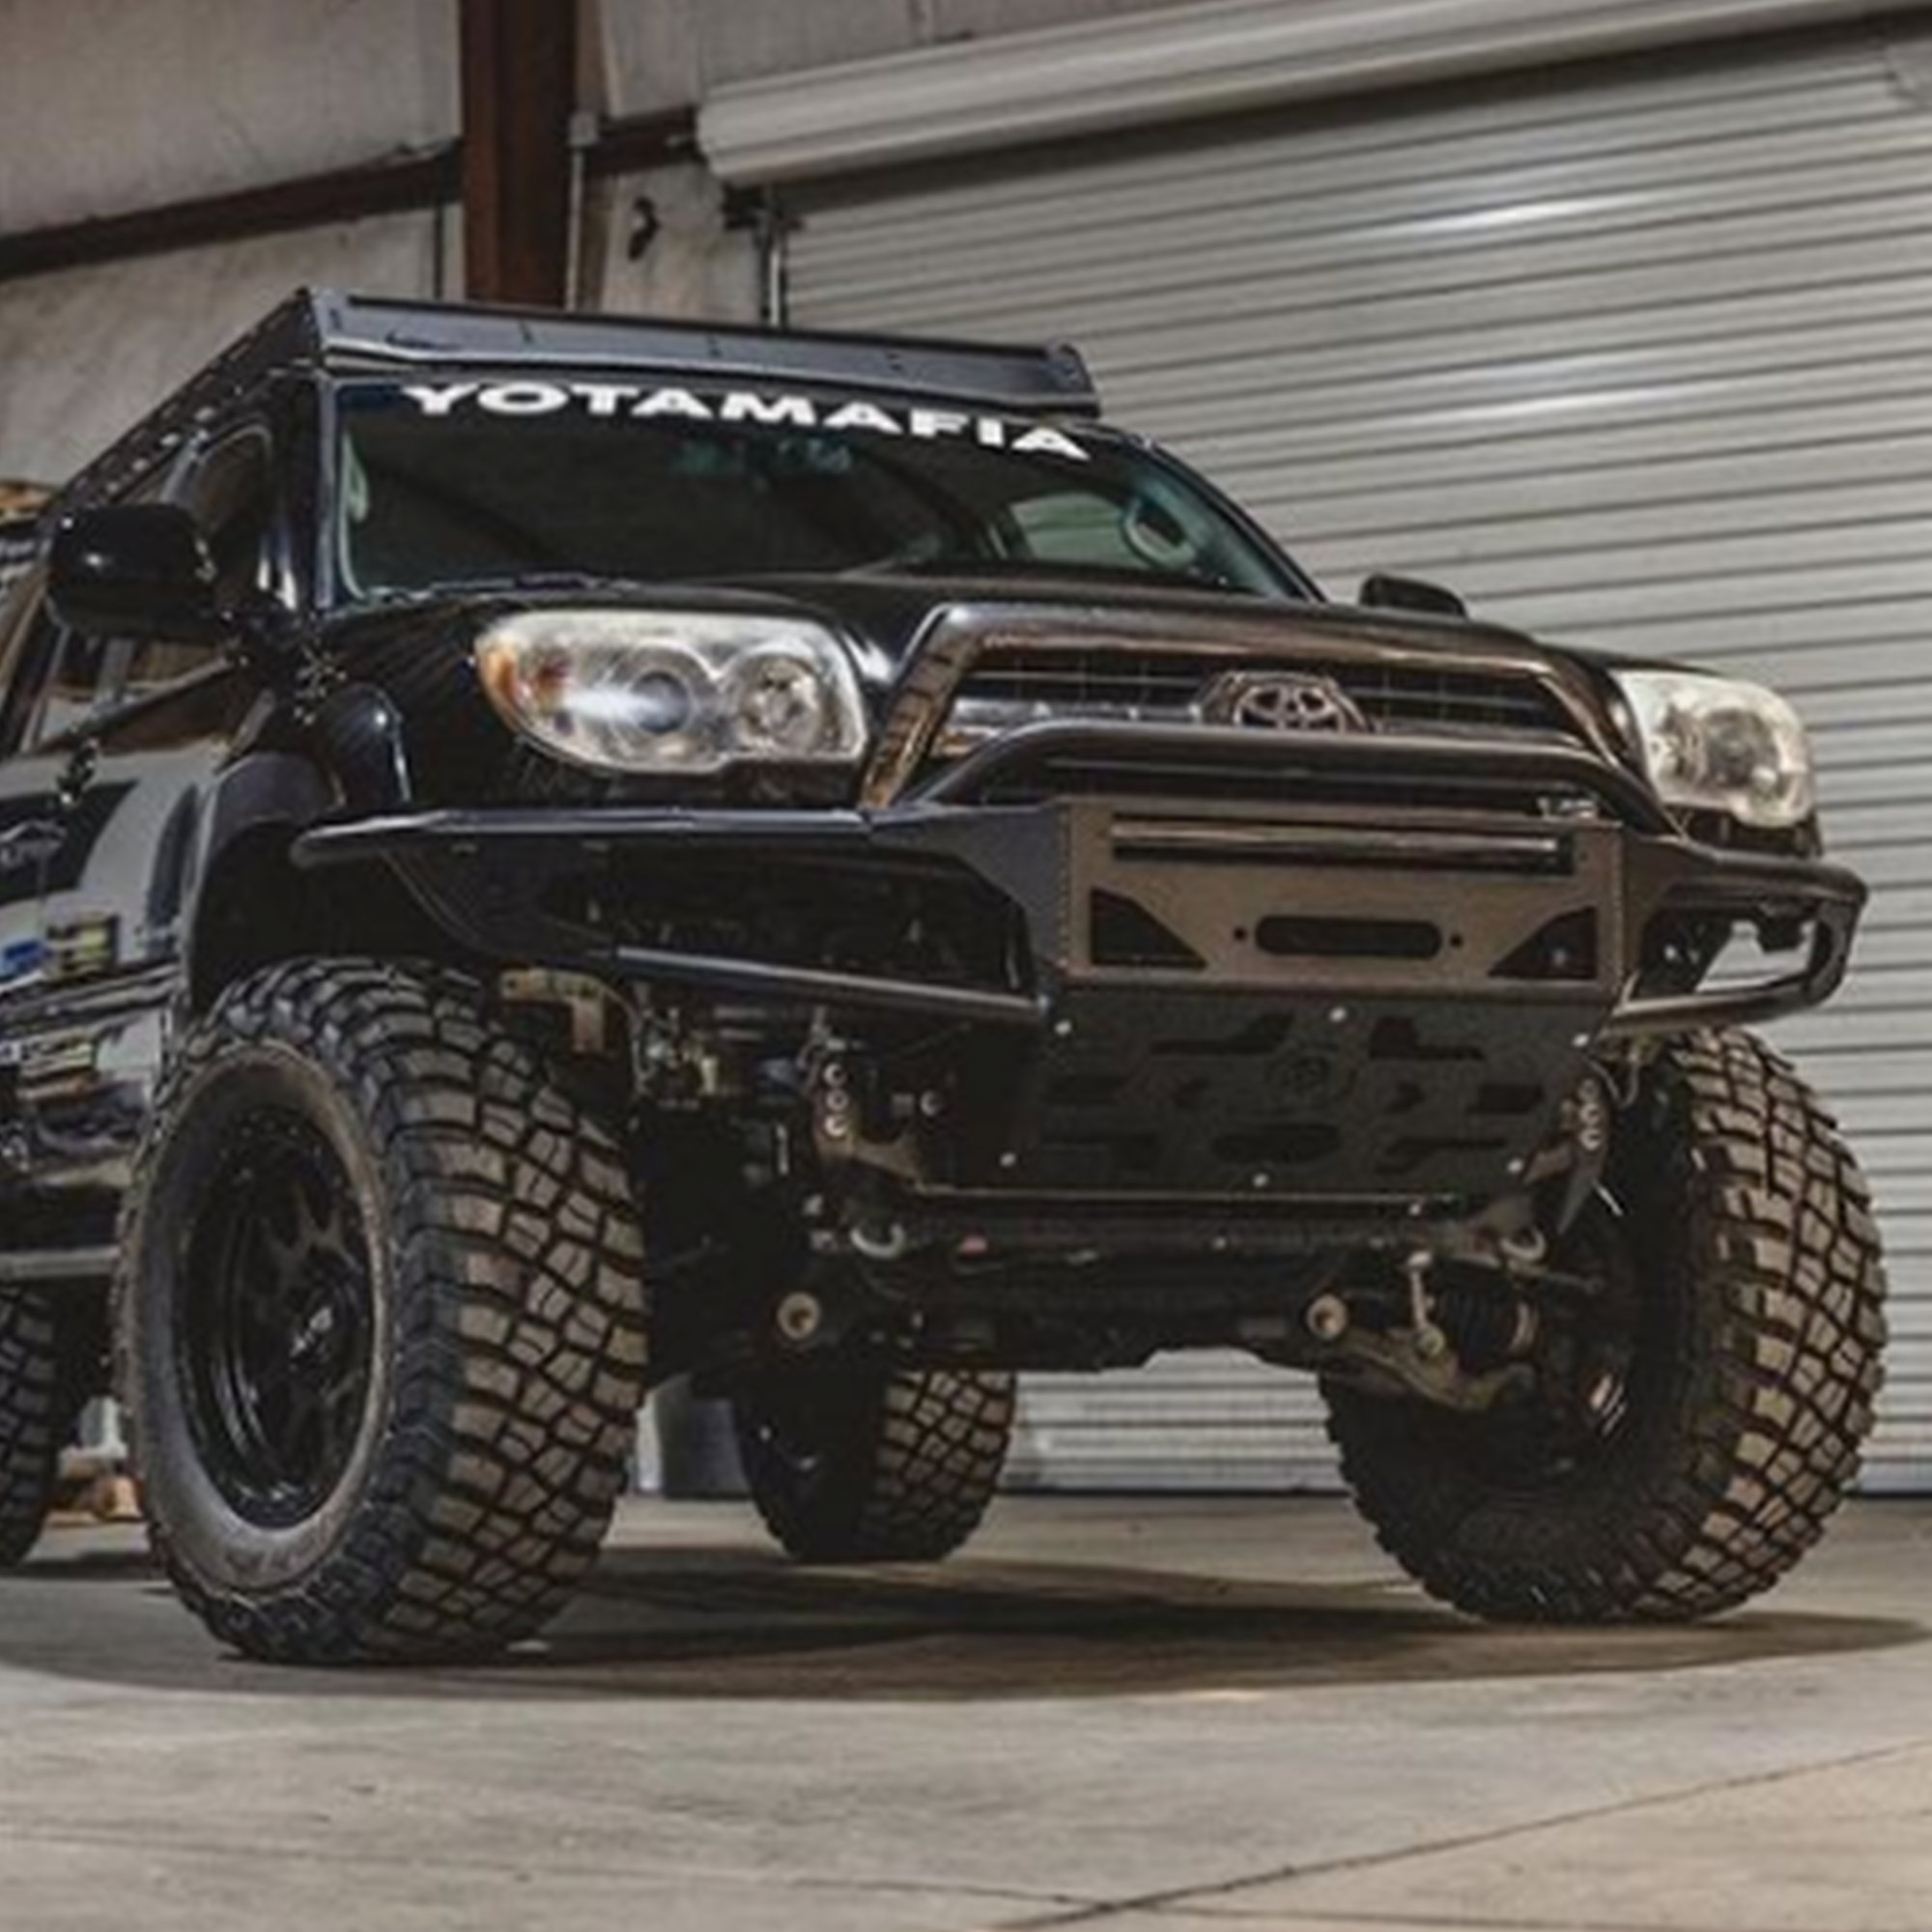
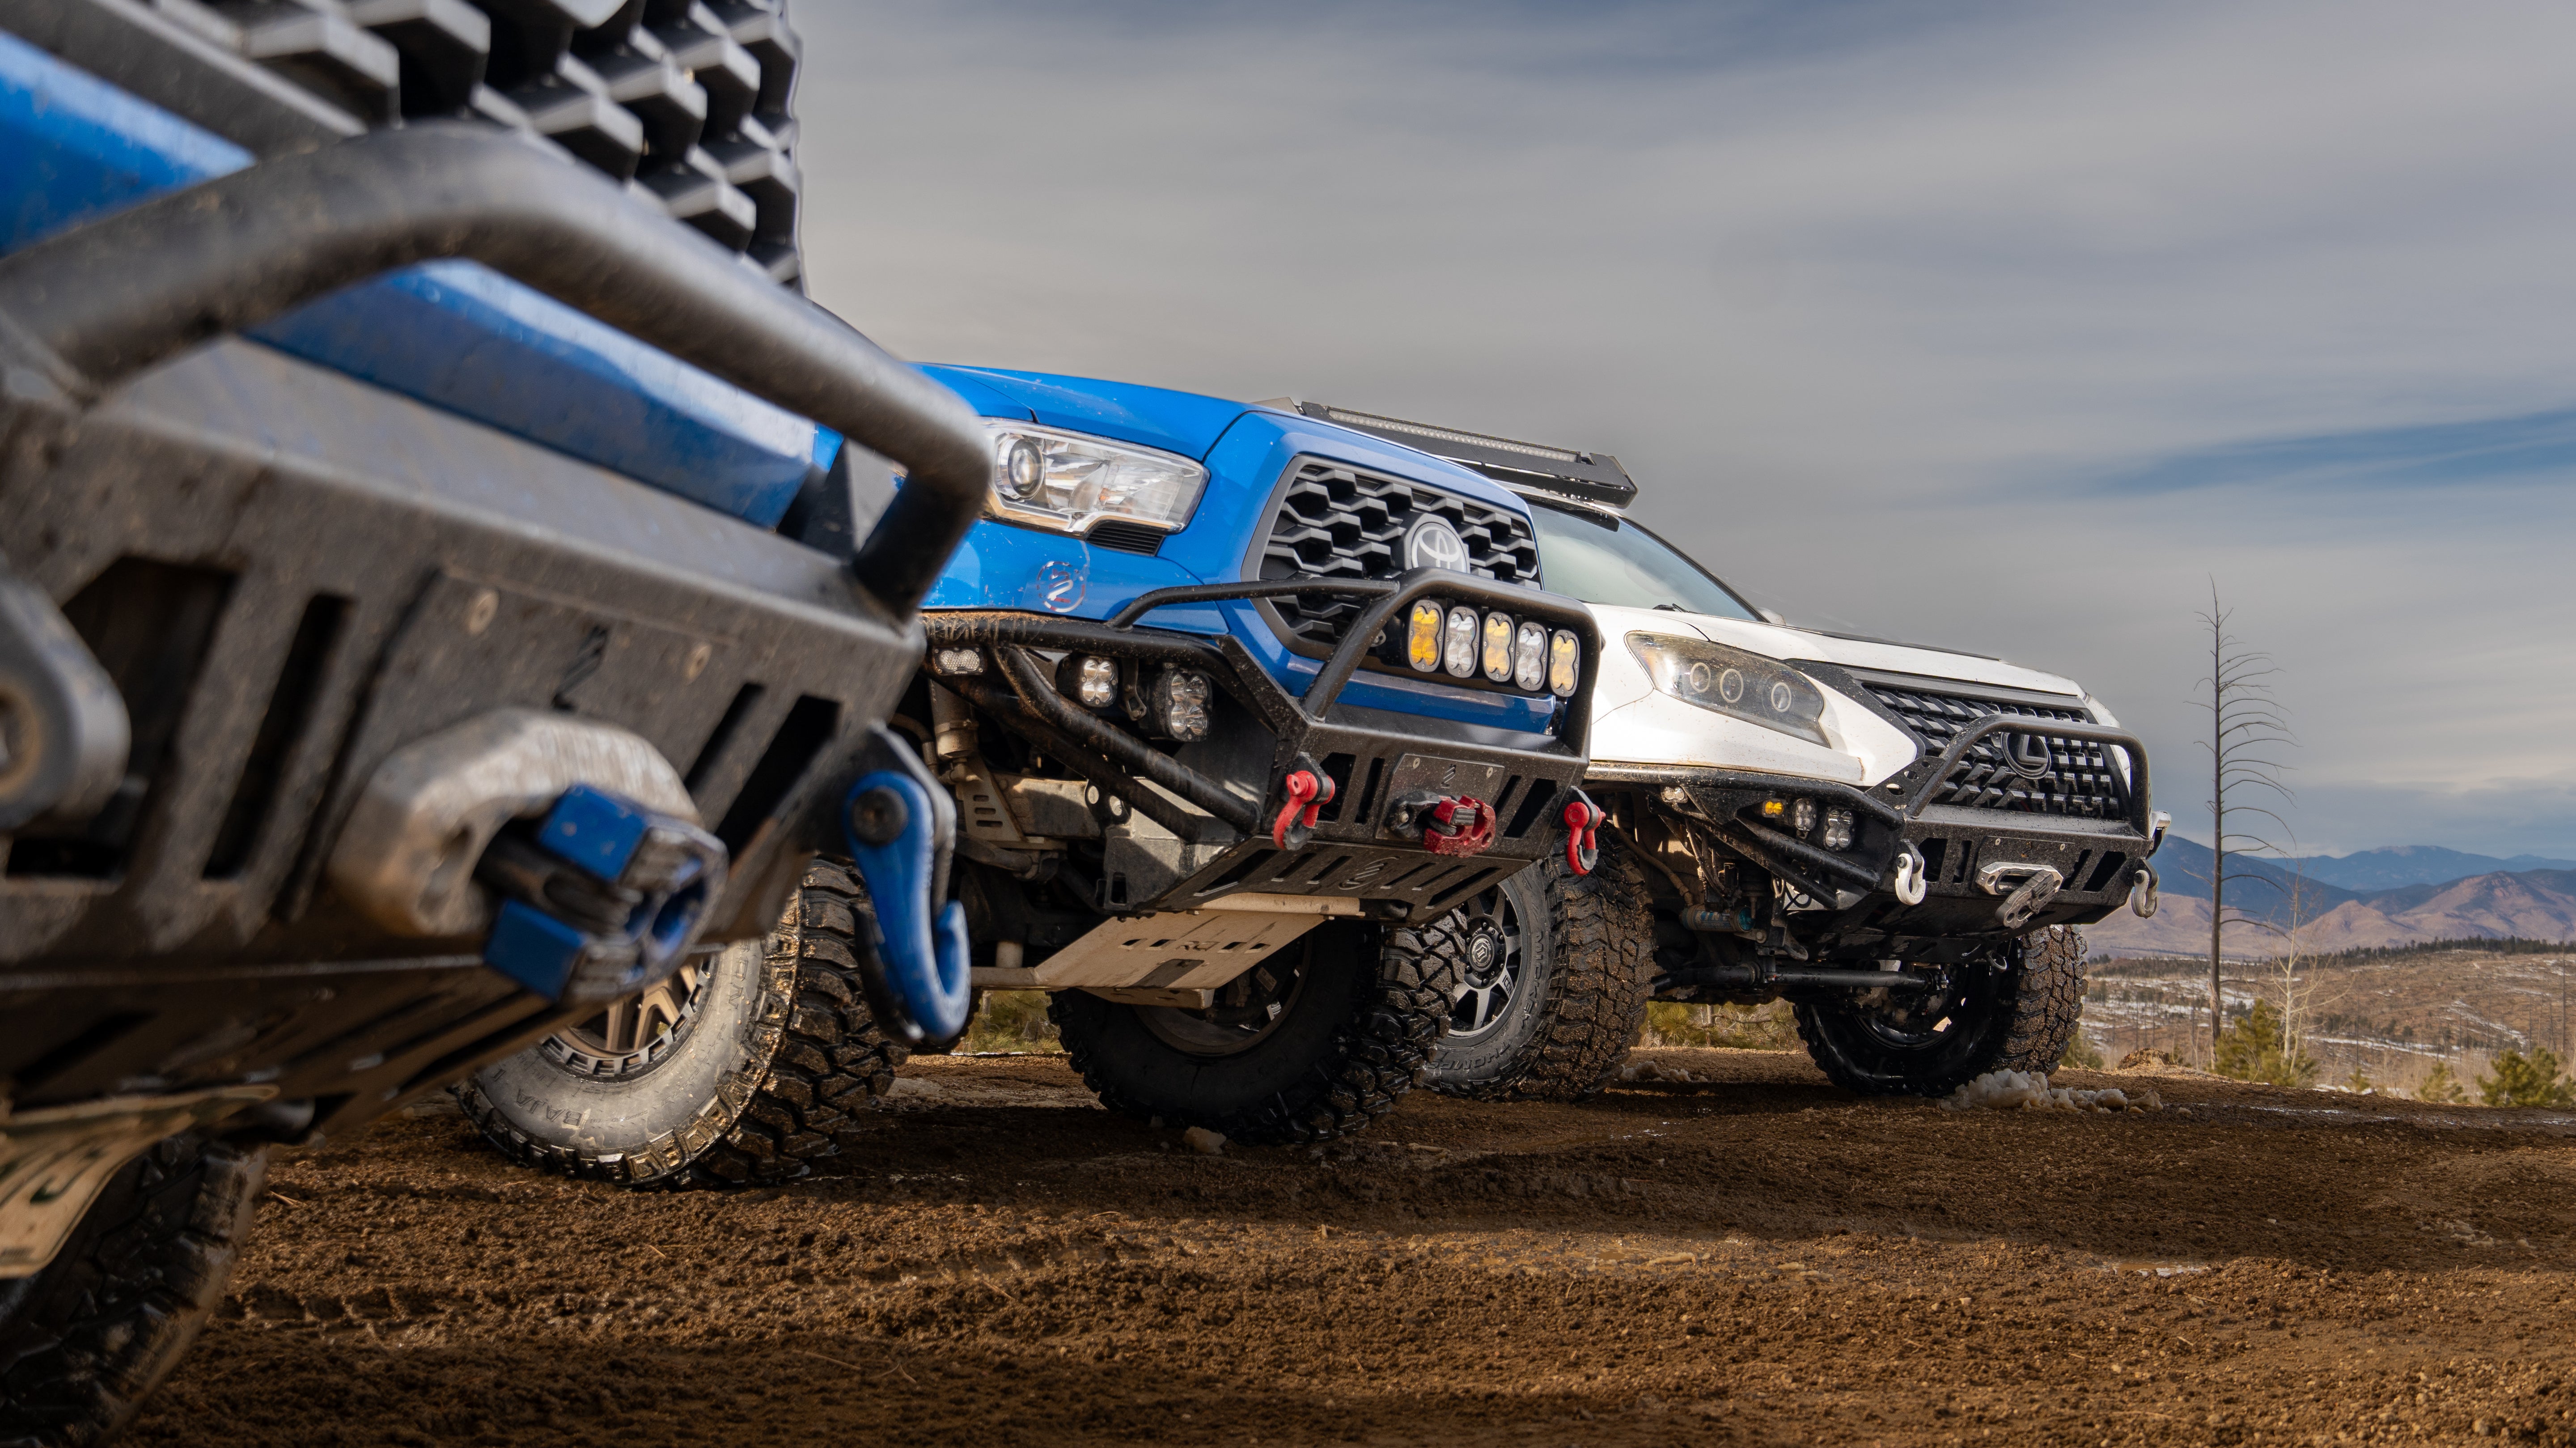
Bumpers designed with integrated lighting mounts make a noticeable difference in beam control and durability.
Avoiding Common Off-Road Lighting Mistakes
Many builds run into issues not because of bad products, but poor planning.
Mistakes to watch out for:
-
Too many lights aimed forward causing reflection and eye fatigue
-
Lights mounted too high for technical trails
-
Poor wiring that leads to failures on long trips
-
Overloading the electrical system without upgrades
A simpler setup that works every time is better than a complex one that fails when you need it.
Building Lighting Around Real Trail Use
Lighting should match how you actually drive. Weekend trail runs, long-distance overlanding, and night recoveries all require different priorities.
Ask yourself:
-
Do you crawl slowly or cover long distances at speed
-
Are you driving solo or with a group
-
Do you run trails after dark often or occasionally
-
Is reliability more important than maximum output
Answering these questions keeps your setup practical instead of excessive.
Lighting That Works With Your Armor
Lighting performs best when it is integrated into a bumper designed for the platform. Clean mounting, proper spacing, and protection all come from fabrication that considers lighting from the start.
Lil B’s Custom Fabrication's bumpers are built with real trail use in mind, offering solid mounting points that keep lights secure, protected, and properly aimed. The result is better visibility without clutter or compromise.
Light the Trail With Purpose
Off-road lighting should make driving safer and more controlled, not more complicated. When your lights are chosen and placed with intention, they become one of the most confidence-boosting upgrades on your rig.
If you are planning a lighting upgrade or want a bumper that supports a clean, functional setup, explore Lil B’s Custom Fabrication bumper options or reach out to talk through what works best for your trails and driving style.
Share:
Why Skid Plates Matter More Than You Think on the Trail
Why Proper Armor Setup Matters More Than Adding More Parts